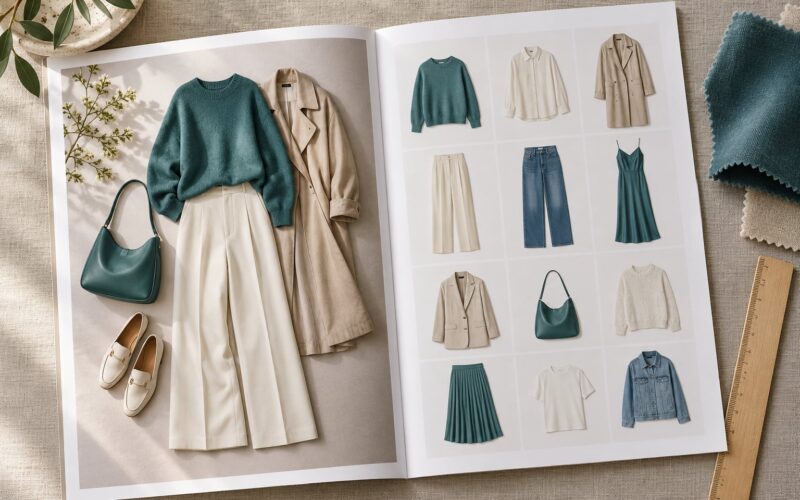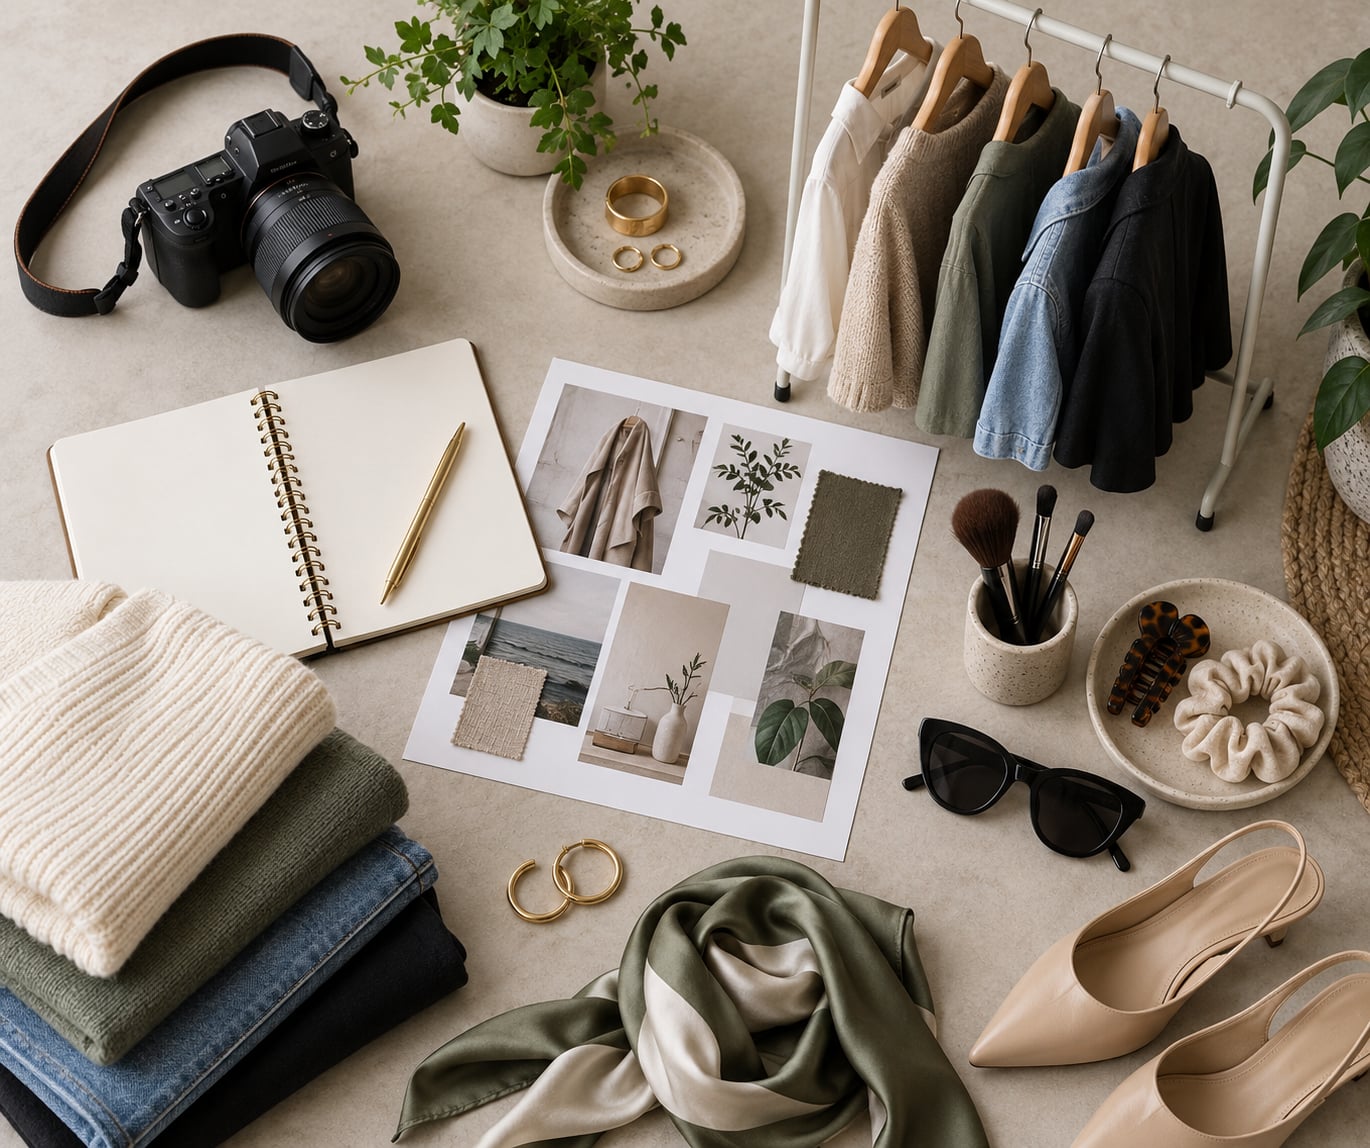
You can build a styling portfolio without clients by styling pieces you already own or borrow, shooting them yourself or with a collaborator working for trade, and packaging the results as short case studies with honest credits. It takes most people two to four weekends of work, and the hard part is packaging and labelling it properly, not finding clothes.
The reason feels obvious once someone explains it. A client or an agency cannot judge your taste, proportion, or professionalism from a resume, so without visible styled work they either ask you to work on trial or hire the person who already has images. Sample projects fill that gap, as long as you never present them as paid client work.
Below is the process I would use, from picking a niche to publishing a single clean page you can send with an email.
Table of Contents
- What You Need
- Step-by-Step: Building a Styling Portfolio Without Clients
- 1. Choose a Styling Niche and Portfolio Angle
- 2. Create a Styling Brief for Each Look
- 3. Style and Photograph Your Own Sample Projects
- 4. Build Case Studies Around the Work
- 5. Present the Portfolio on a Professional Page
- 6. Get Feedback and Improve the Final Portfolio
- Common Mistakes
- Frequently Asked Questions
- Can I build a styling portfolio without professional models?
- What should I include in a styling portfolio when I have no clients?
- How many looks do I need in a beginner styling portfolio?
- Should I label styling work I created for myself as client work?
- Is a mood board enough for a styling portfolio?
- Where should I host my styling portfolio?
- Conclusion
What You Need
A phone with a decent rear camera is genuinely enough for the first version of this. Most of what makes a styling image look professional is the clothing and the light, not the sensor.
Beyond the device, you need light, clothes, people, and somewhere to publish. Here is the short list:
- A camera — a recent phone, or a mirrorless body if you already own one.
- A tripod or a stack of books — for self-portrait full-length shots where nobody else is helping.
- Light — an open window is genuinely enough. Overcast daylight is the easiest to work with.
- Wardrobe access — your own clothes, family and friends’ wardrobes, borrowed samples, or a swap partner’s rail.
- People — a friend behind the camera, or a model, photographer, makeup artist, or hair stylist working for trade.
- A platform — a simple hosted site, a PDF deck, or a dedicated page you can link everywhere.
- A chosen specialty — editorial, commercial, personal styling, or something narrower like sustainable or vintage.
Choose the specialty before you shoot anything. Three looks in one clear direction read as intentional; three looks in three directions read as indecision.
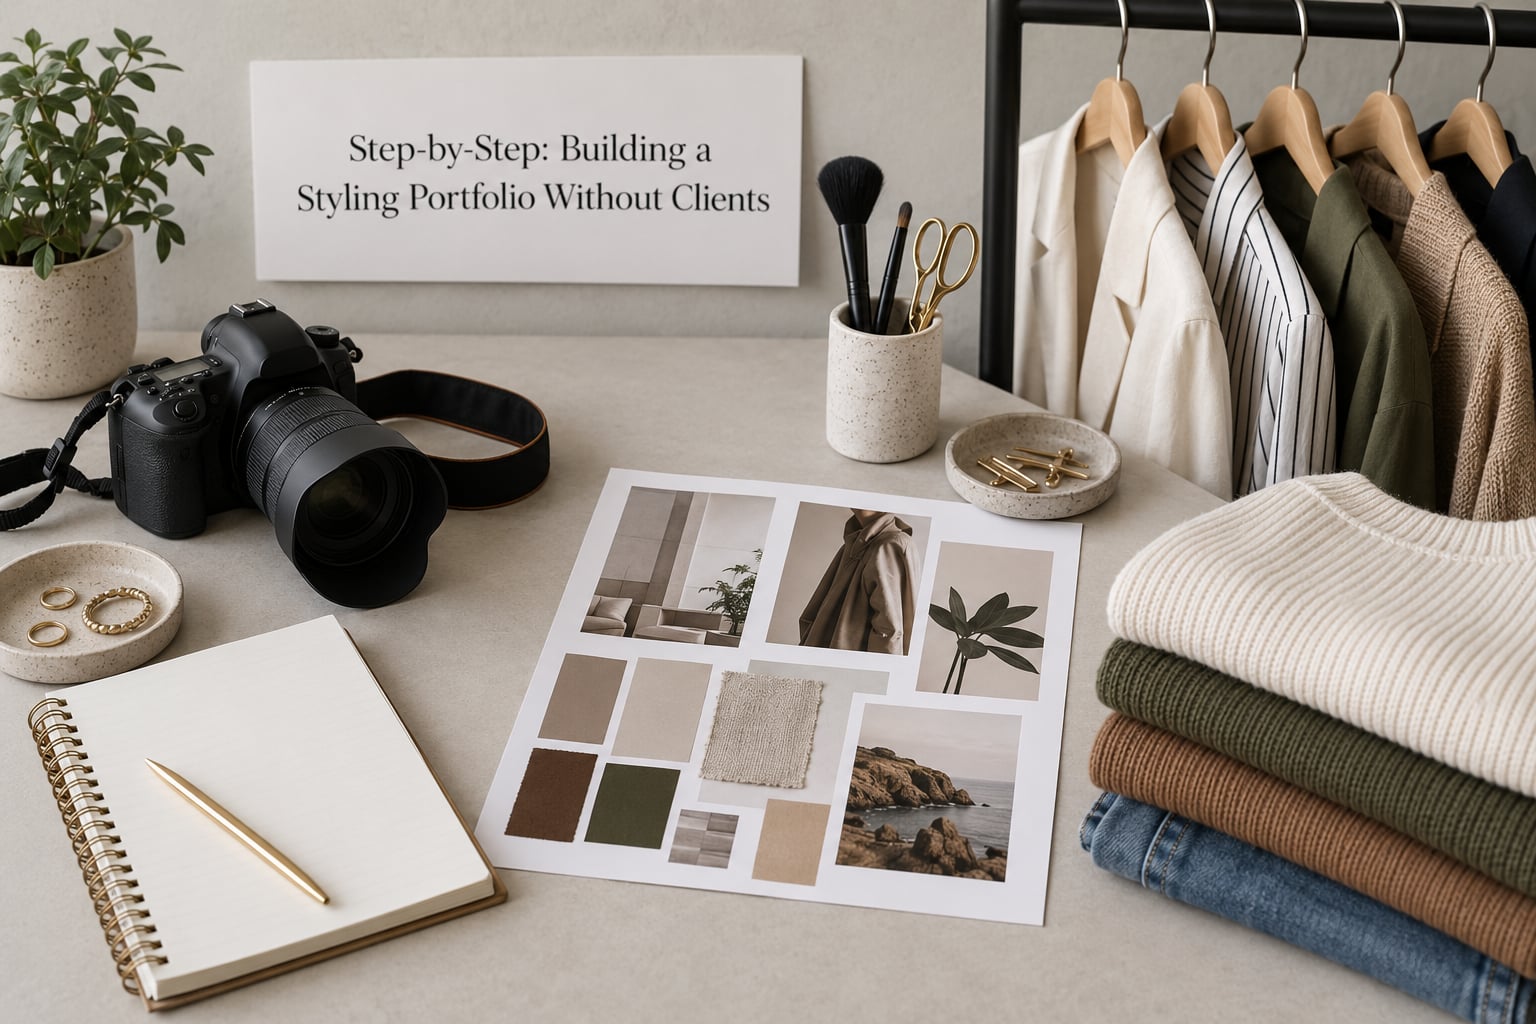
Step-by-Step: Building a Styling Portfolio Without Clients
1. Choose a Styling Niche and Portfolio Angle
Pick one audience or styling problem and describe it in a sentence. “Clothes for women in their fifties who hate what shops are pushing right now” is an angle. “Fashion for everyone” is not.
From that angle, name the kind of work you want to be doing in a year, then convert it into three to five looks. Four sample looks is a realistic target for a first pass: enough to show range, few enough that each one can be properly executed and explained.
Write the angle down where you will see it every shoot day. When you are tired and a garment is in your hand that does not fit the sentence, that is the moment you stop.
2. Create a Styling Brief for Each Look
A brief is a short creative document that stops you styling blind. Keep it to one page and cover eight things: who the person is, the occasion, the aesthetic, the clothing categories, the colour story, the accessories, the intended impression, and one constraint.
The constraint matters more than people expect. “No visible brand logos” or “nothing ironed” forces a different set of choices and shows range when someone reads the case study.
Example brief for one look: a creative professional heading to a gallery opening, quiet minimal aesthetic, tailoring and knitwear, palette of cream, camel, and charcoal, leather tote and flat boots, the impression of someone who owns everything she wears, constraint that nothing is new.
Free mood board tools are enough. Collect five to eight references, note what you took from each one, and keep the brief with the images.
3. Style and Photograph Your Own Sample Projects
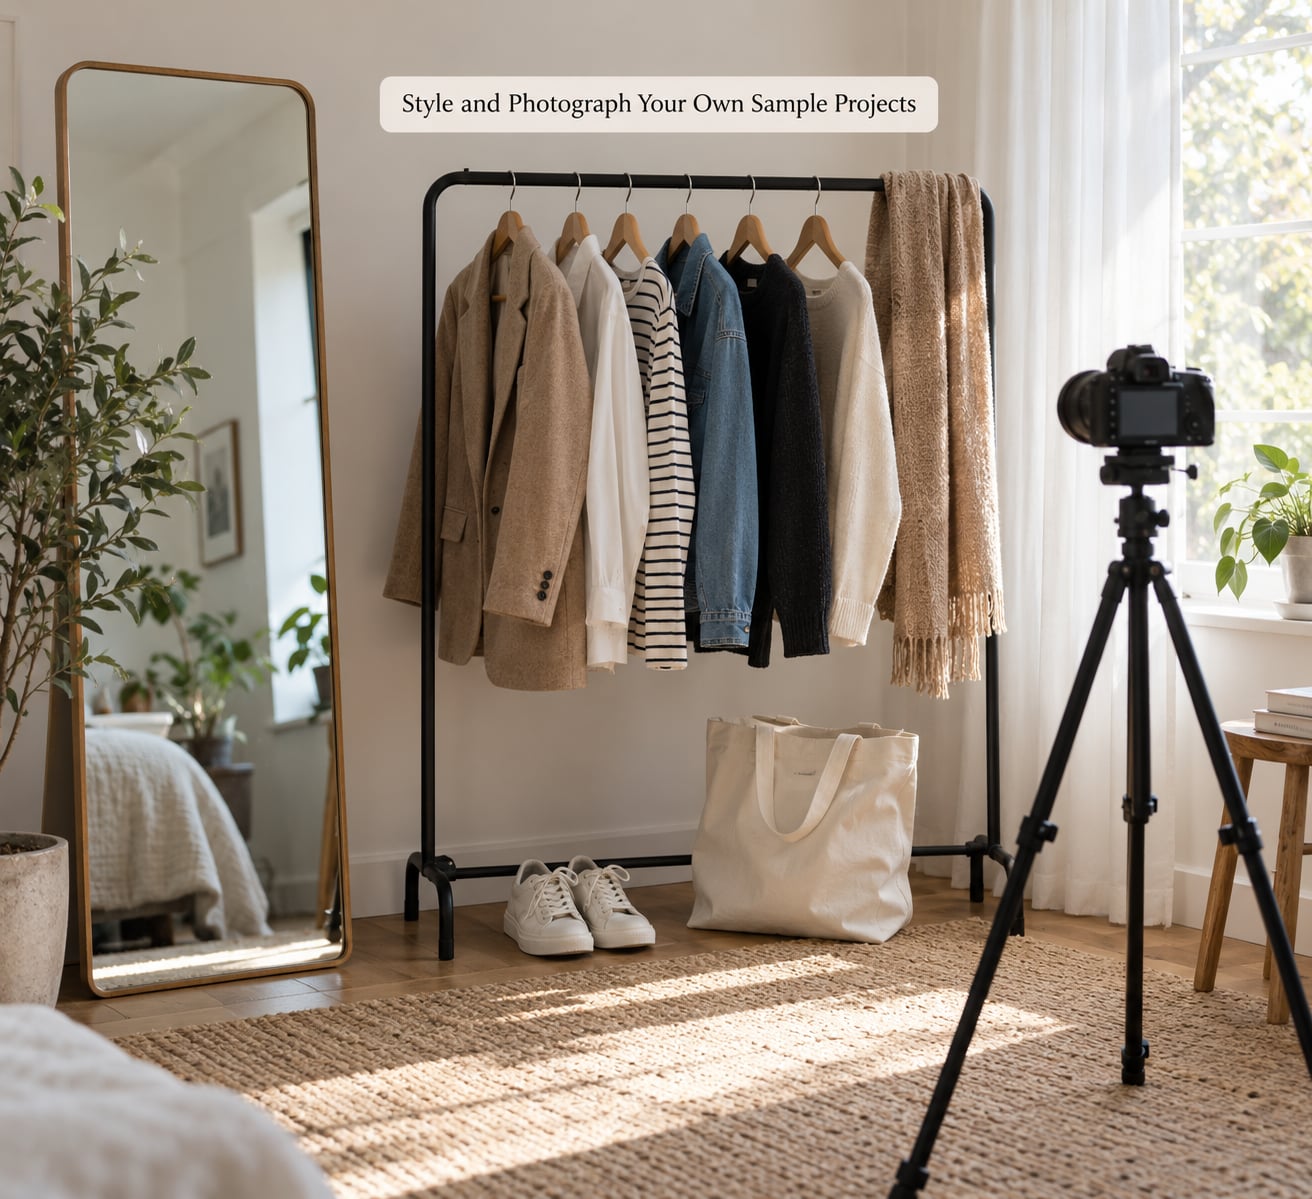
Assemble the outfit from real garments, then photograph it in natural light near a window. Shoot in three passes: a full-length frame, a three-quarter frame, and two or three detail shots of texture, accessories, or footwear.
If nobody can model, style yourself. That is the most-searched version of this question, and it is more common in professional portfolios than beginners expect. Use a tripod with a timer or the ten-second timer on your phone, stand where the light falls evenly, and mark your position on the floor with a piece of tape so your second attempt lines up.
A mirror works too, though crop the reflection as tight as you can manage. A friend who holds the phone at hip height for five seconds solves framing faster than any tripod setting.
On collaborators: the most reliable arrangement is an exchange, usually called TFP, talent for print, where everyone contributes and everyone gets images they can use. Photographers who are building their own books will shoot for styled images they can post. Makeup artists and hair stylists frequently want the same. Model networks such as ModelMayhem are the usual place to post a call.
Send one short message that says what you are doing, what role you are filling, when and where, and what everyone walks away with. Keep it to a paragraph.
Editing: apply the same colour grade to every image from a single shoot, and export at a consistent size. Consistency reads as professionalism faster than any single great frame.
4. Build Case Studies Around the Work
Three images on a page with no explanation is a look book. Three images with the thinking behind them is a case study, and case studies are what get you hired, because they prove you can make decisions.
Each case study should carry: project title, date, your role, location, the concept in two sentences, three to five final images, the brief or mood board, styling notes explaining specific choices, full credits, and one line on what you would change next time.
Credit everyone who touched the project, paid or not. Named photographer, model, makeup, hair, and location credits signal that you understand how professional sets are built, even when nobody was paid.
A typical credit line reads: styling and art direction by your name; photography by name; model by name; makeup by name; hair by name; shot on date at location. Add one honest label such as “self-initiated project, unpaid” or “TFP collaboration”.
Include the failures too. A short note on a look that did not work and what changed your approach is more persuasive than another polished set, because nobody else publishes it.
5. Present the Portfolio on a Professional Page
Put the work first and the biography last. Most visitors scroll past a long introduction, so lead with your strongest three images and let those earn the second scroll.
Keep it mobile-first, because most people will open the link from a phone or a messaging app. Use a grid with one hero image per project, a short title under each, and a one-sentence description of the styling problem you solved.
Add a short bio of three sentences: who you style for, where you are based, and what you are looking for. Then a contact method you actually check, and a last-updated date so a stale portfolio is self-evident.
A PDF deck is a reasonable alternative when someone wants a physical copy, and it also works well on a tablet. Keep it to about ten pages: cover, bio, three or four projects, contact.
6. Get Feedback and Improve the Final Portfolio
Send the link to three people and ask two questions each time: what do you think I do, and what would you cut. The first answer tells you whether your positioning reads clearly; the second usually lands on images that are weaker than you thought.
Test the page on a phone before you send anything, and click every link yourself. Broken links on a portfolio do more damage than a weak look ever will.
Revise unclear sections, remove anything that does not support your angle, and put a note in your calendar to update the page every time you finish a shoot. A portfolio that stopped changing a year ago reads as abandoned.
Common Mistakes
Most beginner portfolios fail on packaging rather than talent. Here are the five I see most, and what to do instead.
- Posting random outfit photos. Nothing connects them, so nothing is proven. Group the images into named projects, each with a concept.
- Inconsistent editing. It reads as several different people’s work. Use one grade and one set of export settings for every shoot.
- No context. Nobody can tell what you actually decided. Add the brief and your reasoning to each project page.
- Too many images. Weak frames dilute the strong ones. Cut back to roughly 30 to 60 final images across the whole portfolio.
- Presenting personal work as client work. It ends the conversation the moment it is spotted. Label every unpaid project clearly as self-initiated or pro bono.
Two more worth naming. Do not include work you are only mildly proud of, and do not leave the contact details until the last step, where half of beginners forget them.
If your city has no fashion scene at all, do not wait for one. Remote collaboration has made shoot partners available almost anywhere, and assisting at local productions gives you real credits plus a network, which is what actually leads to paid work later.
Frequently Asked Questions
Can I build a styling portfolio without professional models?
Yes. Plenty of stylists start with self-styled images shot on a tripod, plus friends and family who agree to model. Write the project as a self-initiated shoot, name anyone who helped as a credit, and explain the styling decisions. What matters is that the styling reads clearly and the labelling is honest, not that a professional was behind the camera.
What should I include in a styling portfolio when I have no clients?
Three to five complete sample projects beats a long list of single outfits. For each one include a title, date, your role, the concept, the final images, a short mood board or brief, styling notes explaining your choices, full credits, and whether the work was paid, free, or a trade exchange. Add a three-sentence bio and your contact details at the end.
How many looks do I need in a beginner styling portfolio?
Four well-executed looks is a solid starting point, and six to eight projects becomes reasonable once you have been shooting regularly. Quality matters more than count, because each look needs images, a concept, and notes. If you can only present three looks properly, do that rather than padding the page with fifteen that have no explanation attached.
Should I label styling work I created for myself as client work?
No, and the label is not negotiable. Present self-initiated and unpaid projects accurately as your own sample work, trade exchanges, or pro bono styling. Stylists and agencies accept unpaid projects in a portfolio when the labelling is clean, because everyone builds that way at the start. Misrepresenting sample work is the fastest way to lose a first opportunity.
Is a mood board enough for a styling portfolio?
A mood board on its own shows taste but not skill. It works well as a supporting element inside a case study, next to final images and styling notes. Used alone, it leaves the reader guessing whether you can actually dress a person, which is the thing they are hiring you for.
Where should I host my styling portfolio?
A single clean hosted page is the most useful option because it loads fast on a phone and is easy to send in an email or a message. A PDF deck is a good second format for in-person meetings or applications that ask for one. Keep a dedicated page for the work and let your social profiles point to it, rather than scattering projects across platforms.
Conclusion
Start with one niche written as a single sentence, then complete three polished sample looks and document the reasoning behind each one. Publish a single mobile-friendly page with full credits and honest labels, send the link to three people, and cut whatever they flag.
That page is enough to start sending. Updated for 2026, it is the whole method: sample work, clear thinking, accurate labelling, repeated.