A tech pack is the specification document that lets a clothing manufacturer build your garment without guessing: technical flats, a bill of materials, graded measurements, construction details, colorways and labelling instructions in one file. Learning how to make a tech pack for a clothing manufacturer takes a few focused sessions and a clear photo or fit sample to work from. One honest caveat first, because it comes up constantly on Reddit: nothing replaces a physical sample.
What the pack does is remove the guessing. When a factory receives a sketch and a moodboard, every unspecified detail — seam allowance, stitch density, rib weight, label position — becomes a decision the factory makes for you, and you pay for it in a failed sample round. A finished tech pack turns those decisions into instructions, which is also what gives you standing when something arrives wrong.
This guide is written for independent designers, stylists and small brands with no in-house technical designer. It follows the order a production room actually works in: define the garment, draw it, bill it, size it, specify it, label it, then version it.
Table of Contents
- What You Need
- A resolved design
- Actual fabric, in hand
- A measurement chart from a garment that fits
- Standard measuring tools
- Trim and packaging information
- Production facts from the factory
- The software question
- What belongs in the finished document
- Step-by-Step: How to Make a Tech Pack for a Clothing Manufacturer
- 1. Define the Garment and Intended Use
- 2. Create a Clear Technical Sketch
- 3. Build the Bill of Materials
- 4. Write a Production-Grade Size Specification
- 5. Specify Fabrics, Colors, Trims, and Construction
- 6. Add Labels, Packaging, and Delivery Details
- 7. Review, Version, and Send the Tech Pack
- What happens after you send it
- Common Mistakes
- Frequently Asked Questions
- Do I need a tech pack before I contact a clothing manufacturer?
- Can I make a tech pack without a technical designer?
- Can I send a fashion render or AI mockup instead of a technical flat?
- Does a tech pack replace making a sample?
- What file format should I send a tech pack in?
- When should I update or reissue a tech pack?
- Conclusion
What You Need
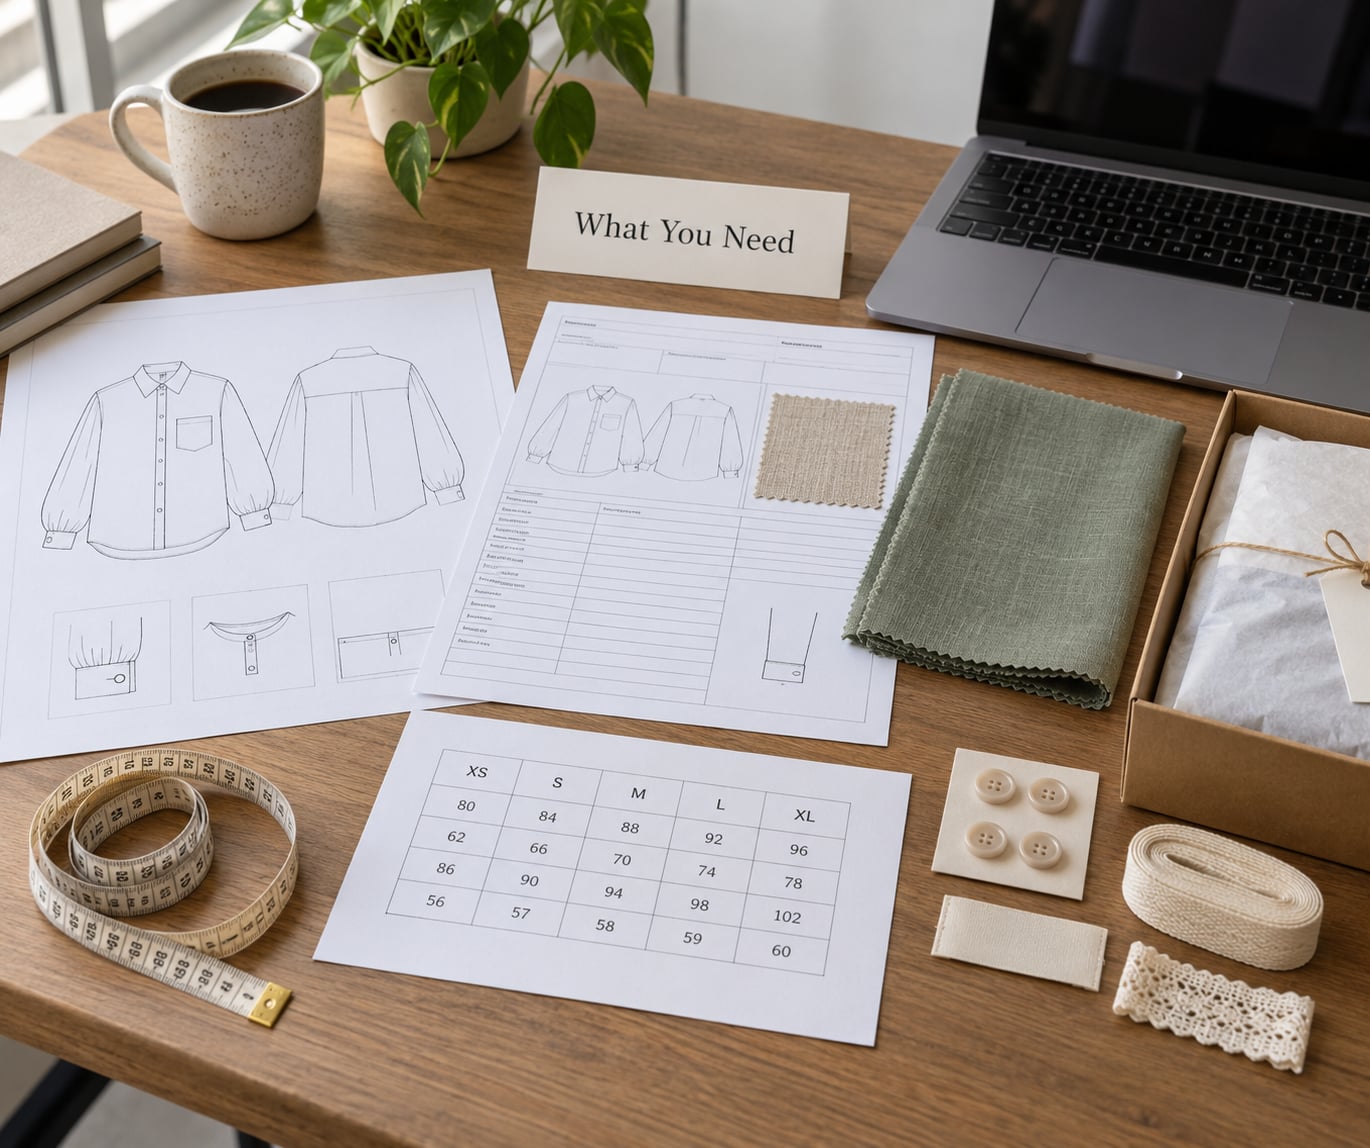
Gather everything below before you open a blank document. Working in this order saves the rework that comes from discovering a missing measurement chart after the flats are finished.
A resolved design
A photo of a fit sample on a body, a clear reference image, or your own sketch with the construction decided. If you are still choosing between two pocket treatments, that decision blocks the bill of materials, so settle it first.
Actual fabric, in hand
The swatch in your hand, not the mill’s product photo. Write down composition and weight in GSM (grams per square metre) with the fabric width in inches, plus drape and hand. A fabric described only as “heavy cotton” has an enormous range of possible meanings.
A measurement chart from a garment that fits
The best source is a garment you already own and like the fit of. Measure it laid flat following the point of measurement guide, and record which size you measured. A production-grade size specification is built on that base size, then graded to the rest of the size range.
Standard measuring tools
A tape measure, a ruler, and a hard surface. Measure twice for anything over 30 inches, since a soft tape stretches.
Trim and packaging information
Physical samples of any zipper, button, snap, drawcord, or label. Send them with the pack or attach photographs with the measurements written alongside. A factory sourcing a similar-looking zipper by description is gambling with your cost line.
Production facts from the factory
Fabric width, minimum order quantity, carton dimensions, packing method, and required shipping marks. Ask before you draft so the pack fits the factory’s constraints rather than fighting them later.
The software question
You do not need paid software. Adobe Illustrator is the industry standard for flats, a spreadsheet covers the bill of materials and measurement chart, and PDF or Google Docs handles the rest. More on tools below.
What belongs in the finished document
This table is the checklist. Each row maps to a step later in the guide.
| Component | What to specify | Example spec |
|---|---|---|
| Cover page | Style name and number, season, brand contact, version, date | Style AW26-014, Rev A, dated |
| Technical flats | Front, back and side line drawings with numbered callouts | Side seam called out as 5/8 inch |
| Bill of materials | Component, composition, weight, supplier, colour code, placement | Shell 100% cotton, 400 GSM |
| Measurement chart | Base size, point of measurement, graded sizes, tolerance | Chest 58 inches plus or minus 0.5 |
| Colorway page | Swatch reference with a Pantone code per color | Pantone TCX 19-4025 |
| Construction details | Seam types, stitches per inch, topstitching, seam allowance | Overlock 4-thread, 12 SPI |
| Artwork files | Vector file, print size, placement, colour count | Front chest print 28 cm wide, 2 colours |
| Labels | Care and content label, size label, main label, placement | Main label at centre back neck |
| Packaging | Folding method, polybag, hang tag, carton marks, pack quantity | 12 pieces per carton, size ratio S-L |
| Revision log | Version, date, author, what changed | Rev B, pocket depth changed |
Step-by-Step: How to Make a Tech Pack for a Clothing Manufacturer
1. Define the Garment and Intended Use
Start with a written definition of the product. Category, intended wearer, fit intention, price tier for the retail market, and where it sits in the collection all shape what you specify later. An oversized hoodie for a streetwear label gets different ease values and different grading than a slim fit shirt sold through a department store.
Assign a style number and a style name now and use them consistently on every page, every email and every label artwork. Also write down the manufacturing scope: which pieces are in this pack, which are still sketches, and what quantity you are planning. A factory reads the scope line and immediately knows whether they are quoting one style or a capsule.
How you will know it worked: a pattern maker who has never seen your brand can tell what the garment is, who it is for and what it should feel like to wear, from your first page alone.
2. Create a Clear Technical Sketch
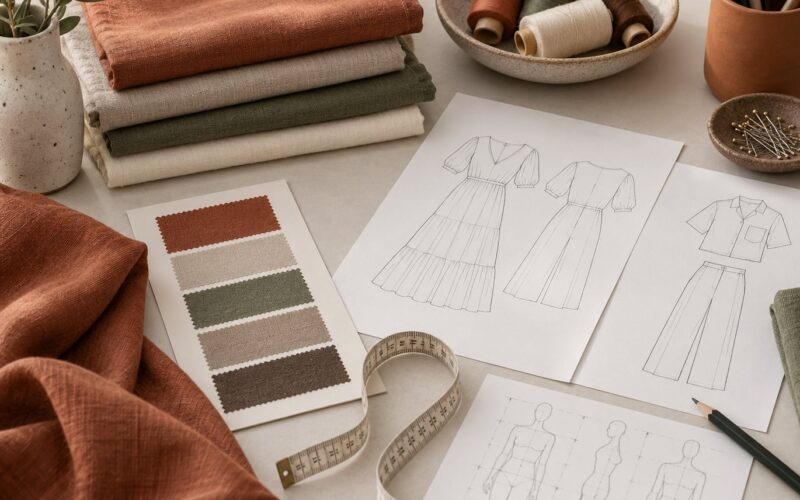
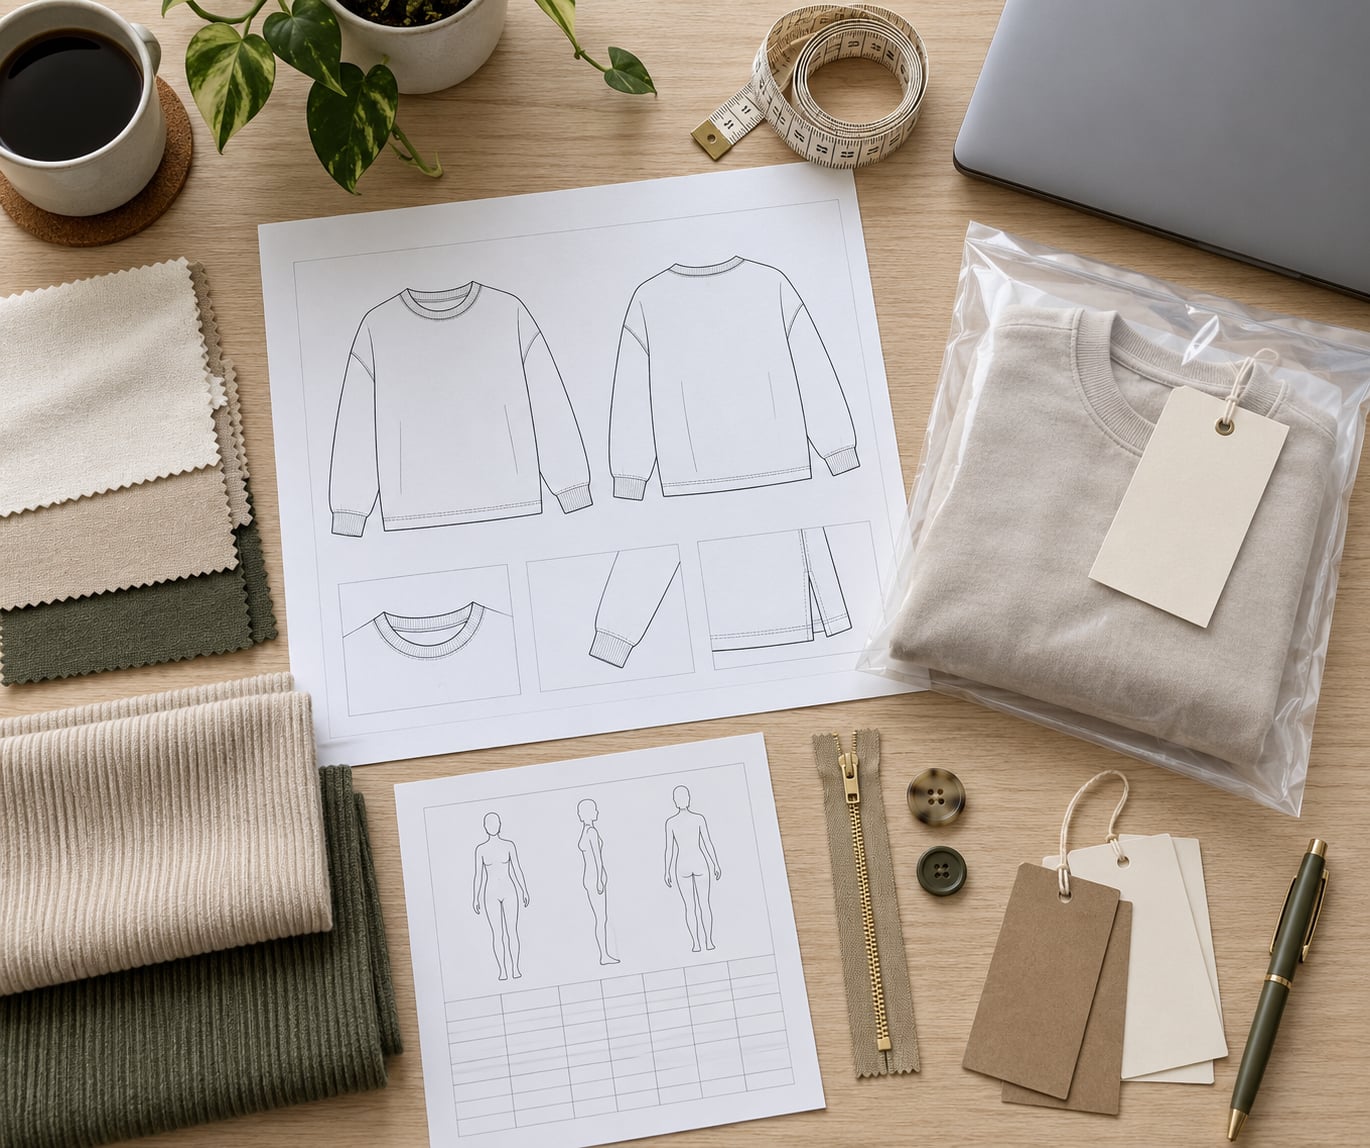
Technical flats are black-and-white line drawings that show construction, not style. They carry no shading, no texture and no colour, because anything ornamental on the drawing distracts from the construction detail. Front, back and side views are the minimum, and an inside view pays off on anything with a lining or a pocket bag.
Number every construction feature and give each number a matching line in the detail notes: callout 1 might be “self fabric bias binding, 5/8 inch, finished edge”. Draw seam lines as visible lines, topstitching as a dashed line inside them, and pocket openings with the exact placement marked from a named reference point such as the shoulder seam or the bottom hem.
Where graphics go, show them at true scale with the width written in centimetres or inches. Founders routinely send artwork with no dimensions and get the print 40 percent too large, which is why prints often arrive misaligned in bulk. If you can only offer a moodboard image rather than a technical flat, a fashion render or an AI mockup, say plainly that it is a reference and pair it with measurements, because a factory will not draft a pattern from an atmospheric image alone.
How you will know it worked: hand the flats to someone outside fashion and ask them to describe how the garment is put together. If they mention the pocket bag and the double-needle hem without help, your drawing communicates.
3. Build the Bill of Materials
The bill of materials, usually shortened to the BOM, is the list of everything that goes into the garment and gets cut or consumed in making it. Build it as a spreadsheet with one row per component and columns for component name, composition, weight or size, supplier or reference, colour code, quantity per garment, and placement.
Include the shell fabric, any lining, interfacing where the garment needs structure, thread type and colour, the zipper or button and its exact size, snaps, drawcords and cord tips, elastic, and every label. Packaging items belong here too — polybag, hang tag, tissue, carton.
On quantity, be exact. A drawcord tip that appears on the label but not the bill of materials will be noticed at the packing table. For stretch or knitted trims, give the width and the stretch percentage, since a rib at 40 percent recovery behaves very differently from one at 80 percent on the same gauge.
How you will know it worked: the factory can source or substitute every single line without emailing you a question. If a row cannot be ordered as written, that row is not finished.
4. Write a Production-Grade Size Specification
Most failed samples come from the measurement section, and usually from one of three errors: a single size with no grading, measurements with no tolerance, or measurements with no note on how they were taken.
Start from your base size, usually the middle size of the range. Show every measurement with a point of measurement number that matches a numbered diagram on the flats — chest, body length, shoulder, sleeve length from the shoulder point, sleeve opening, hem opening, armhole circumference, and neck width. State that measurements are taken flat and doubled where the garment is worn, which removes an entire category of dispute at the QC table.
Then grade. Two approaches are common: rule-of-four grading for wovens, where each size above the base adds four inches to bust and one inch to length, or standard grade increments taken from ASTM, BSI or ISO tables. State which system you used and give the increments explicitly. Add the tolerance next to each measurement, commonly plus or minus 0.5 inch for adult woven outerwear and tighter for high-volume pieces where measurement points are visibly checkable.
Ease values deserve a sentence too. Chest ease of 4 inches on a relaxed fit and 8 inches on an oversized piece are the difference between the two garments, and the factory cannot infer that from the flat alone. Note which measurements include the rib or the elastic, since those get measured relaxed rather than stretched.
How you will know it worked: the chart is complete for every size in your range, and a factory can grade from your base size without asking you a single question.
5. Specify Fabrics, Colors, Trims, and Construction
Fabric specifications read as a short line each: composition, weight in GSM, width, finish, and shrinkage allowance if the fabric is pre-washed or expected to shrink. Add performance requirements only when they matter — colourfastness, pilling rating, water repellency — because an unmeasurable requirement is worse than no requirement at all.
For colour, use a Pantone reference printed on a physical swatch and photographed under consistent light. Pantone TCX is the textile-matching library, which behaves differently from the solid-coated TPG chips used in print; matching a garment with a TPG chip is a common and expensive mistake. State the dye lot expectations and note any colour that will naturally shade between panels.
Construction gets its own detail page. Name the seam type for each junction — coverstitch on a flatlock seam, four-thread overlock at 12 stitches per inch for side seams, five-thread coverstitch on a sweatshirt raglan, French seams on a lining. Give the seam allowance (5/8 inch is the common default), the topstitching width where it is visible, the stitch class for any straight topstitch at 3 to 3.5 SPI, and how hems are finished.
Add workmanship expectations in plain language: no skipped stitches, no broken ends, thread ends trimmed, no fabric stains or holes, trims matching the approved swatch. Spell out how trims are attached — bar tacks at pocket corners, reinforced zipper ends, rivets set to a set distance from the hem.
How you will know it worked: two factories reading this page would build comparable garments, and the QC inspector has written criteria to check against instead of personal judgment.
6. Add Labels, Packaging, and Delivery Details
Labelling looks trivial and causes real delays. Document the main label with its placement, the care and content label with the fibre content and care symbols in the market’s required format, the size label with its range and where the size is printed, and any flag or origin label the destination country requires. Show each label as artwork with its finished dimensions in inches, and give the exact distance from a named reference point — neck seam, side seam at the armhole.
Then packaging. Describe the fold method, the polybag type and whether a suffocation warning is required, the hang tag and string length, and the sticker or label on the carton. Give the carton dimensions, pieces per carton, and the size ratio, for example 12 pieces at a ratio of 2 small, 4 medium, 4 large and 2 extra large. Add carton marks with the style number, size range, quantity, carton number and your company name, since unmarked cartons get refused at the warehouse door.
Finish with the shipping and handover details: carton dimensions for freight calculation, the total pieces ordered, the packing list format, and any testing or certification documents the destination market needs, such as flammability labelling for children’s garments.
How you will know it worked: the packing table can work from your page without phoning the brand about size ratios.
7. Review, Version, and Send the Tech Pack
Run a completeness check before it leaves your inbox. Read the pack once as if you were the pattern maker: can you point at a page for every component in the bill of materials, every measurement in the chart, and every callout number on the flats? Do the callout numbers on the flats match the notes exactly? Does every Pantone code appear on the colorway page as well as in the BOM?
Then version it properly. Name files by style number and revision, for example AW26-014_TechPack_RevA, and keep a revision log with the version, date, your name and what changed. Founders lose weeks when edits live in three different PDFs and a folder of marked-up images; a single log line saves the argument later.
Send it as a PDF for reading plus the editable spreadsheet or vector flats for the factory to work from. Write a short cover note naming the style, the quantity you’re quoting, the delivery date you have in mind, and any fabric you have already approved. Ask for written confirmation that the factory has everything, and log their questions as revision B rather than answering them across four email threads.
Keep the approved version in one place. Founders describe the tech pack as the instruction manual for the garment and, as one Reddit user put it, the thing that gives you recourse when a factory does something that was never in the document. That only works if you can produce the version the factory agreed to. A tech pack does not replace making a sample — nothing does — but it tells you and the factory whether the sample that arrives matches what you asked for.
What happens after you send it
The factory reviews the pack for completeness, feasibility and material availability, then quotes against it or requests clarification. A proto sample follows, you mark it up, and each round produces a new revision with the changes listed. Once the fit sample is signed off, you issue a production approval, the factory produces the bulk run, and QC inspects against the same pages you sent.
One rule saves more money than any other: no bulk production starts until the fit sample has been approved in writing. Skipping that step is how brands end up with 2,000 garments they cannot sell.
Common Mistakes
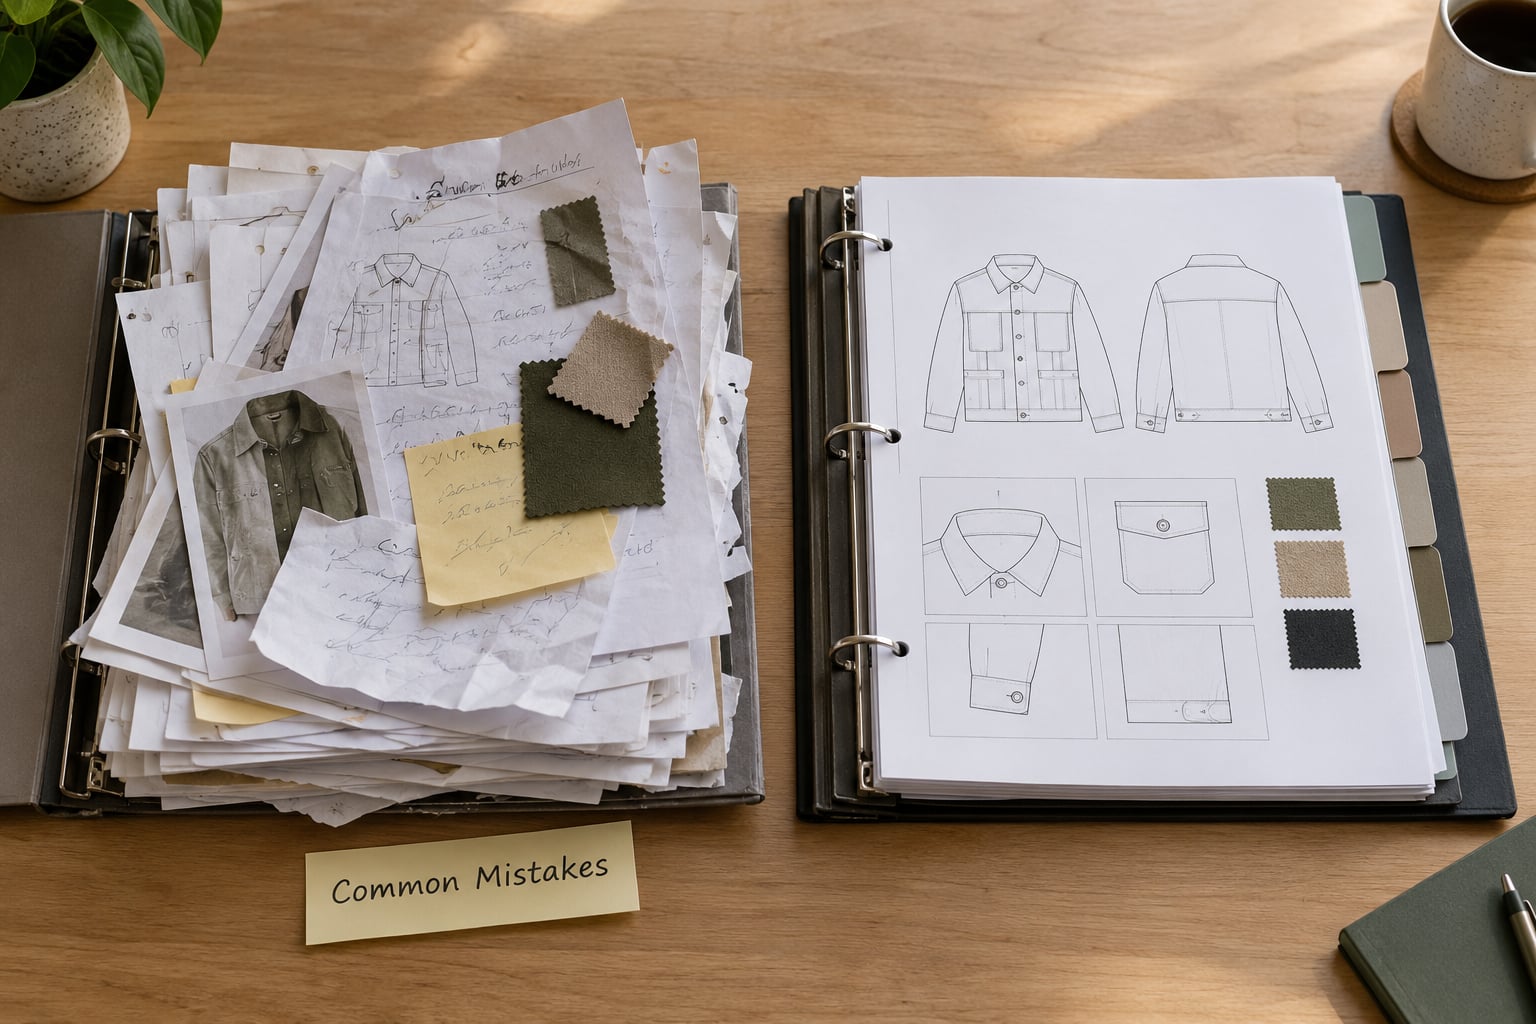
Almost every costly tech pack problem is the same problem in a different costume: a specification that a factory could read two ways. Here are the vague-versus-precise pairs that come up most, with the fix for each.
| Vague specification | Why it fails | Precise version |
|---|---|---|
| “Heavy cotton, good quality” | Ranges from 240 to 480 GSM, all of it cotton | 100% cotton, 400 GSM, 58 inch width |
| “Relaxed fit” | Two factories produce two different chest measurements | Chest ease 8 inches at the armhole |
| “Size M” | Nobody knows which of the ten versions of M you mean | M chart values plus or minus 0.5 inch, measured flat |
| “Front graphic” | Print arrives 40 percent oversized | 28 cm wide, centred 20 cm below the neck seam, 2 colours |
| “Standard seams” | Overlock, coverstitch and straight stitch all count as standard | 4-thread overlock, 12 SPI, 5/8 inch allowance |
| “Colour: black” | Batch-to-batch shade drift across a reorder | Pantone TCX 19-4005 on an approved swatch |
| Measurements for one size only | Bulk grading comes back inconsistent across the run | Base size plus stated grade increments for every size |
| No revision history | The factory cuts from last month’s file | Revision log plus one master PDF per version |
Two more mistakes come up repeatedly in founder communities. The first is sending a lifestyle render or AI-generated mockup in place of a technical flat; factories cannot draft a pattern from a render, and treating the image as a spec is how orders arrive unrecognisable. The second is assuming the pack covers everything, forgetting that fit intent, shrinkage allowance and fabric handling are all spec lines. If a factory could interpret it two ways, rewrite it.
On cost, a spec produced from your own template costs nothing but your hours. Freelance and agency tech pack services usually quote per style with bundles priced lower per garment, and rates quoted by UK and US freelancers for a full pack tend to fall somewhere around 15 to 30 GBP per style depending on how many flats and trims are involved. If you are budgeting for a small run of six to ten styles, a freelance technical designer often pays for itself by saving a single sample round.
Frequently Asked Questions
Do I need a tech pack before I contact a clothing manufacturer?
You need enough of one to get an accurate quote: technical flats, a bill of materials and a measurement chart for the base size. A fully production-ready pack with tolerances, artwork files and packaging instructions is needed before sampling, not before the first conversation. Most factories will start a conversation with a sketch and complete the pack with you once they raise questions.
Can I make a tech pack without a technical designer?
Yes, for straightforward garments. A template in Adobe Illustrator or a free spreadsheet plus precise measurements, exact fabric specs and numbered callouts can produce a factory-ready pack. Complex garments, unusual constructions and stretch fabrics still need a technical designer or pattern maker, because the judgement calls live in the flat, not the spreadsheet.
Can I send a fashion render or AI mockup instead of a technical flat?
Not on its own. A render or AI mockup works as a style reference alongside a technical flat, never as a substitute. The factory drafts the pattern from your drawings and measurements, so it needs line drawings with construction lines and numbered callouts. Skipping the flat usually adds a sample round and the cost that comes with it.
Does a tech pack replace making a sample?
No. Nothing replaces sampling, and a pack is documentation rather than a garment. What it does is cut the number of sample rounds and give you a written record to point at when a sample is wrong. Fit, drape and construction still have to be validated physically before you approve bulk production.
What file format should I send a tech pack in?
Send a PDF for reading and approval, plus editable source files so the factory can work: vector flats in AI or PDF, the bill of materials and measurement chart as spreadsheet files, and artwork as vector with any linked fonts outlined and images embedded. Label the master version clearly and put the revision date in the filename.
When should I update or reissue a tech pack?
Update it after every approved sample change, after any fabric or trim substitution, and before a reorder, since dye lots and fabric batches shift over time. Log each change as a new revision with the date and the reason, and distribute the new master to everyone who holds the old file so the factory cannot cut from a superseded version.
Conclusion
Four things to do this week. Define the garment in writing and give it a style number. List every shell, lining, trim, thread, label and packaging item in a bill of materials with composition, weight and colour codes. Replace every vague adjective with a number a factory can measure. Then send the pack with a cover note and get the factory’s questions and confirmations back in writing before anyone cuts a sample.
That sequence is the whole job. The rest is repetition across styles, and it gets faster every time you build one.