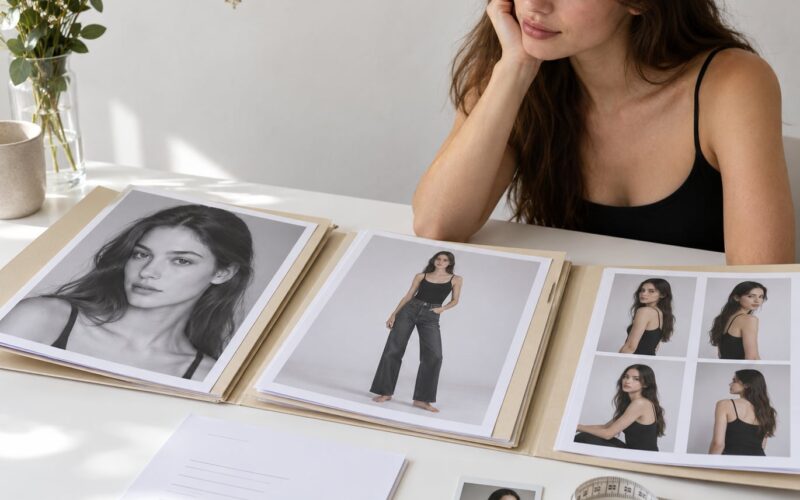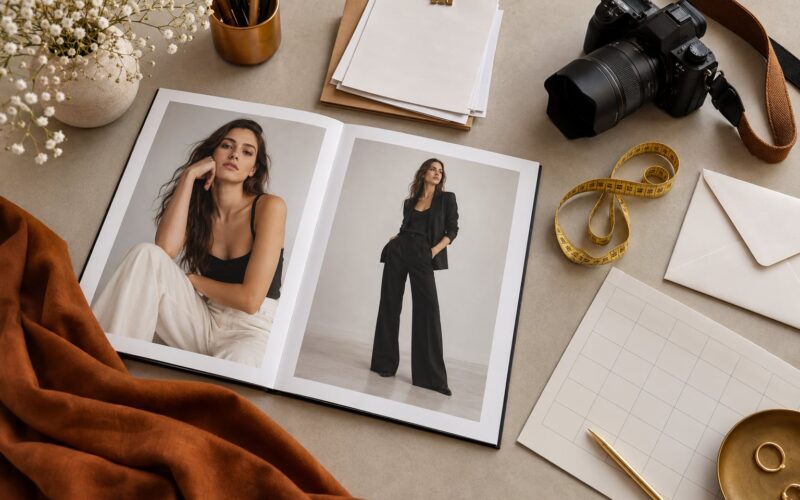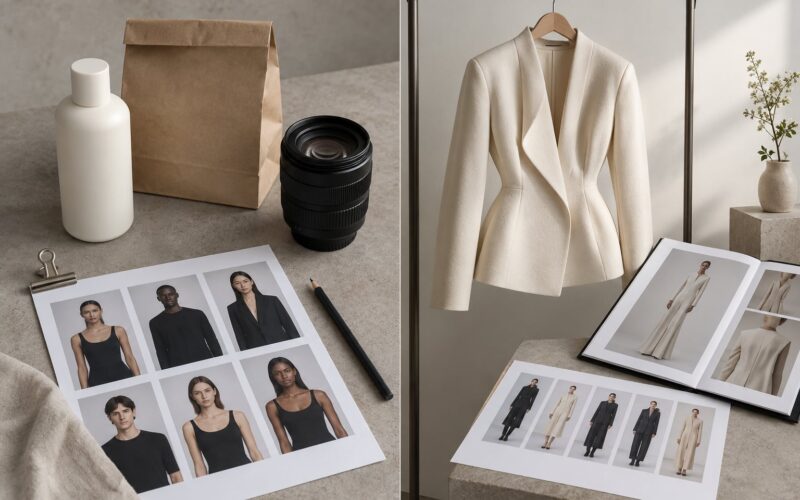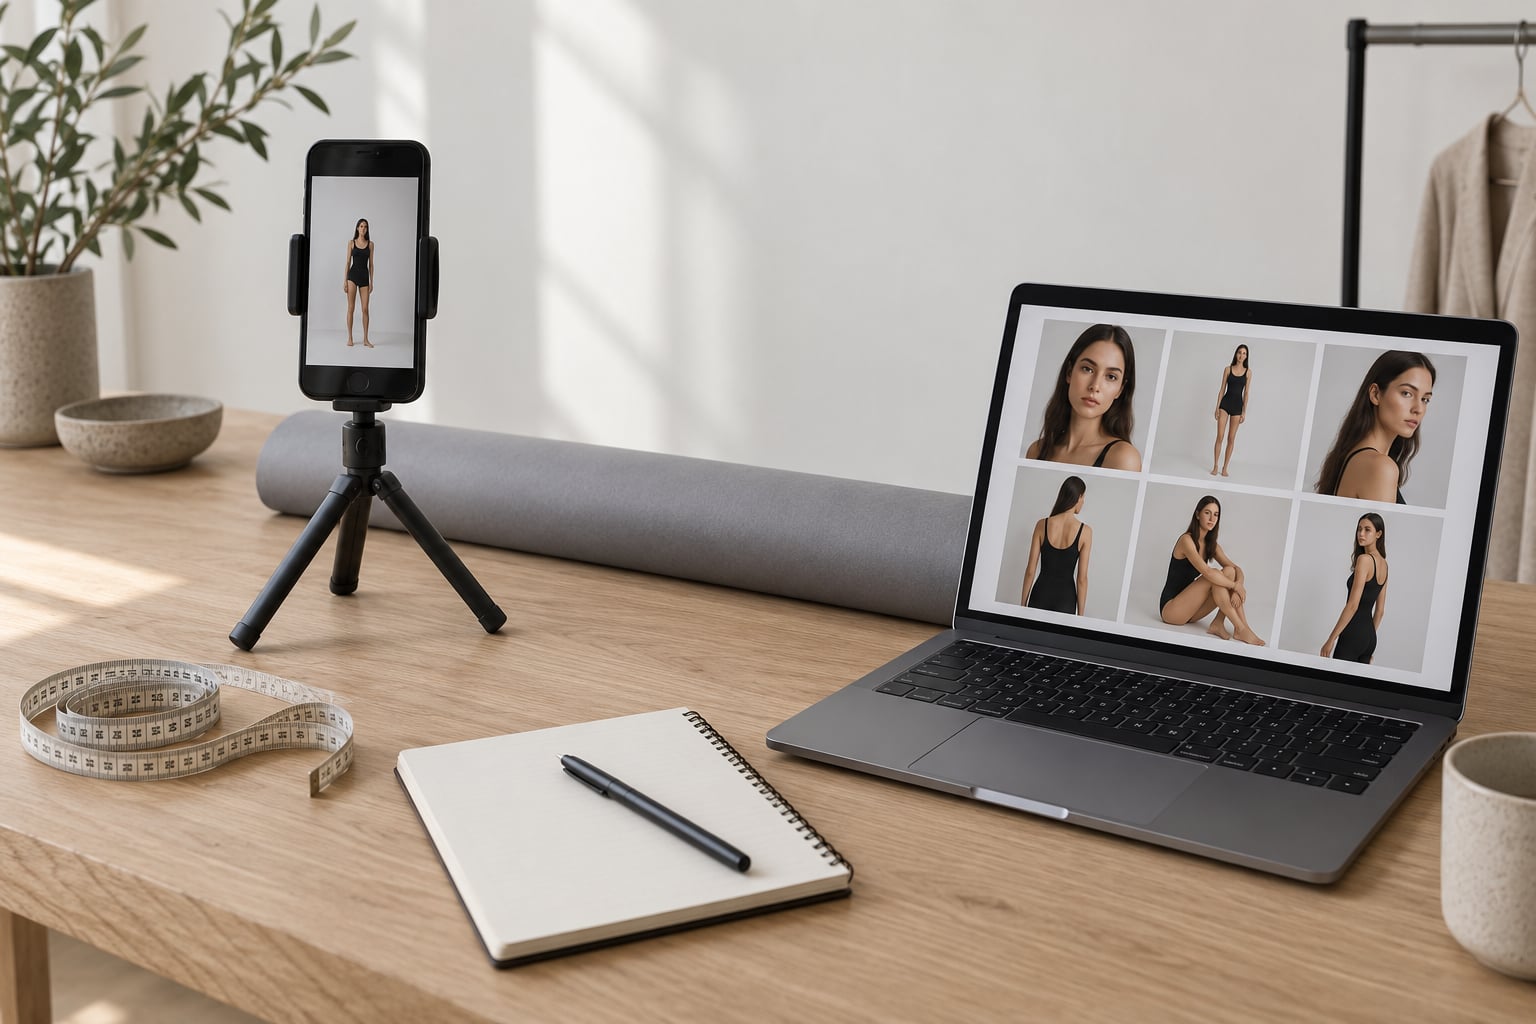
You can build a modeling portfolio on a budget with a phone camera, a plain wall, free editing software, and one afternoon. Most beginners get a casting-ready book up for nothing at all, then spend real money later once agencies start asking for more range. The images and the layout do the work, not what you paid for the shoot.
If you are searching how to build a modeling portfolio on a budget, the process is simpler than the price lists suggest. It usually takes a weekend. The hard part is not the photography, it is resisting the urge to buy upgrades before the free options are finished.
Table of Contents
- What You Need
- Camera or phone
- Tripod or timer
- Editor and free editing software
- Neutral background
- Basic styling and a tape measure
- Digital storage and a contact method
- How to Build a Modeling Portfolio on a Budget
- Step 1: Define the portfolio images you actually need
- Step 2: Plan an affordable photo session
- Step 3: Take consistent, flattering test images
- Step 4: Edit images without looking overprocessed
- Step 5: Build a clean portfolio layout
- Step 6: Review and export a casting-ready file
- Common Mistakes
- Frequently Asked Questions
- How much does it cost to build a modeling portfolio?
- Can I use photos taken with a smartphone for my modeling portfolio?
- How many photos should be in a beginner modeling portfolio?
- Should I pay a professional photographer to build my portfolio?
- What file format should I send to modeling agencies?
- Is it better to make a PDF or an online modeling portfolio?
- Conclusion
What You Need
You need five things before you start, and three of them you probably already own. Everything here has a free version, so the whole setup can cost nothing.
Camera or phone
A recent smartphone camera is enough to start. Agencies want to see clean, well-lit images of your face and body, not high-resolution files. If you already have a camera, use it, but a phone is more portable and easier to shoot with a tripod.
Tripod or timer
Self-shooting needs something steady. A phone tripod with a holder is the cheapest option and works better than a stack of books, because you can frame the shot at eye level. If you have no tripod, use a timer or burst mode and lean the phone against something solid.
Editor and free editing software
Lightroom Mobile and Snapseed are both free and cover exposure, white balance, sharpness, and cropping on a phone. You need software that lets you adjust light without smoothing away your skin texture, since over-edited images get rejected quickly.
Neutral background
A plain white, grey, or beige wall is the standard for digitals. Remove posters, cords, and furniture from the frame, and stand about six feet away from the wall so the light on you does not cast a hard shadow behind you.
Basic styling and a tape measure
Wear fitted clothing in a solid color so the shape of the garment does not distract from you. Measure yourself with a tape measure rather than guessing, because agencies compare numbers against their current boards and a wrong waist is an easy rejection.
Digital storage and a contact method
Back your images up in two places so a phone failure does not cost you a week of work. Have one clean email address ready, since that is what most agency submission forms use.
How to Build a Modeling Portfolio on a Budget
The process runs in six steps: decide which images you actually need, plan a shoot you can afford, take consistent test images, edit them conservatively, lay them out cleanly, and export a file that opens fast and looks right on every device. Most people finish the whole thing in one or two days.
Step 1: Define the portfolio images you actually need
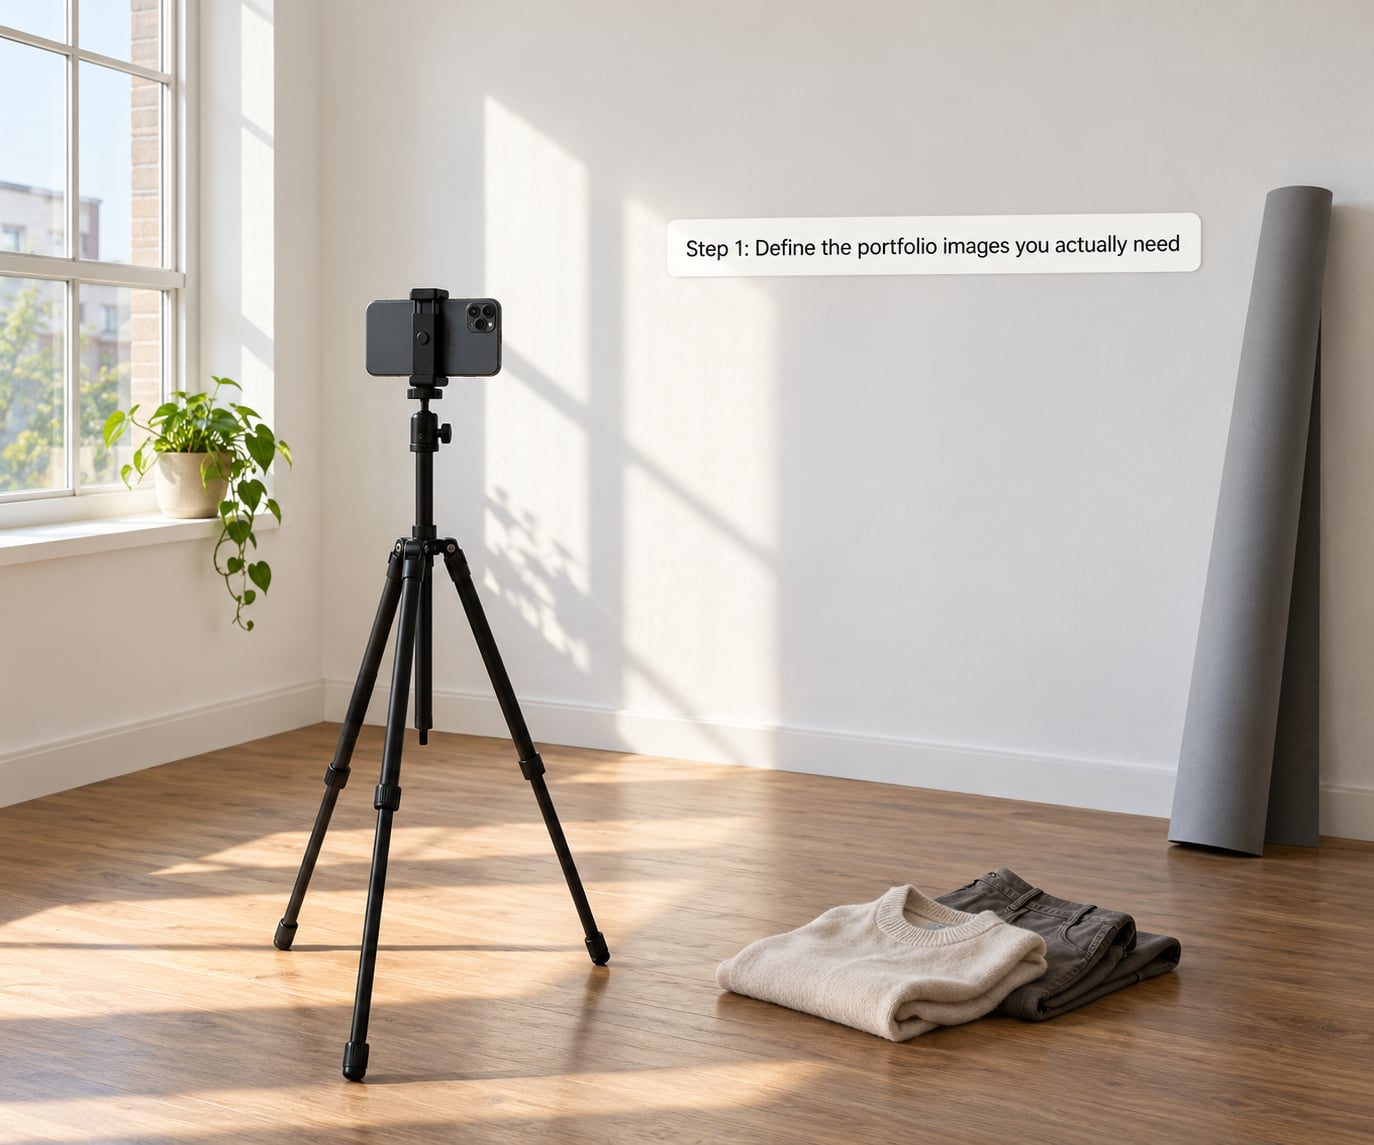
When people ask how to build a modeling portfolio on a budget, the image count is the first thing they overcomplicate. Six to ten strong images beat thirty mediocre ones. Casting directors scan a submission in seconds, so quantity does not help you, quality does. Every image in the set should show a different thing about how you work in front of a camera.
A reliable starter set looks like this:
- Front of book headshot — the image that opens your book, face straight to camera, neutral expression, plain background.
- 45-degree profile — shows the shape of your face from the side, which makeup artists look for.
- Three-quarter body shot — frame from mid-thigh up, a little movement in the pose.
- Full-body shot — standing, weight on one leg, hands relaxed, shoes visible.
- Smile shot — commercial and lifestyle clients book warmth, and this is where they look for it.
- One simple commercial look — clean clothing, straight camera, nothing styled. This proves you can sell a product.
Add one editorial-style image if you are chasing fashion work, and skip it if you are going after commercial and lifestyle bookings. Casting for fitness or plus-size work wants movement and shape instead, so swap the editorial frame for something athletic.
Step 2: Plan an affordable photo session
Most beginners can shoot at home for free, and photographers will often work for prints or for a copy of the images instead of a fee. Paying is normal too, but you should know exactly what is included before money moves, because quoted prices vary wildly and itemized pricing is the thing to look for.
Four routes, cheapest first:
- Self-shot digitals at home — natural light from a window, plain wall, tripod, free editor. This is how most new models start.
- Time for print (TFP) — you trade printed copies of the final images for the photographer’s time. Get the deal in writing, including how many prints, whether you get the digital files, and who owns the images.
- Student photographers — photography and fashion students build their books for free or near free. Offer a short session, a copy of your digitals, and a credit they can use in their own portfolio.
- Second shooters and assistants — people tagging along on bigger jobs often shoot test images for practice. Many will do it for free if you give them raw files to learn from.
Six questions to ask before you commit to anyone:
- What is the total price, and what is included in it?
- How many final edited images do I receive, and in what format?
- Do I get the raw files, and do I own the images?
- Is a model release included?
- Can I see examples of your digitals work with a real client?
- Can I see your own portfolio in person, and is any of that work yours?
That last question matters more than it looks. Some photographers show portfolios built from stock or stolen images. If you ask, you will usually find out fast.
Step 3: Take consistent, flattering test images
Consistency matters more than drama. Shoot every image in the same light, the same background, and roughly the same distance from the camera, so your book looks like one person on one day rather than five different people.
Set up facing a window with the light coming from the side, never straight into the lens. That gives soft shadows under the cheekbones instead of the flat, washed-out look you get from an overhead bulb. Keep your arms away from your body so your silhouette reads clearly in the full-body frame.
Photograph more frames than you need. Take a dozen variations of each pose, keep the best two, and move on. Beginners lose time by reshooting a single frame instead of just taking more cheap ones.
A walking or turning clip is worth adding too. A short reel showing you walk, turn, and settle into a pose tells a client more about runway ability in ten seconds than a still can.
Step 4: Edit images without looking overprocessed
Correction is fine, transformation is not. Adjust exposure so your face is evenly lit, warm the white balance until skin looks natural, add a touch of sharpness, and clear the background of clutter. Stop there.
Skip skin smoothing, slimming, eye enlargement, and heavy filters. Casting teams compare your submission against what you look like on the day of a shoot, and anything obviously retouched invites a question you cannot answer honestly.
On a phone in Lightroom Mobile, exposure, contrast, and white balance live on one screen under the three-dot menu on the edited image. Snapseed does the same job with the Looks and Tune Image tools. Both are free, and both let you dial a correction back down to zero, which is the most useful habit in editing.
Step 5: Build a clean portfolio layout
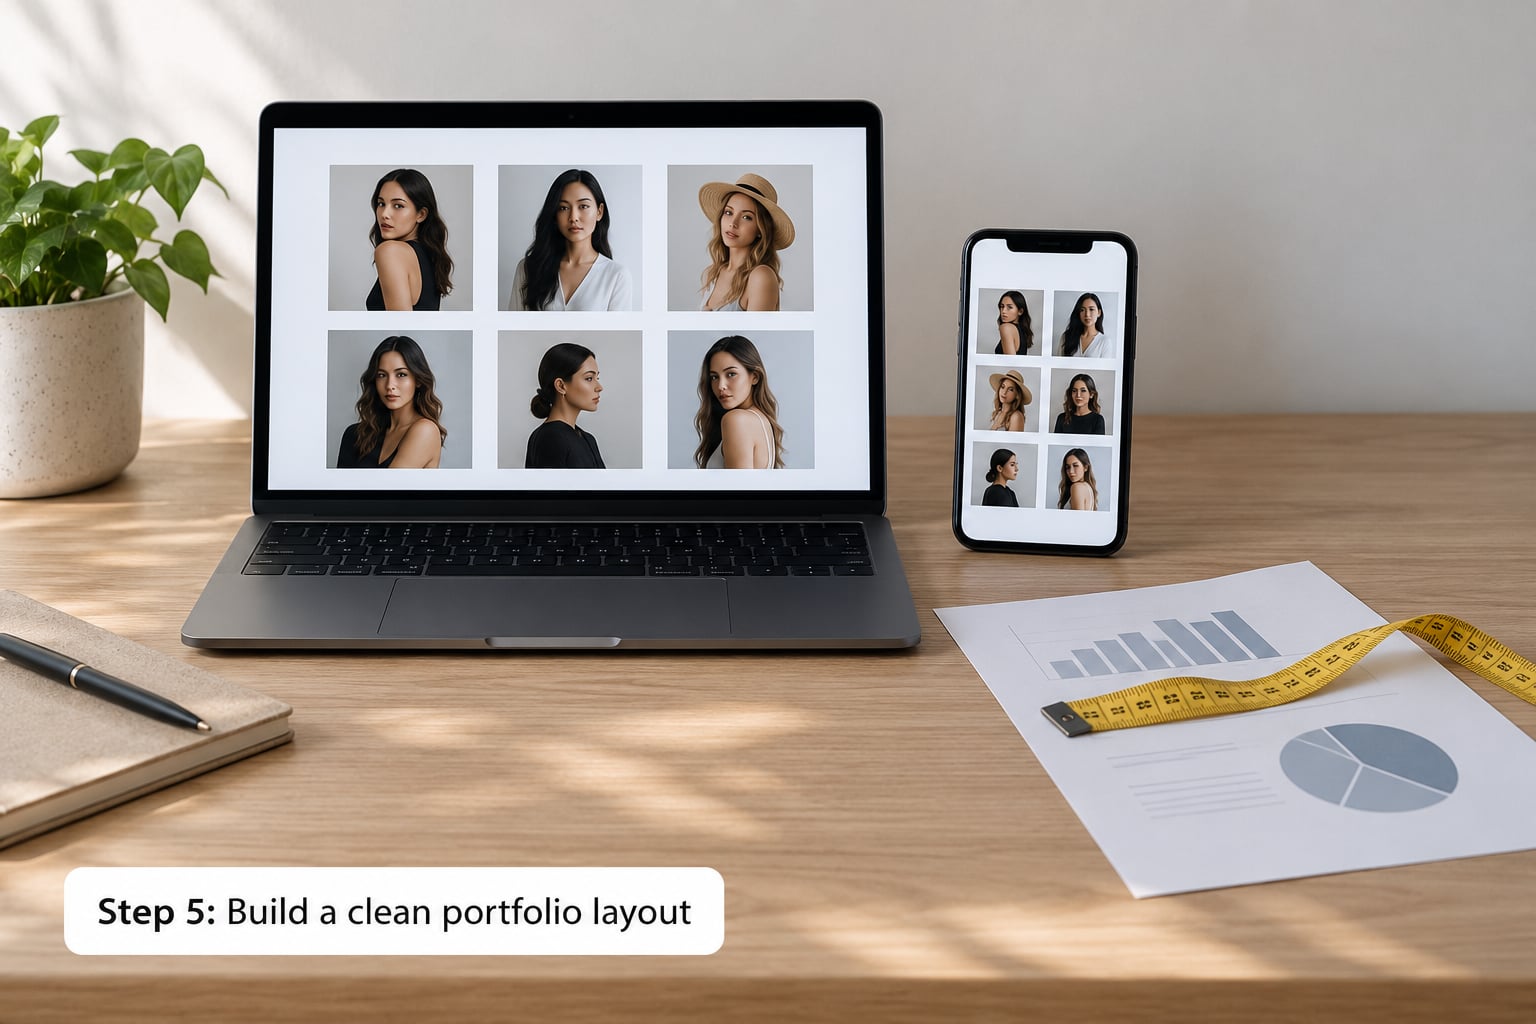
Your layout should get out of the way. Two or three images per screen, consistent crops, no decorative fonts, no logos, no text overlays, and no slideshow effects. Casting directors scroll fast and treat a cluttered book as a sign you do not understand the industry.
Put your name, height, measurements, shoe size, eye color, and hair color on the first page or the first screen. Agencies need those numbers before they need your biography. Measure with a tape measure and include the date the numbers were taken.
For hosting, Carrd, Adobe Portfolio, Behance, and Google Sites all have usable free tiers, and Canva works well for laying out a PDF. Modelvs and Pixpa are built specifically for models and handle image galleries and password-protected client access. If you buy anything, buy hosting after your images are finished, never before.
Decide between the two formats early. A PDF travels well in an email attachment and opens anywhere, which is what most agencies ask for in a first submission. A small website looks more professional and is easier to update as your images change. Many new models send both, with the link in the email and the PDF attached.
Step 6: Review and export a casting-ready file
Open your finished file on your phone before you send it anywhere. Most agencies view submissions on a phone, and a layout that looks fine on a laptop often breaks on a narrow screen with images cut off at the edges.
Then run the checklist:
- Every image is sharp, evenly lit, and unretouched beyond basic correction.
- Your name, current measurements, and a working email are on page one.
- Shots are grouped into categories such as commercial, editorial, and beauty.
- The file opens on both a phone and a computer without errors.
- The file name is professional, using your own name rather than something random.
- Total file size is small enough to attach to an email.
Export images at a size that loads quickly on mobile data. Anything around a thousand pixels on the long edge is plenty for an online book, and a compressed PDF built in Canva or Preview takes under a minute to make.
Set a reminder to refresh your digitals every six to twelve months, or sooner if your hair color, weight, or look changes. Agents notice, and current images prevent the most common rejection in the industry, which is outdated information.
Common Mistakes
Almost every rejected beginner portfolio has the same handful of problems, and all of them are fixable for free.
- Spending before testing. Paying for a full creative shoot with no idea whether the photographer is any good. Fix: shoot one short digitals session first, then decide.
- Over-editing. Smoothed skin and slimmed faces make you unrecognizable. Fix: correction only, and check the file on a phone where subtle changes vanish.
- Too many images. Thirty near-identical photos bury the two that work. Fix: cut to ten or fewer for a first book and add more only when you have genuinely new range.
- Stock or borrowed images. A portfolio full of someone else’s work is fraud and it ends the conversation immediately. Fix: only images of you, shot by you or by a real photographer you paid or arranged.
- No stats on page one. Agencies filter on numbers. Fix: name, height, measurements, shoe size, eye and hair color at the top.
- Paying to join an agency. Legitimate agencies sign models for free and earn from bookings. Anyone charging a sign-up fee, guaranteeing representation, or selling a comp card PDF for a fee is running a scam. Walk away and check the agency’s name and address before sharing anything.
- Pressure to send intimate images. If anyone asks for shots you are uncomfortable with, that is your answer. If you are under 18, have a parent or guardian at every shoot, every meeting, and every submission.
- Confusing a comp card with a portfolio. A comp card is a single printed stats sheet. A portfolio is the collection of images that shows your range. Agencies want both eventually, and you can make a card for free yourself.
One habit worth keeping: update your digitals every six to twelve months and add a new category each time you change direction, whether that is fitness, beauty, or commercial work.
Frequently Asked Questions
How much does it cost to build a modeling portfolio?
Most first portfolios cost nothing, because self-shot digitals plus a free editing app cover the whole job. Paid options run from a low budget with a student photographer working for prints, to a few hundred dollars for a mid-tier professional session with hair and makeup, and higher for a full creative shoot with several looks. Build the free version first, then upgrade only when a specific client or agency asks for a category you cannot show.
Can I use photos taken with a smartphone for my modeling portfolio?
Yes. Agencies care about clear, well-lit images of your face and body, not about which camera made them. A phone in natural window light, on a tripod, against a plain wall, produces exactly the digitals agents ask for. Many working models started with nothing but a phone. The images you submit first should be honest and unfiltered, with your real measurements, because clients compare them to how you look on the day.
How many photos should be in a beginner modeling portfolio?
Six to ten is the right range for a first book. A front-of-book headshot, a 45-degree profile, a three-quarter body shot, a full-body shot, a smile shot, and one simple commercial look will cover what most agents scan for. Add editorial frames only if you are targeting fashion work. More images do not help unless each one shows a different thing you can do.
Should I pay a professional photographer to build my portfolio?
Not yet. Agencies routinely tell beginners not to pay for a professional portfolio before they have any digitals to show. Shoot your own or arrange a time-for-print session with a student photographer first. Paying becomes worth it once you have a usable book and a specific gap to fill, such as beauty or fitness work, or once a client asks for a category you cannot show yet.
What file format should I send to modeling agencies?
A PDF is the safest choice, because it opens anywhere and cannot be altered by email filters. Most agencies want one file under about ten megabytes with images sized near a thousand pixels on the long edge, plus your name, measurements, and email on page one. A small website works too, and sending both is fine. Check the agency’s submission page, since some specify the format outright.
Is it better to make a PDF or an online modeling portfolio?
Start with a PDF. It needs no hosting, no domain, and no monthly bill, and it is what most first submissions ask for. Move to a small website once your images change often or you want clients to see categories you cannot fit in a few pages. A shared link to a private gallery is a good middle ground for client work later, since you control who can see it.
Conclusion
Here is how to build a modeling portfolio on a budget this week: pick six images you need, find a wall with good window light, shoot them on a tripod, correct the light without touching your skin, and export a small PDF with your measurements on page one. That is the whole job. Send it to a handful of agencies, take the feedback, and save your money for the category of work you still cannot show.