To take digitals for a modeling agency at home, put a phone on a tripod beside a window, face the light, wear fitted neutral clothes with no visible makeup, and shoot a short list of standard angles. Most first sets are rejected for lighting and clothing, not for the phone you used. An hour of careful setup beats a studio day.
Modeling digitals are a small set of unretouched photos — a headshot, a profile, a three-quarter view, full-body shots from the front, side and back, and usually one swimsuit image — that show an agency your face, skin, hair and body proportions honestly. Scouts spend a few seconds on a set before deciding whether to reply, so every frame has to work at a glance.
Here is the whole process, in the order it actually happens.
Table of Contents
- What You Need
- Step-by-Step: How to Take Digitals for a Modeling Agency at Home
- 1. Choose a Clean Background and Consistent Lighting
- 2. Set the Camera at Eye Level
- 3. Keep Makeup and Clothing Simple
- 4. Capture the Standard Digitals: Poses Agencies Look For
- 5. Take Enough Sharp, Unretouched Shots
- 6. Review and Export a Polished Set
- Common Mistakes
- Frequently Asked Questions
- Can I use a smartphone to take modeling digitals for an agency?
- How many digital photos should I send to a modeling agency?
- Do modeling agencies want makeup in digital submissions?
- What should I wear when taking modeling digitals at home?
- Should I use a filter or retouch my modeling photos?
- What poses should I include in a set of modeling digitals?
- Start With a Clean, Well-Lit Test Shoot
What You Need
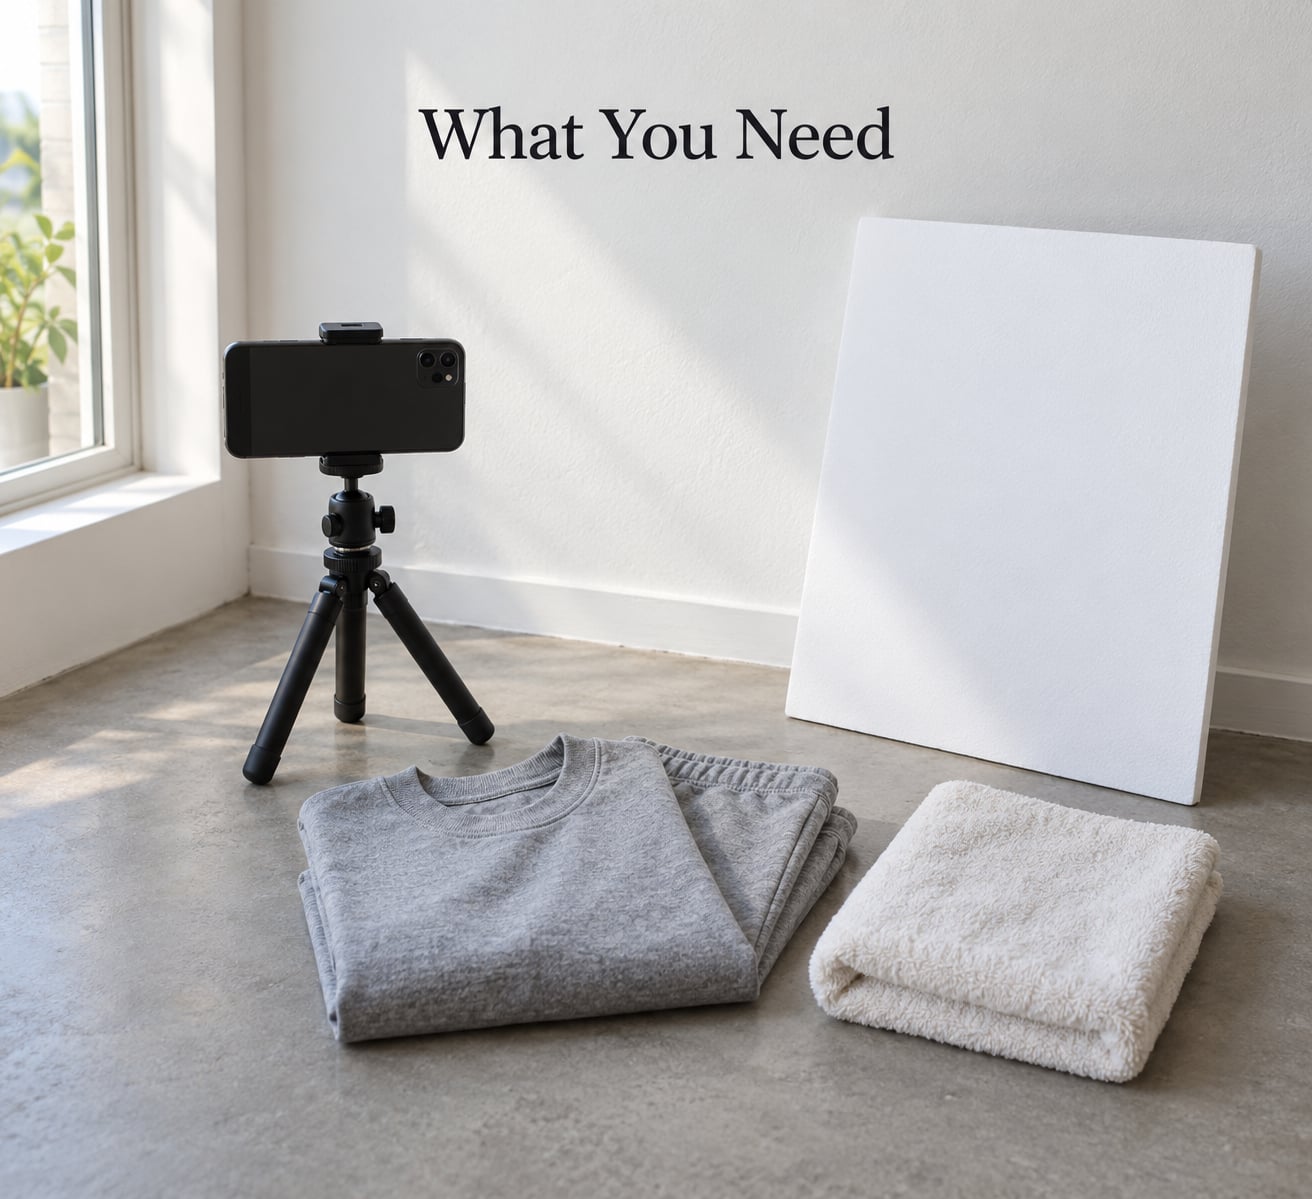
The gear list is short. Almost everything you need is already in the house, and none of it has to be new.
- A phone or camera with the rear lens, shooting at the highest resolution the device offers. Digital zoom is not a substitute for stepping closer.
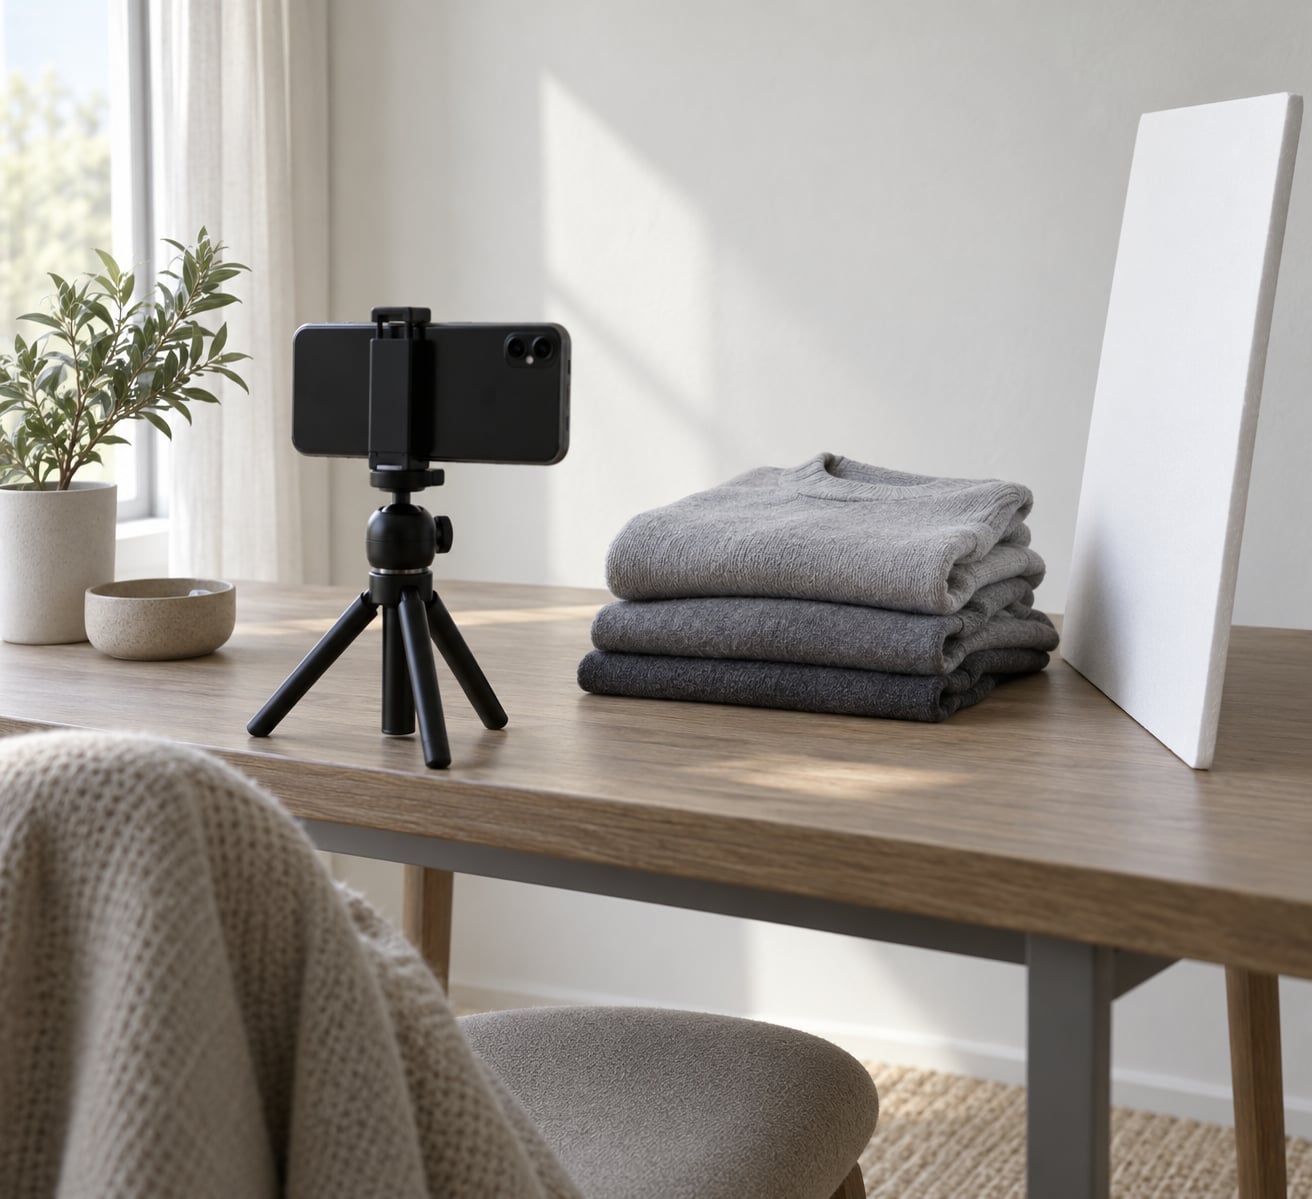
- Something to hold it steady — a small tripod, a phone clamp, or a stack of hard books on a shelf at chest height. A blurry full-body frame gets deleted instantly.
- A plain wall in white, light grey or soft beige, with enough clear floor to stand three paces back. Brick, wallpaper patterns and clutter all pull attention off your face.
- A window that gives soft indirect daylight. A white foam board or a sheet of white card propped opposite the window fills in shadow on the darker side of your face.
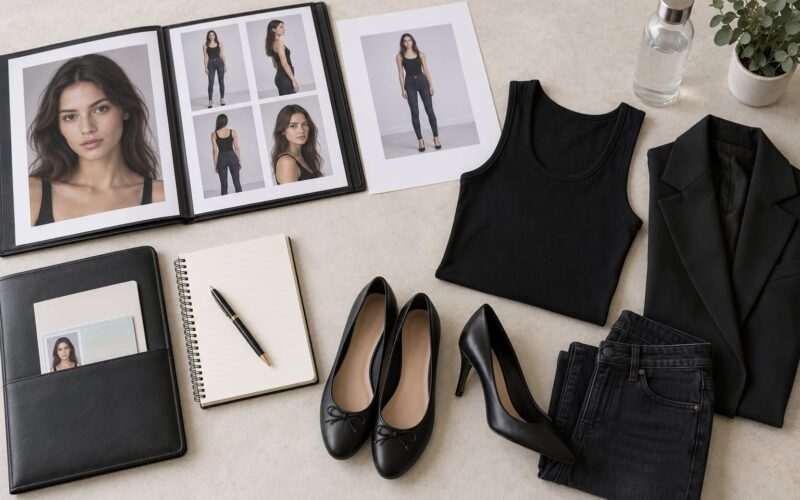
- Two or three fitted, logo-free outfits in neutral colors, plus plain closed-toe shoes in black or white and a standard one-piece swimsuit.
- A timer, remote or burst mode so you are not relying on shaky outstretched arms.
Five things make up almost every strong digital an agency sees:
- A simple background with nothing distracting in it.
- Natural, even lighting, mainly from a window, with no harsh shadow under the eyes.
- Minimal or no visible makeup, so your skin texture and real coloring show.
- Variety of angles — front, profile, three-quarter, and full body from several directions.
- Neutral, form-fitting wardrobe with no logos, rips or bright colors.
For clothing, build the set around simple pieces that show your shape without distracting from it:
| Look | Garment | Color | Notes |
|---|---|---|---|
| Everyday | Plain tank or crew-neck tee with fitted jeans | Black, grey, navy, white | Crew neck reads cleaner on camera than a deep v-neck |
| Full body | Plain short-sleeve top with straight or skinny trousers | Mid or dark neutral | Shows proportions from head to toe without a waistband cutting the line |
| Second look | Simple bodysuit or plain long-sleeve top | Solid, no pattern | Useful if you want one set that reads slightly more commercial |
| Swimsuit | Standard one-piece | Black, navy or plain | Cutie-cutie and embellished suits date the set and hide your lines |
| Shoes | Plain closed-toe flats, loafers or low heels | Black or white only | No sneakers, no logos, no bright soles showing in the back view |
Skip anything with a printed logo, a rip, a distressed edge, a busy pattern, or oversized proportions. A commenter on an r/MODELING feedback thread put it plainly about a set that had been sent to an agency: fitted pants and a fitted snug shirt, no logos or rips at all, and plain closed-toe shoes in white or black.
Step-by-Step: How to Take Digitals for a Modeling Agency at Home
1. Choose a Clean Background and Consistent Lighting
Stand a few feet in front of a plain wall with your back roughly a foot away from it, so the wall stays shadow-free behind you. Then face the window, with the light coming onto your face rather than from behind it.
Backlighting is the single most common home mistake. When the window is behind you, the camera sees a dark face and a glowing window, and the eyes go flat. Face the window, or turn about 45 degrees to it for a little shape. In r/MODELING feedback threads, the most repeated piece of advice on self-shot sets is exactly this: make the window the main light source and shoot facing it.
Work in indirect daylight, never direct sun. Direct sun through glass throws hard shadows under the eyes and across the cheekbones. Overhead ceiling lights and fluorescent tubes flatten the face and put grey shadows in the eye sockets, so switch them off. Morning and late afternoon give the softest light; midday sun is the hardest to work with.
Set up once and do not move. Change the outfit or the pose, but keep the light, the distance and the camera height identical, because a set with consistent framing looks professional and a set that jumps around looks careless.
2. Set the Camera at Eye Level
Put the camera at your eye level, about 6 to 10 feet away for a headshot and 10 to 12 feet for a full-body frame, in portrait orientation. Holding the phone at chest height tilts the framing upward and distorts how your proportions read. A level camera produces a natural modeling image because nothing about the perspective exaggerates or flattens you.
Lock focus and exposure before you start. On most phones, tap and hold the screen on your face once, then drag the brightness slider down a touch until the whites of your eyes and your skin are both holding detail. Locking it means every frame in the sequence gets the same brightness, which matters when an agency compares shots side by side.
Wipe the lens with a shirt hem before you shoot. A smudged rear lens is the reason a lot of good lighting looks soft, and it is the fastest fix in this whole guide. Then set a 10-second timer, use a Bluetooth or cable remote, or switch on burst mode and hold the shutter so one tap gives you several near-identical frames to choose from.
3. Keep Makeup and Clothing Simple
Agencies want to see your face, not a version of it. Keep makeup to bare skin — a light concealer on a spot if you want, a thin brow tidy, tinted lip balm and nothing else. Lipstick, eyeliner, false lashes, contouring and foundation all change how your features read and are the most common reason an agent asks for a redo. Several people in r/MODELING threads described submitting a set with visible makeup and being told to reshoot with almost nothing on.
If your skin is shiny, dust translucent powder over the T-zone a few minutes before you start. Bring lip balm and use it right before each take, because dry lips catch every bit of window light. Hair goes down and away from the face for one set and pulled back in a low ponytail for another, so the agency can see your jawline and cheekbones clearly.
Wear the fitted clothing from the table above and bring one backup option. Agencies often build a digitals sheet with several looks on it, so two or three plain outfits give the scout something to choose between.
4. Capture the Standard Digitals: Poses Agencies Look For
Shoot the list below in order, and start with the frames that need the most energy while you are fresh. Mark each one on your phone as you go so you can find the right frame later.
- Headshot, front, neutral expression. Shoulders square, arms down, weight even. This is the frame that goes on top of a comp card.
- Headshot, smiling. A real half-smile, not a posed grin. Teeth showing is fine.
- Profile. Turn a full quarter turn so the agency can read your bone structure and jawline.
- Three-quarter. Turn about 45 degrees instead of 90. This is the angle most often used on a model profile page.
- Waist-up, front and side. Useful for commercial and fitness work.
- Full body, front. Feet together or slightly apart, arms relaxed at your sides.
- Full body, side. True profile, whole head and both feet inside the frame.
- Full body, back. Turn around completely. Many scouts ask for it specifically to check posture and how a garment hangs.
- Swimsuit. Front and back, in the same light, so the set stays consistent.
Because nobody is behind the camera, cue yourself. Put your weight into the back leg so the front hip drops a few millimeters, keep the chin forward and slightly down rather than tucked, and let the shoulders drop away from the ears. Breathe out before each frame — tension shows up first in the jaw and the hands.
Shoot three or four micro-variations of each pose: a small turn of the shoulder, a shift of the chin, one expression change. Reviewers of self-shot sets consistently ask for a more relaxed pose and a more natural expression, and the easiest way to fix that is more frames, not more effort in a single frame.
5. Take Enough Sharp, Unretouched Shots
Plan on taking roughly three times what you think you need. If you intend to send eight images, that is about 24 to 30 frames across the whole list, and you should be discarding at least half of them.
Keep the photos unretouched. No filters, no skin smoothing, no face-tuning apps, no body reshaping — agents compare your set against what you look like in person, and heavily edited sets are a common reason for a request to redo. Allowed adjustments are basic ones: exposure, white balance if the light was slightly warm, a straight crop, and removal of a dust spot.
If you edited with a phone’s built-in camera app, check whether a filter was applied and turn it off before exporting. Portrait mode is another one to skip; it blurs the edges of your hands and hair in a way that reads as fake at small sizes.
6. Review and Export a Polished Set
Delete the blurred frames, the ones where your eyes are closed or half-closed, the duplicates from burst mode, and any frame where you can see a timer countdown or a reflection of the tripod. A set of 5 to 8 strong images is more useful to a scout than 40 mediocre ones.
Check that the set is balanced: a front headshot, a smiling headshot, a profile, a three-quarter, and full-body front, side and back in the same fitted outfit, plus the swimsuit. Crop everything to a consistent aspect ratio so the set looks like one shoot.
Export as JPEG rather than HEIC, since some agency systems will not open HEIC files from a phone. Keep full resolution, name the files clearly with your name and the shot — for example firstname-lastname-front-fullbody.jpg — and email them as attachments rather than as a link that can expire. Read the agency’s submission page first: some want a specific number of images, some want a form instead of an email, and some ask for measurements alongside the photos.
Common Mistakes
Almost every rejected self-shot set traces back to one of the rows below. Fix the setup first and the pictures usually improve on their own.
| Mistake | Why it hurts | Fix |
|---|---|---|
| Window behind you | Face goes dark, eyes lose detail | Turn to face the window, or 45 degrees to it |
| Overhead or fluorescent light | Flat skin, grey shadows under the eyes | Switch off, shoot in daylight near a window |
| Busy background | Attention goes to the wall, not the face | Move to a plain wall and clear the floor |
| Visible makeup or filters | Reads as an edited likeness, not you | Bare skin, lip balm only, filters off |
| Stiff, over-posed frames | Tension in jaw and hands reads as discomfort | Weight in the back leg, breathe out, shoot more variations |
| Logos, rips, sneakers, bright shoes | Steals attention from your proportions | Plain fitted pieces, black or white shoes |
| Inconsistent framing and brightness | The set looks careless | Lock exposure, keep camera height fixed |
| Sending two photos | Scouts have nothing to work with | Send the full shot list, 5 to 8 images |
Two more that come up constantly: chin tucked into the chest, which shortens the neck and hides the jawline, and hair falling across one eye, which halves the expression. Also resist the urge to shoot 60 near-identical frames of the same pose — the agency asked for variety, and twelve angles of one angle tells them nothing about how you move.
Finally, do not ignore the agency’s own requirements. If they specify a number of images, a swimsuit style, or a measurement sheet, follow their page rather than any general guide, including this one.
Frequently Asked Questions
Can I use a smartphone to take modeling digitals for an agency?
Yes. Most agencies accept phone images, and resolution stopped being the problem years ago. What matters is that the photos are sharp, evenly lit and consistent. Use the rear camera at its highest resolution, wipe the lens first, lock focus and exposure, and shoot from a fixed height using a tripod or a stack of books. A blurred or badly lit set gets rejected no matter how many megapixels it has.
How many digital photos should I send to a modeling agency?
Send 5 to 8 strong images covering the standard list: front headshot, smiling headshot, profile, three-quarter, full body from the front, side and back, plus one swimsuit shot. Shoot far more than that and select the sharpest, most relaxed frames. Never send two or three images, because scouts need enough angles to judge bone structure and proportions, and a thin set reads as an incomplete submission.
Do modeling agencies want makeup in digital submissions?
Almost never in a way anyone can see. The set is meant to show your real skin, coloring and features, so keep it to bare skin with a light concealer on a spot if you want and tinted lip balm. Visible foundation, eyeliner, lipstick and contouring are the most common reason an agent asks a model to redo digitals. If you need coverage for a blemish, use it and keep it minimal.
What should I wear when taking modeling digitals at home?
Choose fitted, logo-free clothing in neutral colors so the silhouette and proportions read clearly: a plain tank or crew-neck tee with fitted jeans, straight trousers, or a simple bodysuit. Add plain closed-toe shoes in black or white and a standard one-piece swimsuit. Skip rips, prints, oversized fits, sneakers and anything with a visible logo or bright color that pulls the eye off you.
Should I use a filter or retouch my modeling photos?
No filters and no retouching. Agencies compare your digitals against your face in person, so skin smoothing, face-tuning apps and body reshaping work against you. Safe adjustments are basic ones: exposure, white balance, a straight crop and removing a dust spot. If your camera app applies a filter by default, turn it off before you export, and skip portrait mode, which blurs your hands and hair.
What poses should I include in a set of modeling digitals?
Include a front headshot with a neutral expression, a smiling headshot, a full profile, a three-quarter view, waist-up front and side, and full-body shots from the front, side and back, plus a swimsuit front and back. Put your weight into the back leg, keep your chin forward and down, drop your shoulders, breathe out before each frame, and shoot three or four small variations of every pose.
Start With a Clean, Well-Lit Test Shoot
Read the agency’s submission page before you pick up the phone, set up one corner with a plain wall and a window facing you, and shoot a single short test set. Then pick the strongest, most natural frames from it. That one test pass is where you learn whether your light is even and whether the phone is steady, before you spend an afternoon on the full list.
Refresh your set about every six months, or sooner after a significant haircut, weight change, or a move into a different division such as commercial, plus-size or fitness work. Learning how to take digitals for a modeling agency at home is a repeatable process, and the second set you shoot will be far quicker than the first.