Wobbling in heels is not really a strength problem, it is a pattern problem. How to walk in heels on a runway without wobbling comes down to four things: a stable shoe-and-foot setup, a tall spine with an engaged core, a narrow heel-to-toe stride down a fixed center line, and a gaze that never drops to the floor.
Most beginners try to fix wobbling by gripping harder, which tightens everything and makes it worse. The wobble is also invisible to the person doing it, so practicing without feedback locks the fault in rather than out.
Here is the method I would hand anyone preparing for a casting or a show. Ten focused minutes a day for three to four weeks usually gets you from counting every step to walking without thinking about it.
Table of Contents
- What You Need
- How to Walk in Heels on a Runway Without Wobbling: Step-by-Step
- Start With a Stable Shoe-and-Foot Setup
- Build a Balanced Stance
- Practice a Small, Deliberate Step
- Coordinate Arms, Hips, and Torso
- Find Your Runway Pace and Rhythm
- Rehearse Turns, Stopping, and Walking Back
- Use a Repeatable Runway Warmup
- Common Mistakes
- Quick Tips for Runway Confidence
- Frequently Asked Questions
- What heel height is easiest for learning how to walk in heels on a runway without wobbling?
- How long should I practice runway walking before an event?
- Can I practice runway walking in unfamiliar shoes?
- Where should I look while walking on a runway?
- What should I do if I start wobbling during a live runway walk?
- How can I stop and pose at the end of a runway without twisting my feet?
- Conclusion
What You Need
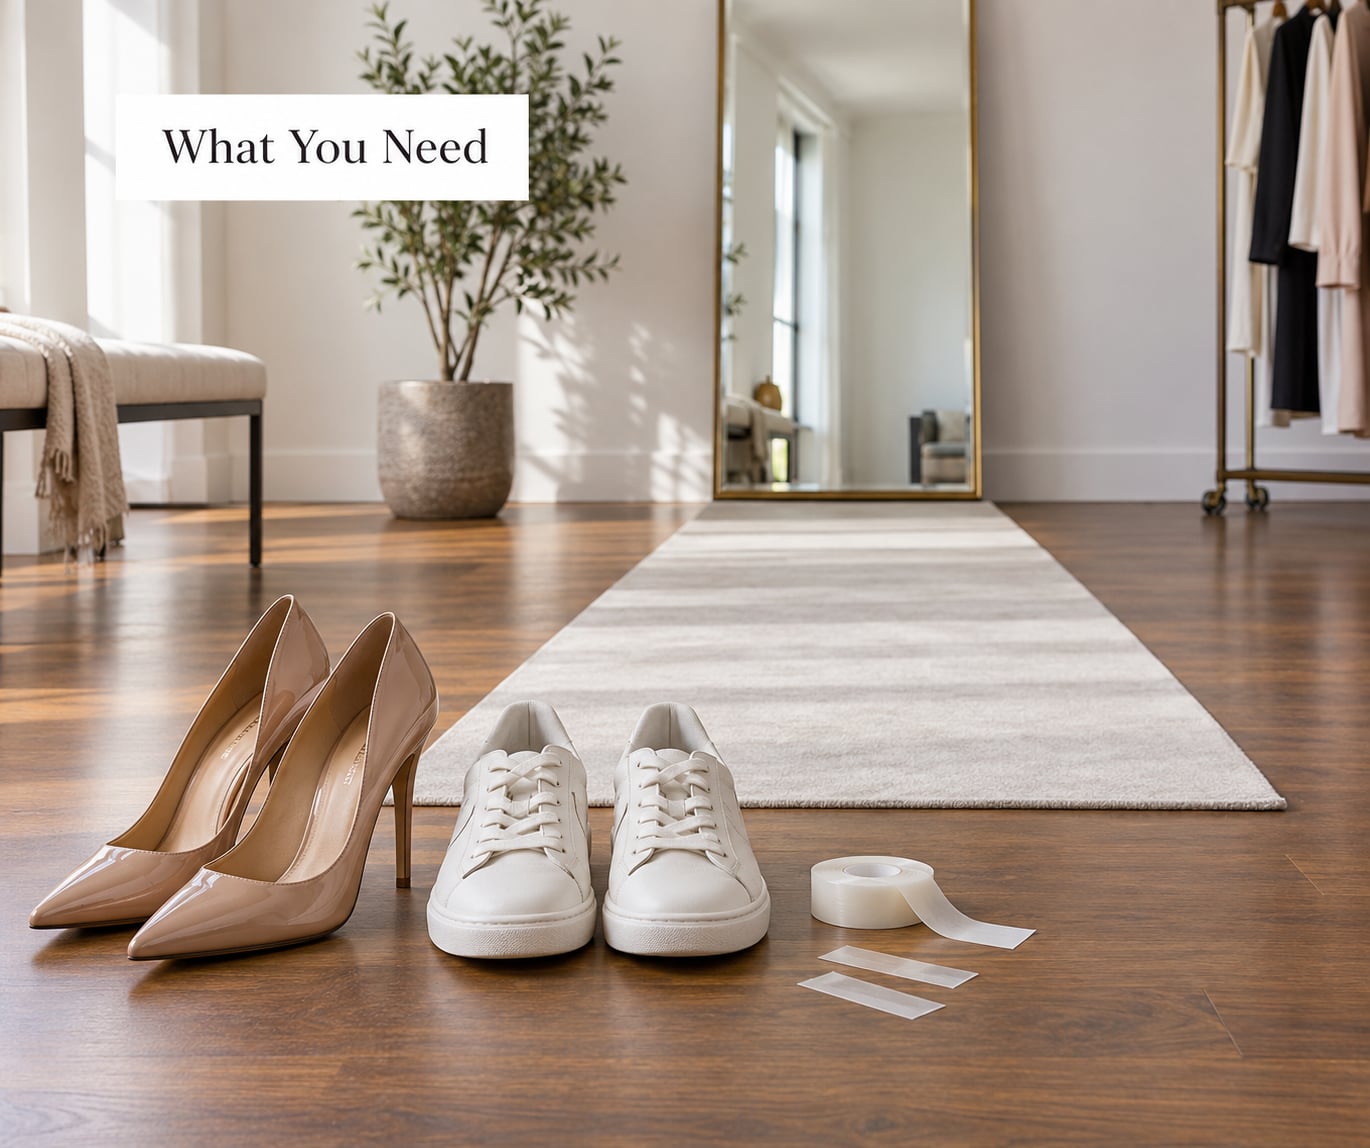
You need very little, and most of it is free. The gear matters less than having a marked path and a way to see yourself.
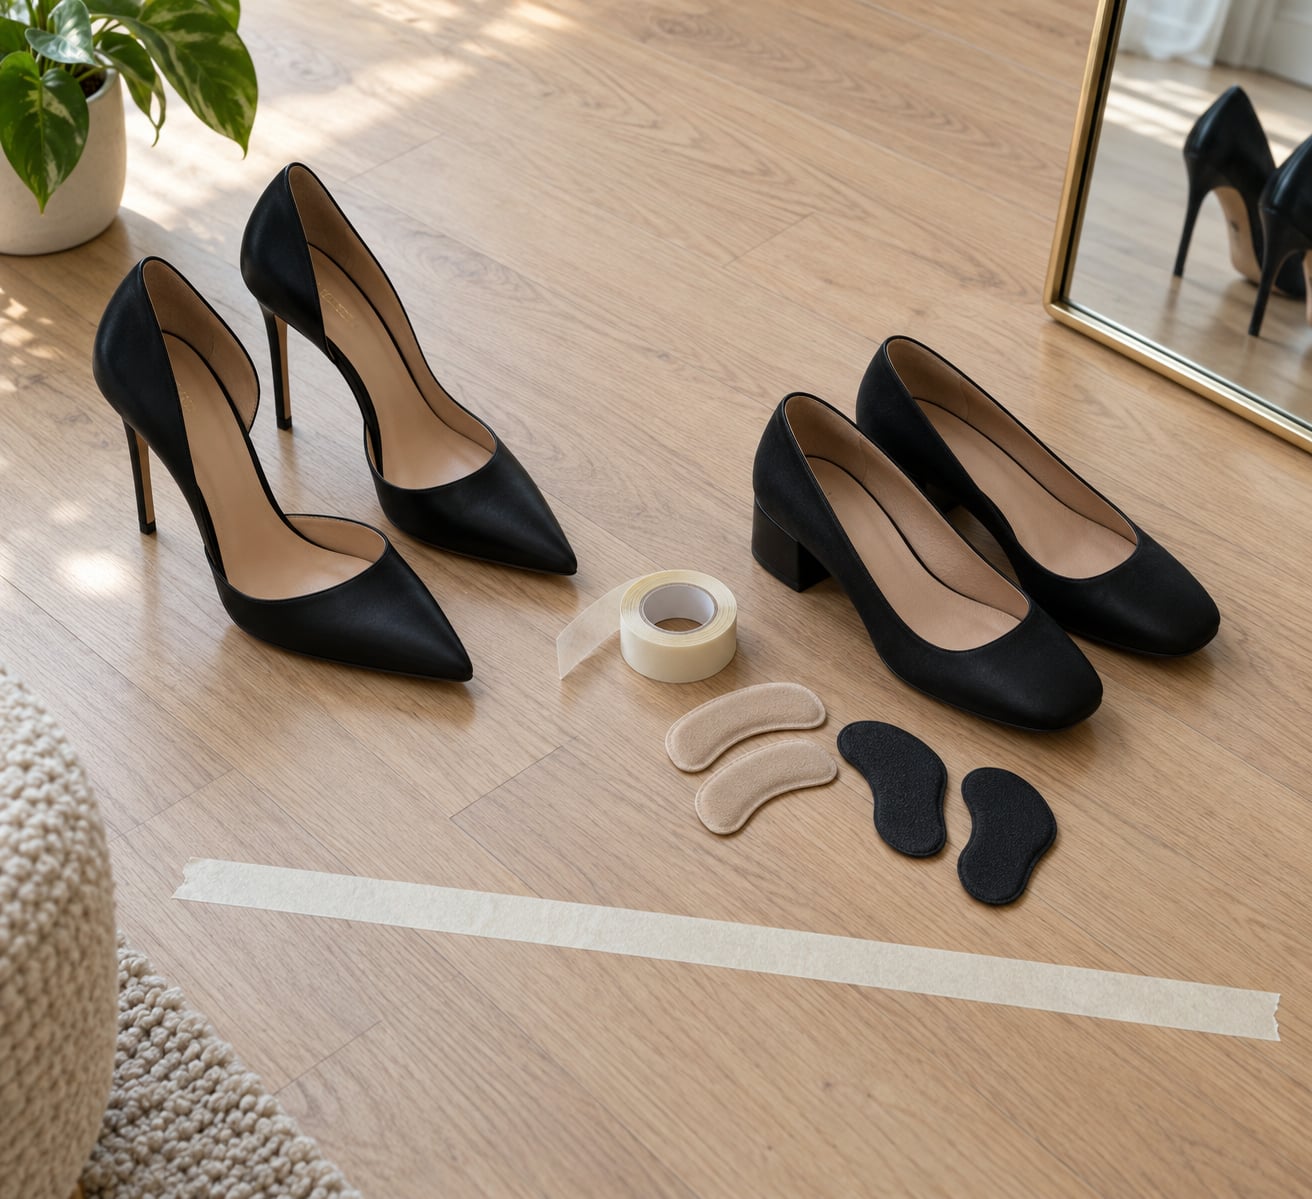
- Shoes matched to your experience. Start with a low block heel or kitten heel of about 2 to 3 inches, with a broad base. A slim heel is harder to balance in and tells you nothing useful while you are still learning foot placement.
- A second pair for practice. Train in the comfortable pair and rehearse the show shoe once a week, never as your only session.
- A rehearsal path. Masking tape on a hard floor is enough. A hallway, a strip of carpet or the edge of a rug all work. Mark a line about 6 to 10 metres long.
- Small shoe fixes. Heel grips, anti-slip sole pads, moleskin or blister pads, and three-quarter insoles for arch support take up almost no room in a bag.
- A mirror or your phone. One full-length mirror is enough to start. A phone on a chair at hip height gets you the front and side angles you actually need.
- Clothing that lets you see your hips. Fitted trousers or a second skin layer. A bulky coat hides exactly the feedback you are trying to get.
Try shoes on late in the day, when feet are slightly larger. If your toes are compressed against the front of the shoe, no amount of technique will fix the wobbling that follows.
How to Walk in Heels on a Runway Without Wobbling: Step-by-Step
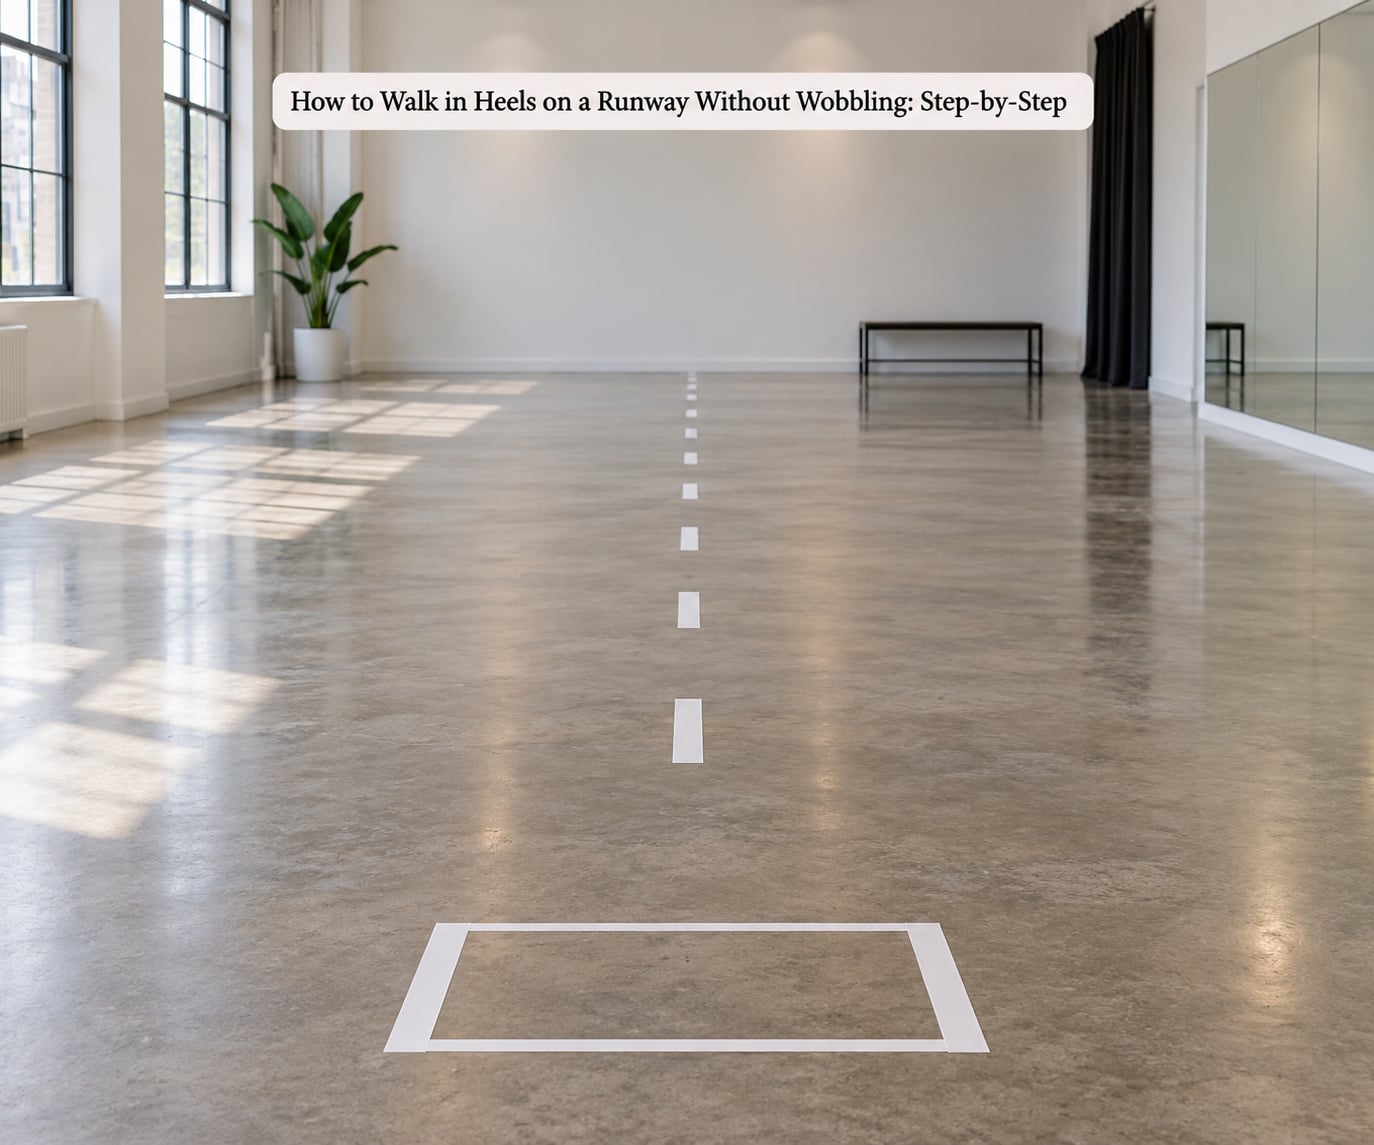
Work through these in order. Each one only works if the one before it is already automatic, because a wobbling foot makes a wobbly torso impossible to control.
Start With a Stable Shoe-and-Foot Setup
Walk to your taped line in the heels, stop, and set your foot fully into the shoe before anything else happens. The heel sits flush against the back of the shoe, not partway forward, and the toes rest near the front without being pushed into it.
Put a heel grip in the back and a pad under the ball of your foot. If the shoe has an open side or a strap that shifts when you walk, add a strip of fashion tape across the instep. Loose fit is the single most common cause of wobbling that people try to fix with posture.
Once the shoe is secure, shift your weight so most of it sits through the ball of your foot with the heel lightly touching. You are not on your toes. The heel stays in contact, ready to take the first step.
Build a Balanced Stance
Stand on your taped line with feet about hip-width apart and knees soft, not locked. Soft knees absorb the small corrections that would otherwise travel straight up your spine.
Then lengthen. Imagine a string lifting the crown of your head toward the ceiling, which coaches a long spine rather than a slouch or a backward lean. Shoulders roll back and down, chest open, ribs down over the pelvis. Your weight sits evenly between both feet.
If you feel the balance mostly in your ankles, that is normal at first. Hold the position for 30 seconds, then check: are your knees drifting inward, or is your torso tipping forward? Those two directions need different corrections.
Practice a Small, Deliberate Step
This is the highest-leverage drill in the whole method, and it is where the center line matters. Walk the taped line barefoot first, making each foot land slightly ahead of the other, then walk it in the heels.
Keep the steps shorter than your normal walk. Overstriding in heels pushes you onto a narrow base and you will feel yourself tipping. Land through the heel, roll smoothly through the arch, and push off the ball of the foot into the next step.
Walk the line ten times and then film yourself from the side. Check three things: does the toe land slightly before or after the heel, does the knee travel forward rather than inward, and does your shoulder stay level across the step.
One r/MODELING poster described the change best after six months of feedback-driven practice: a pelvic tilt and more arm control without thinking about it, and less flair in the walk. That is the direction. Restraint reads as high fashion, not stiffness.
Coordinate Arms, Hips, and Torso
Let your arms hang loose and swing gently in front of your hips. Stiff arms held rigid at the sides make every wobble obvious, and a small swing tells the audience you are moving forward on purpose.
Keep your shoulders quiet. The moment they lift toward your ears the upper body tightens, and tight shoulders pull the balance forward.
Your hips should stay level and mostly square to the line rather than swinging side to side. You will also hear the advice to cross one foot fully over the other, which is a real runway convention. For straight-line walking and for everyday use, an r/tango commenter put it better: move into a straight line, push off in the step, and do not over-cross. Practice both, but learn the straight line first.
Find Your Runway Pace and Rhythm
Runway pace is faster than a normal walk and slower than marching. Set a metronome around 60 to 80 beats per minute and step once per beat until the rhythm is in your body.
Pick a spot point ahead of you, level with or slightly above the far riser, and keep your eyes there. Looking down to check your feet is the fastest way to lose balance, and it reads as nerves from the front row.
Breathe. Holding your breath locks your ribcage and stiffens the torso. A steady exhale on every other step is enough to keep the rhythm and calm the upper body.
Rehearse Turns, Stopping, and Walking Back
Most people rehearse the walk down and skip the end of it, which is exactly where nerves show. Practice the whole sequence: approach, three shortened steps, pivot, pose, stop, walk back.
The turn happens on the ball of the front foot. Lift the back heel, rotate on the ball, and let the shoulders follow after the hips have already turned. Telegraphing a turn, shifting the shoulders first, reads as hesitation.
At the pose, keep both feet on the floor and your weight even. Do not twist either foot inward to make the pose look wider. Then walk back down the opposite side of the runway with the same pace and gaze you used on the way out.
Use a Repeatable Runway Warmup
Run this eight to ten minute sequence before every rehearsal, and again backstage before a show.
- Ankles and calves, two minutes. Slow ankle circles each direction, then 15 calf raises holding a wall.
- Single-leg balance, two minutes. Stand on each foot for 30 seconds in your practice heels, knee soft.
- Core, one minute. Plank, then slow standing holds with a slight pelvic tilt to practice the long line.
- Center line, two minutes. Three clean walks down the tape at metronome pace, arms loose.
- Turns, two minutes. Five ball-of-foot pivots, five poses, five walks back.
- One full run, one minute. The exact sequence you will perform, start to finish, with no stopping.
Backstage, cut the warmup to the single-leg balance holds and one full run. That is enough to wake the ankles up without tiring the legs you are about to use.
Common Mistakes
Each of these has a specific cause behind it. Find the one that matches what your footage shows rather than trying them all at once.
- Looking at your feet. Your head tips forward and the whole stack follows. Correction: set a spot point and keep your eyes there for an entire walk, even when it feels unnatural.
- Stiff arms held against the body. Arms act as a balance system, so locking them removes one of your stabilisers. Correction: swing them loosely in front of the hips, elbows soft.
- Overstriding. Long steps land you forward of the base of support. Correction: shorten the stride until the line looks deliberate rather than hurried.
- A shoe that shifts or slips. The foot moves inside the shoe, so the ankle compensates. Correction: heel grips, sole pads and tape before you rehearse, not after.
- No weight transfer. Walking heel-to-heel without pushing off the ball leaves you heavy and back-leaning. Correction: practice rolling through the arch and pressing off the forefoot.
- Rushing the pace. Speed increases the wobble, not the confidence. Correction: walk slower than feels right, then speed up only once the slow walk is clean.
- Holding your breath. The ribcage locks and the upper body stiffens. Correction: exhale on every other step and keep breathing through the pose.
- Heels too high too early. A slim heel above your skill level makes every other fault worse. Correction: drop back to a block heel at a height you can hold for a full minute.
Quick Tips for Runway Confidence
Film yourself, because wobbling is invisible from the inside. Set your phone at hip height about four metres back for a front angle, then at the end of the line for a side angle. Walk the line three times and review one take. Look for shoulder level, knee tracking, toe landing and arm swing, not for how you feel.
Give the footage a pass criterion so it stops being a mood check. A take passes if your shoulders stayed level and your knees tracked forward on all three walks. Anything else is data, not a verdict on you.
Use a spotter when you can. A friend standing at the end of the line watching your feet gives you the feedback you cannot get yourself, and ten minutes of that beats an hour of blind practice.
Walk the space before the show. Ten minutes in the actual venue, in the actual shoes, on the actual surface, tells you more than a week of hallway rehearsals. Marble clicks, carpet adds drag, and uneven ground shortens your stride.
Bring a backup pair. A flat shoe or a lower block heel backstage is the difference between finishing the show and limping to the exit. Keep it with your garment bag, not in a taxi.
Lower the stakes before you walk. Slow your breathing, loosen your hands, and think about the spot point rather than the audience. Composure is a decision about attention, and it shows.
Frequently Asked Questions
What heel height is easiest for learning how to walk in heels on a runway without wobbling?
Start at 2 to 3 inches with a broad block or kitten heel. A wider base gives you a larger support area, so small ankle corrections do not travel up your body. Slim heels of 4 inches and above are a reward for weeks of clean work in lower shoes, not a starting point.
How long should I practice runway walking before an event?
Three to four weeks of short daily sessions is the usual honest timeline, and more than that for thin heels. Ten focused minutes a day beats an hour once a week, because the pattern you are building is motor, not endurance. Rehearse in the show shoes at least three times in the final week, never for the first time backstage.
Can I practice runway walking in unfamiliar shoes?
Yes, but treat the first wear as a fit check, not a rehearsal. Walk ten steps, stop, and check for heel slippage, toe compression and instep movement. Fix anything loose with heel grips, sole pads or tape before you try to walk the line. Familiarity with a shoe arrives faster than you expect once it stops shifting.
Where should I look while walking on a runway?
Pick a spot point at the far end of the runway, level with or slightly above the riser, and keep your eyes there for the whole walk. Looking down checks nothing useful and pulls your head and shoulders forward, which is exactly the instability you are trying to avoid. For a turn, let your gaze travel with the turn rather than snapping to the floor.
What should I do if I start wobbling during a live runway walk?
Do not stop and do not look down. Shorten your next two steps, press through the ball of the foot and keep walking at the same pace. Most wobbles are a single bad step, and the audience cannot see what you felt. If you have a pose coming, use the pause to settle your weight evenly before the turn.
How can I stop and pose at the end of a runway without twisting my feet?
Take three shortened steps to slow down, then pivot on the ball of the front foot with the back heel lifted. Keep both feet flat on the floor in the pose and distribute your weight evenly between them. Twisting a foot inward to widen the pose is the most common cause of a twisted ankle at the end of a run.
Conclusion
Start tonight with a short, controlled run: secure shoes, a taped line on a hard floor, and ten clean walks at a slow pace before you think about speed. Film one take from the side, check your knees and shoulders, and fix what the footage shows rather than what you felt. Repeat that session daily and the wobble starts to disappear on its own.