To iron a dress shirt correctly, work in one order: collar first, body last, on a shirt that is slightly damp, at the heat setting its care label allows. Ten focused minutes gets you a crisp collar, flat placket and wrinkle-free sleeves. The whole thing rests on three things — the right temperature, a damp (never soaking) shirt, and never touching an already-pressed panel a second time.
Ironing is one of those chores people get wrong for years without noticing, because a rumpled shirt still looks wearable. Push the sleeves flat, work the yoke, and the difference shows up the moment you put it on.
Table of Contents
- What You Need
- What heat setting to use for each fabric
- Step-by-Step
- How to iron a dress shirt correctly
- How to iron the collar correctly
- How to iron the cuffs correctly
- How to iron the sleeves and body without wrinkles
- How to finish and hang the shirt
- Common Mistakes
- Ironing bone-dry
- Pressing in the wrong order
- Skipping the pressing cloth
- Using too much heat
- Running the iron over buttons
- Over-starching
- Hanging a damp or unfinished shirt
- Frequently Asked Questions
- Should you iron a dress shirt inside out?
- Should a dress shirt be damp when you iron it?
- How do you get shine marks off an ironed shirt?
- What do you do with stubborn wrinkles an iron will not remove?
- How long does it take to iron a dress shirt?
- Conclusion
What You Need
Gather these before you start, because stopping halfway to hunt for a spray bottle is how shirts end up half-pressed.
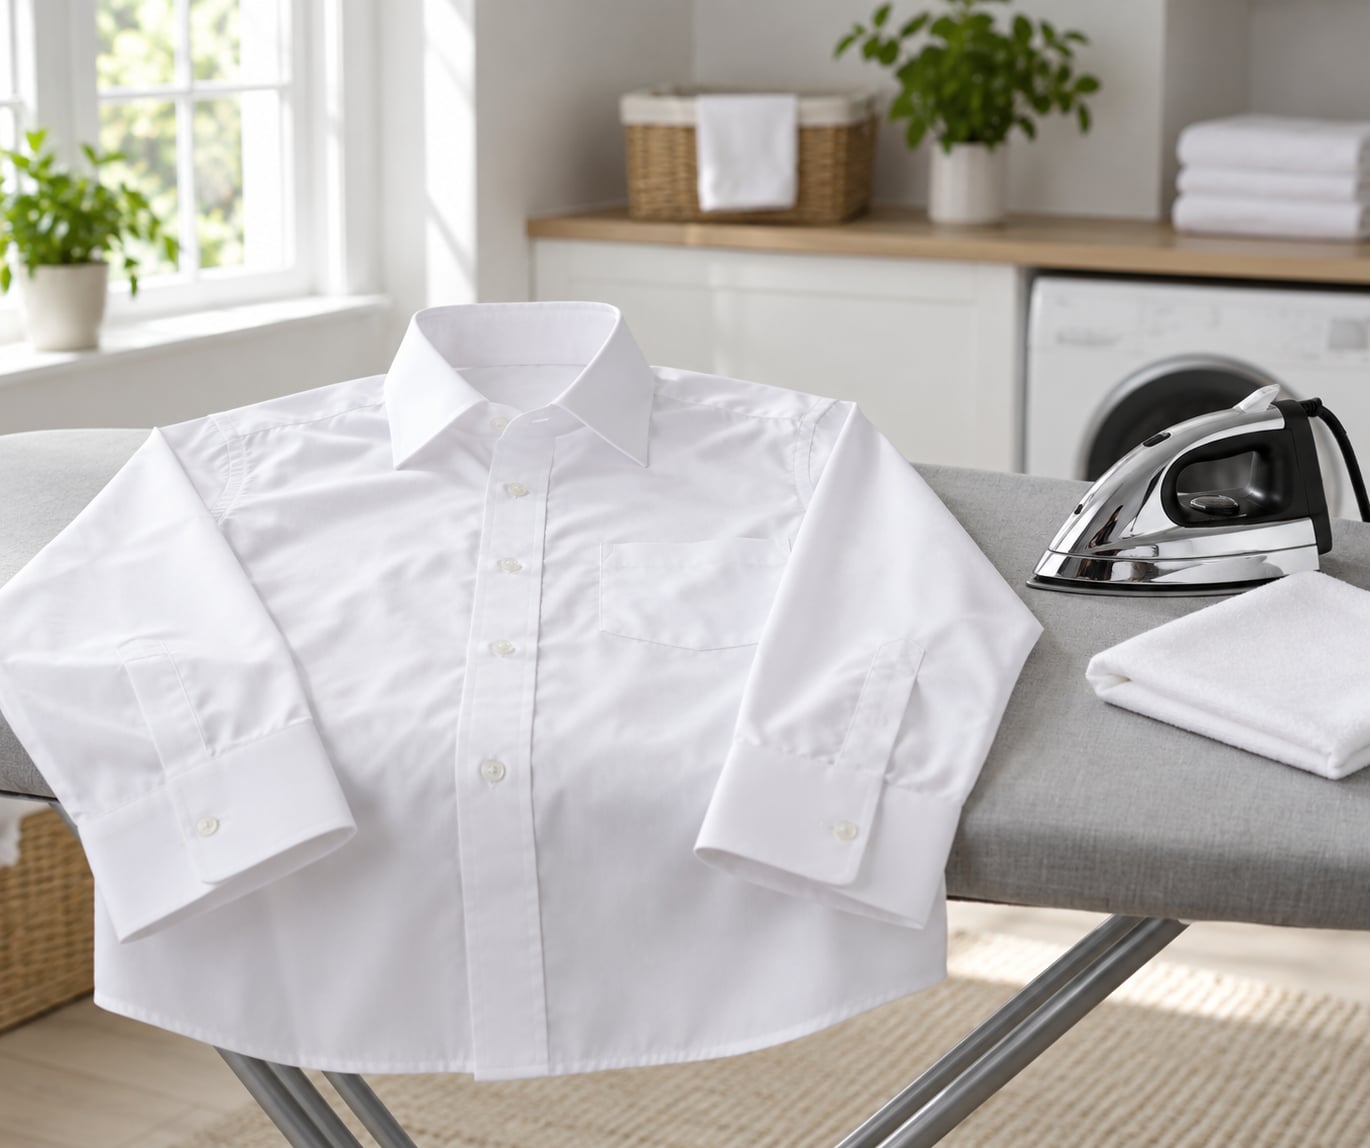
- A steam iron with a variable heat dial. A heavy iron holds temperature better than a cheap plastic-bodied one.
- An ironing board with a narrow rounded nose, or a board with a detachable sleeve board. The narrow end is what lets you get into the sleeve and the space between buttons.
- A spray bottle filled with plain water for dampening cotton and linen.
- A clean pressing cloth — a thin cotton tea towel or muslin square. Non-negotiable on synthetics, dark colours and anything printed.
- Spray starch or sizing, optional. It stiffens a collar and cuffs and is the main reason a laundered shirt looks freshly bought.
- A wide, padded hanger, with a hook you can reach without stretching.
Set the board so your shoulder is relaxed and you can slide the iron without leaning on it. Hang the empty hanger somewhere within arm’s reach before you start, so the finished shirt goes straight up instead of landing on the floor.
What heat setting to use for each fabric
Care labels use ironing dots: one dot means low heat, two dots medium, three dots high. No dots at all means do not iron — steam it instead.
| Fabric | Heat setting | Steam | Notes |
|---|---|---|---|
| Cotton poplin | High (three dots) | Full | Wants a damp shirt. Handles starch well. |
| Linen | High (three dots) | Heavy | Wrinkles easily, so dampen properly and press firmly. |
| Polyester and synthetics | Low to medium (one to two dots) | Light | Always use a pressing cloth and keep the iron moving. |
| Silk | Lowest setting | None | Pressing cloth mandatory, iron inside out, or steam only. |
| Wool and viscose blends | Low (one dot) | Light | Pressing cloth recommended; press, do not scrub. |
Step-by-Step
How to iron a dress shirt correctly
Start with a damp shirt. Hang it in the bathroom after a shower or run a light spray of water over it, then lay it flat on the board. Bone-dry cotton fights you and never fully flattens; soaking wet cotton scorches and sets creases.
Set the iron using the care label, and let it heat fully before the shirt touches it. Unbutton every button except the top one, including the cuffs and collar, so the fabric lies flat instead of bunching around fastenings. Turn the thin yoke panel down at the back first — it sits away from the main body and gets out of your way.
Keep the iron moving in long, steady strokes. Resting a hot soleplate on the same spot is how you get a scorched mark or a shiny patch, and pressure matters less than people think. A firm press with a moving iron flattens fabric; leaning on the iron just scorches it.
How to iron the collar correctly
The collar is the part everyone sees, so do it first while your hands are still steady. Unbutton it, lay it flat, and press the underside first, working from the outer points toward the centre. Start at the points and pull gently toward the middle; this flattens the roll without rounding it off.
Flip the collar right side up and repeat, pressing lightly. Then press only the centre back of the collar, from the hinge down to the button. Do not run the iron flat across the whole collar band — that presses a hard ridge across the front, and the collar stops rolling. Give it a short burst of steam instead.
If your shirt has removable collar stays, take them out before pressing so they do not warp, and put them back in afterwards. Keep the top button buttoned while the collar cools and it will hold its shape all day. Buttoning it at the end is what keeps a soft roll from flattening out.
How to iron the cuffs correctly
For barrel cuffs, open them fully and lay the cuff flat on the board. Press the inside first, then flip and press the outside. Work from the folded edge outward so the placket stays straight, and stop at the button hole rather than running the iron across it.
French cuffs need a different move. Unbutton them, fold the cuff so the button holes and the French button face each other, and press both layers together in one go. It takes thirty seconds and it is the difference between a flat cuff and a wrinkled strip of fabric.
For either style, use the pressing cloth if the shirt is dark or synthetic, and keep pressing from the outer edge toward the fold so the cuff stands up rather than lying flat like cardboard.
How to iron the sleeves and body without wrinkles
Lay one sleeve flat on the board with the underside seam running along the nose of the board. Press from the cuff toward the shoulder in one direction only, using the seam as your guide. Backing up over the same line sets the crease deeper; a sleeve puckers when you push the fabric sideways instead of stretching it taut, so keep gentle tension on the far end.
A sleeve board is the upgrade here. Without one, stop your strokes an inch short of the fold at the cuff so you do not press a sharp line into it.
Now align the sleeve with the body panel so they lie as they will when worn, and turn the shirt as a whole rather than dragging the body around. Iron the front placket around each button, never over it — plastic buttons melt, corozo cracks, and even a cloth button picks up a permanent dent. Then smooth the torso, working down from the shoulders, followed by the side seams and the back panel.
How to finish and hang the shirt
Hang the shirt immediately on the padded hanger while it is still warm and button the top button. Heat is still relaxing the fibres at this point, and gravity finishes the job as it cools.
Give it about ten minutes before you put it on. Anything still creased after that can be touched up with a burst of steam, but most of it disappears on its own. If you have to put it on warm for a meeting, smooth it down your sides with flat hands and it will settle.
Common Mistakes
Almost every disappointing ironed shirt comes down to one of these seven things.
Ironing bone-dry
Damp fabric relaxes, dry fabric resists and gets scorched. Dampen the shirt and wait a few minutes for the water to soak in evenly.
Pressing in the wrong order
Beginners usually iron the body first, then finish the collar. Laying a finished panel back down re-creases it. Always work smallest to largest.
Skipping the pressing cloth
Shine happens when flat fibres get flattened by heat and pressure. A cotton cloth between iron and shirt prevents it entirely.
Using too much heat
If the care label says medium, high heat will glaze the fabric or leave a mark that does not come out. Move down a dot before you move up.
Running the iron over buttons
Work down one side of the placket and up the other, with the buttons in the gap. Never park a hot iron on one.
Over-starching
Sizing goes on thin and from the inside. Too much makes the fabric stiff, brittle and prone to yellowing, and it can flake onto dark shirts.
Hanging a damp or unfinished shirt
Wrinkles set as the shirt dries. Hang it warm and fully pressed, and let it cool before you button everything or fold it.
A scorched spot cannot be fully reversed. Shine can often be improved: dampen the area, lay the shirt face down on a thick towel, and press from the back with a pressing cloth at a lower setting. Hold a barely damp white cloth against the patch and press again — that lifts flattened fibres more often than people expect.
For wrinkles an iron cannot reach, steam beats pressure. A handheld steamer works better than an iron on synthetics, jersey and velvet, and anyone selling secondhand clothes tends to steam rather than press for exactly that reason. If you have no steamer, hang the shirt in a steamy bathroom for ten minutes and flatten it by hand, or put a damp towel with the shirt in the microwave in 20-second bursts — take it out and shake it between each go, and use a cotton or linen towel only.
Beginners should expect five to ten minutes for a full collar-and-sleeve pass. Anyone who claims a perfectly crisp shirt in three minutes is lying slightly, but you can get a presentable one that fast if you skip starch and iron the large panels flat in one pass each.
Frequently Asked Questions
Should you iron a dress shirt inside out?
For the body and placket, yes. Pressing the back of the fabric protects against shine, keeps button dents off the front and hides scorch marks while you learn. For the collar and cuffs, iron right side up, because that is how you see and control the roll and the edge. If you only have time for one choice, turn the shirt inside out and press the body last.
Should a dress shirt be damp when you iron it?
Slightly damp, not wet. Cotton and linen press beautifully when damp because the water lets heat relax the fibres before they dry. A soaking wet shirt steams too much, scorches easily and can shrink. Polyester and silk want the opposite, dry or barely misted, since moisture plus heat is what makes synthetics spot or glaze.
How do you get shine marks off an ironed shirt?
Shine is flattened fibre, so it is often partly recoverable. Lay the shirt face down on a thick towel, dampen the shiny area lightly, and press from the back with a clean pressing cloth at one dot lower than you used before. Hold a barely damp white cotton cloth against the patch and press again. A scorched or yellowed mark will not lift; only time or a new shirt fixes that.
What do you do with stubborn wrinkles an iron will not remove?
Stop adding heat and switch to steam. Hang the shirt in a steamy bathroom, run a handheld steamer over it from the inside out, or use the bathroom-shower trick with a damp towel. Then flatten the fabric with flat hands and lay the shirt flat or on a hanger to dry. Deep-set creases from sitting in a car seat often need two steam passes rather than more pressure.
How long does it take to iron a dress shirt?
Allow five to ten minutes when you are learning the order. With practice the same shirt takes about three minutes if you skip starch, spray rather than soak, and iron each large panel flat in a single pass. The collar and cuffs take about a minute together. Add ten minutes at the end for cooling on the hanger before you put the shirt on.
Conclusion
Start with the care label and set the heat there. Dampen the shirt, unbutton it, and then work in the same order every time: collar, cuffs, sleeves, body, hang to cool. That sequence is the whole trick — it means you never re-crease a panel you have already finished, and the shirt stays flat for the rest of the day.