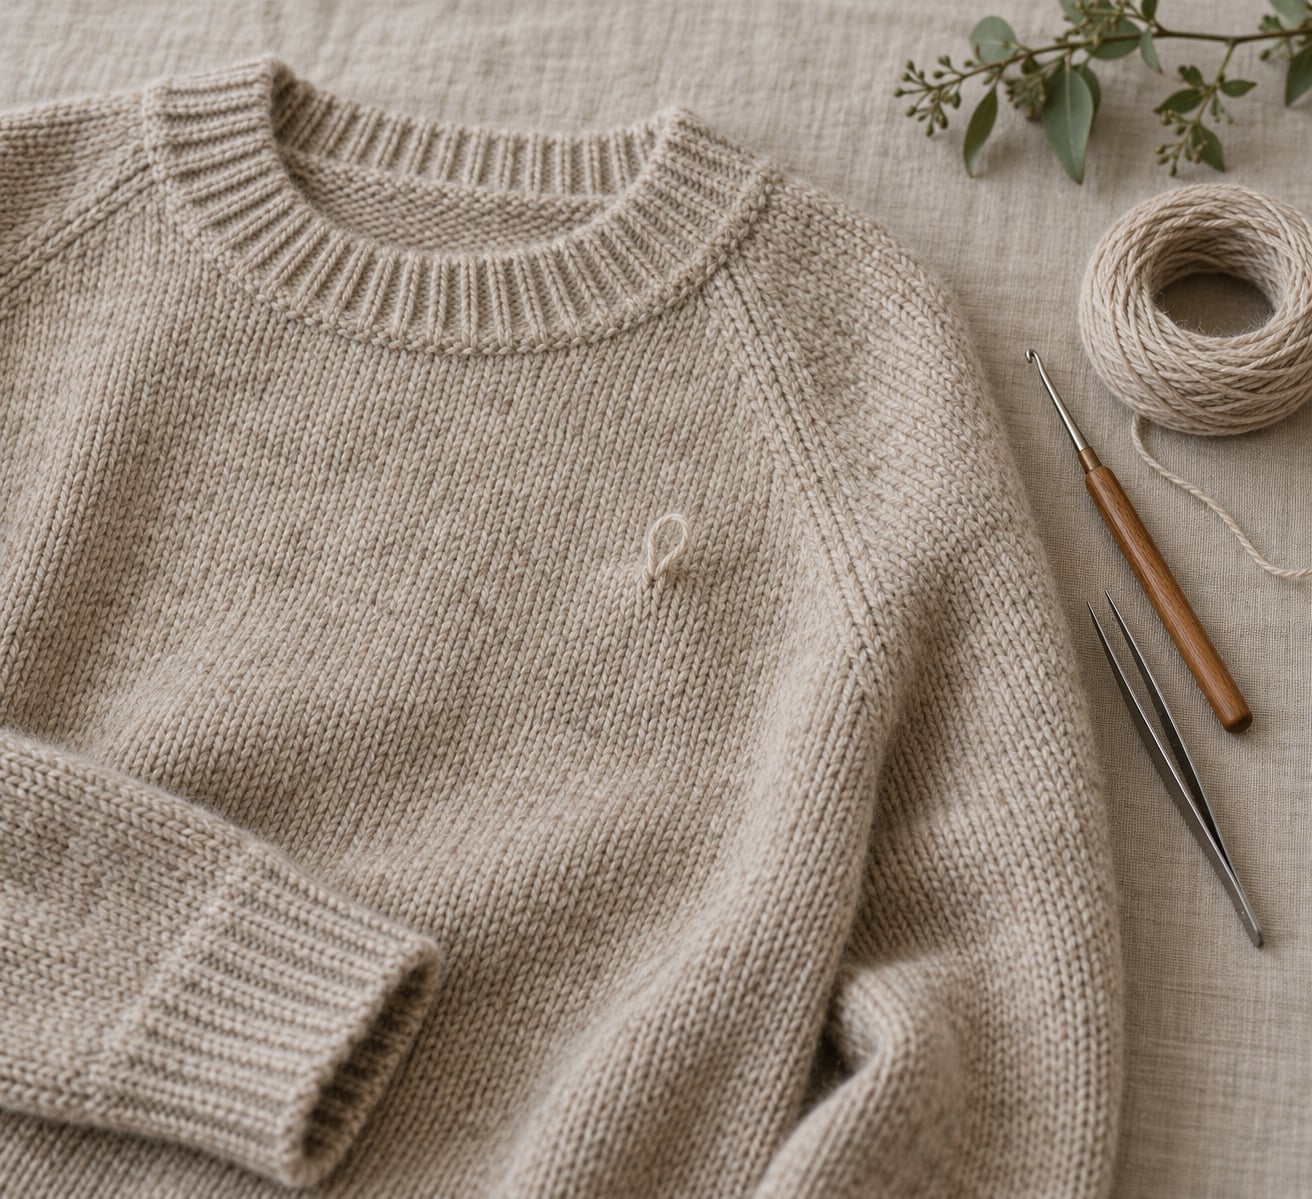
Knowing how to fix a snag in a knit sweater takes about two minutes and one blunt needle: you pull the loose loop through to the inside, the wrong side of the garment, and smooth it flat. The one rule that matters is that you never cut a snag with scissors. Cutting converts a fixable loop into a hole that does not close.
A snag happens because knit fabric is made of interlocking loops, so one loop dragged out of place drags its neighbours with it. Usually the yarn itself is completely intact. That is good news, because an intact loop can go back exactly where it started.
This guide covers the method that works on almost every knit, plus how to tell a snag apart from a pulled thread, a broken yarn and an actual hole, and how much tension each fiber will take.
Table of Contents
- What You Need
- Step-by-Step
- Inspect the Snag and Choose a Repair Method
- Decide How to Fix a Snag in a Knit Sweater by Fiber Type
- Release the Snag Without Enlarging the Hole
- Secure Loose Yarn and Close Small Openings
- Block the Area and Check the Repair
- Mistakes That Ruin a Repair
- Common Mistakes
- Frequently Asked Questions
- Can I wash a sweater after fixing a snag?
- How do I fix a snag in a cashmere sweater?
- What is the best way to hide a repair in a knit sweater?
- Can I repair a sweater that has a large hole from the snag?
- Should I take a valuable sweater to a professional for repair?
- Conclusion
What You Need
You need very little. Most snags come back into place with something pointed and blunt, and the whole job takes less time than making tea.
- Small sharp scissors — only for trimming thread ends after the repair, never for cutting the snag itself.
- Fine sewing needles in several sizes — a blunt tapestry or darning needle is ideal; a sharp needle works if you are careful.
- Smooth embroidery thread in a matching color — for anchoring a loose tail or closing a small opening.
- Tweezers — for gripping a loop you cannot get a hook around.
- A seam ripper — useful for cutting away a knit-in pill that is holding the snag in place.
- A small comb or sweater brush — for working fuzz and pills out of the surface after the repair.
- A soft blocking mat — a towel on a flat surface works fine for laying the sweater down.
You also have three no-tool options that genuinely work. A bobby pin pushed through the snag draws the loop to the back. A paper clip or a straight pin does the same job in a pinch. A toothpick is the gentlest option for fine-gauge cashmere: waddle up the snag into a small bundle, then poke it through from the right side.
Step-by-Step
Lay the sweater flat on a table with the right side facing up and good light on the area. Working on a dark sweater under a lamp helps enormously, because a snag is a shadow before it is a thread.
Inspect the Snag and Choose a Repair Method
Before you touch anything, find out what you actually have. Four things get called a snag, and only one of them is a snag.
| What you see | How to confirm it | What to do |
|---|---|---|
| Loose loop on the surface | Yarn is unbroken; a loop sits across the fabric and catches a fingernail | Pull it through to the wrong side with a hook or blunt needle |
| Pulled thread | The knit is visibly thinner or tighter over a patch, often several rows wide | Work the stitches back one row at a time from about an inch either side |
| Broken yarn | There is a fuzzy cut end, a gap, or a hole in the middle of the fabric | Anchor both ends and darn across the gap from the inside |
| Small opening or hole | You can see through the fabric or slide a fingernail into the gap | Close it with small invisible stitches on the wrong side |
| Pilling | Small fuzzy balls gather over the area | Remove the pills first, then release the snag |
Test the area gently before you cut or pull anything. Lift the loop with a fingertip and let it go. If it springs back toward the surface, you have a loose loop. If the whole patch feels tight and thin, you have a pull, and the repair is slower.
Decide How to Fix a Snag in a Knit Sweater by Fiber Type
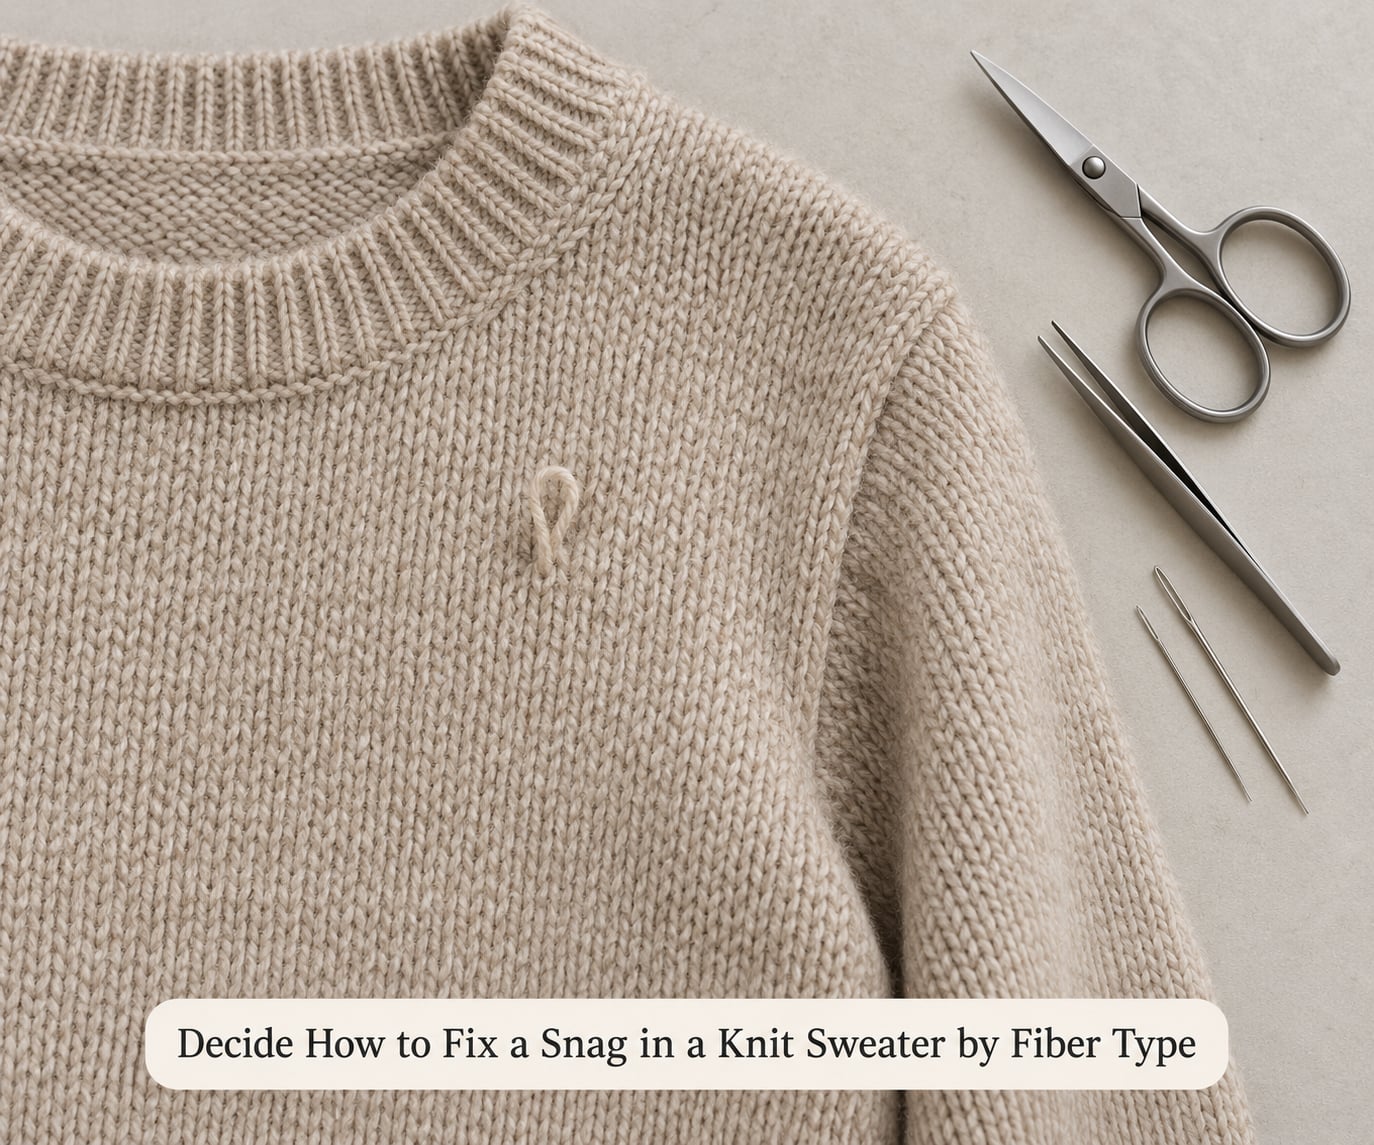
The method is the same for every fiber. What changes is how hard you pull and which tool you use.
| Fiber | Tension | Best tool | Typical failure |
|---|---|---|---|
| Cashmere | Very light | Fine crochet hook or toothpick | Loops stretch and stay out of place |
| Mohair | Very light | Toothpick or blunt needle | Surface fuzz hides the snag and traps the loop |
| Merino and wool | Light to moderate | Crochet hook or tapestry needle | Overpulling distorts the rows around it |
| Alpaca | Light | Fine blunt needle | Yarn splits and frays instead of moving |
| Silk | Lightest | Fine needle, no force | Slipped loops tighten into a permanent pucker |
| Cotton knit | Moderate | Blunt tapestry needle | Cut ends fray visibly and need trimming |
Fine-gauge knits are the ones to slow down for. If the yarn is thinner than the eye of your needle, switch to a toothpick rather than forcing a larger tool through and stretching the loop wider than the stitch.
Release the Snag Without Enlarging the Hole
Insert the crochet hook from the wrong side of the sweater, directly behind the snag, and push it through to the front. Hook the loose loop, then draw it back through to the inside where it belongs.
Pull slowly. You are moving a loop, not ripping it out, so steady pressure beats a hard tug. If the loop resists, stop and work from the other direction rather than pulling harder.
For a snag trapped under a pill, remove the pill first with a sweater comb, a seam ripper held flat, or a razor used carefully against a hard surface. A snag held down by a knot of fuzz will keep springing back until the fuzz is gone.
If the snag sits in a patch that looks stretched, hold the fabric about an inch on each side of it and give a gentle pull in opposite directions, working one row at a time. People who knit do this instinctively, and it is the fastest way to redistribute loops without a tool.
Secure Loose Yarn and Close Small Openings
Once the loop is on the inside, you may have a short tail left against your hand. Thread a fine needle with matching embroidery thread and work it through two or three intact stitches on the inside of the fabric, right next to where the tail sits.
Anchor the loose yarn under those stitches, then take two or three small stitches across the opening itself from the wrong side. Keep every stitch on the inside of the garment, and keep them loose enough that the fabric does not pucker.
Knot close to the fabric rather than in the air, then trim both ends close with your small scissors. Cut only thread you have placed yourself. Anything already part of the knit stays.
Where a knit has opened into a small gap and the yarn did not break, a dab of fabric glue or clear nail polish on the inside holds the tail in place while you work. Let it dry fully before you steam or wash anything.
Block the Area and Check the Repair
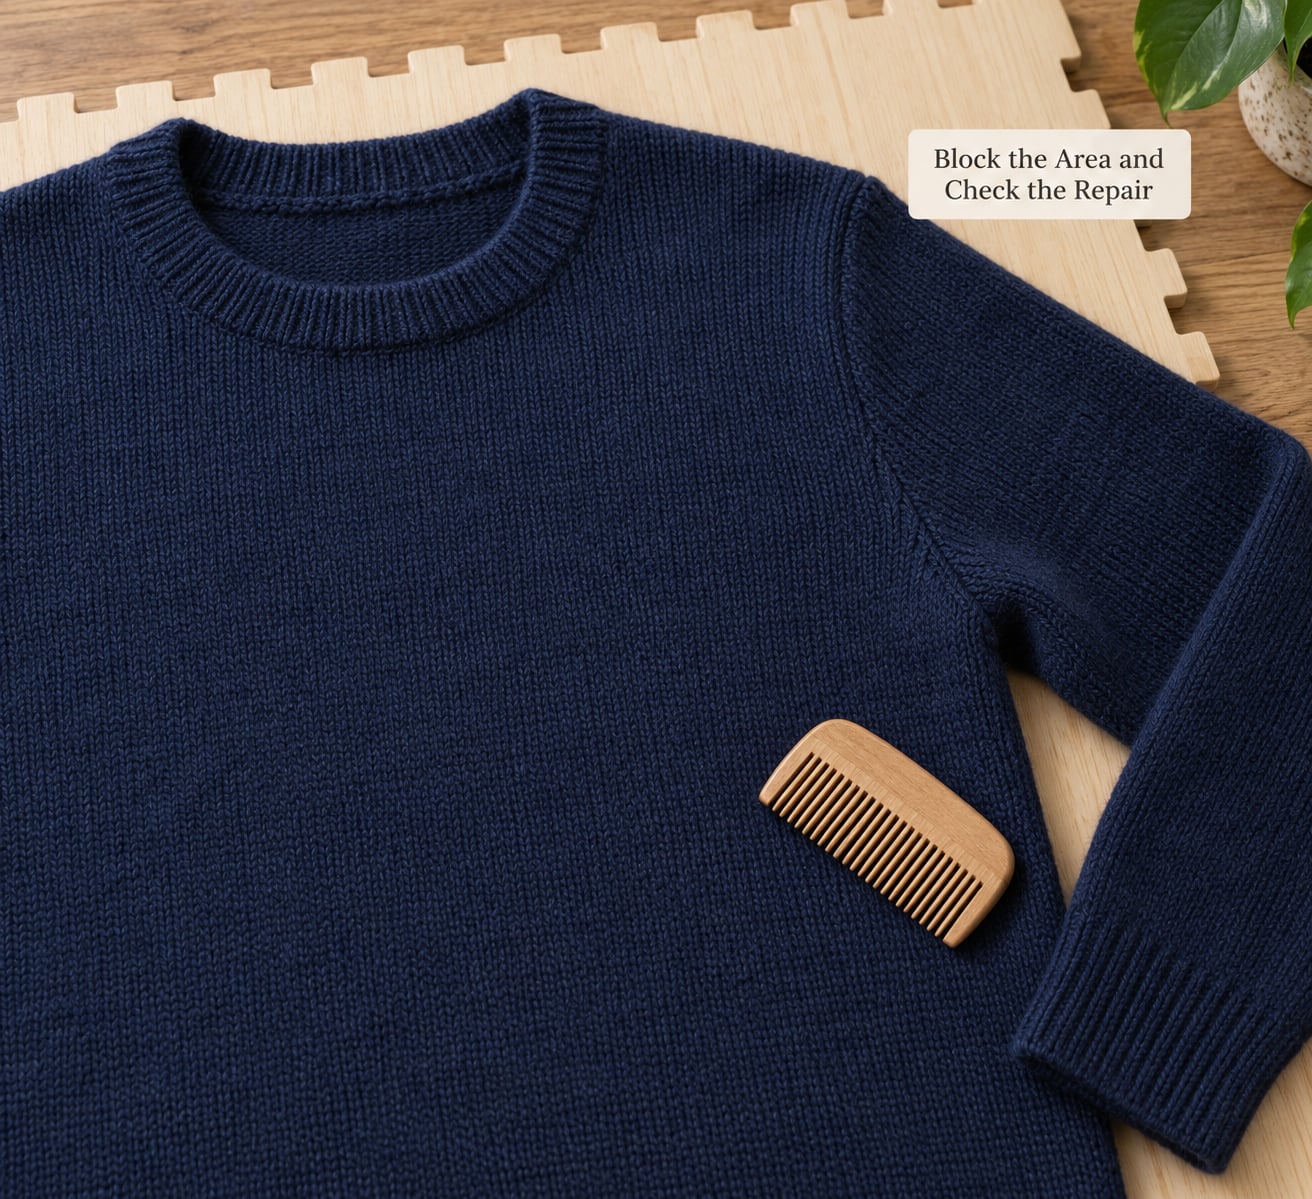
Comb the repaired area with a small comb or sweater brush so the surface fibers lie in the same direction as the surrounding knit. Pinch and massage the stitches gently between your thumb and forefinger until the rows match the ones on each side.
Lay the sweater flat, following the care label, and leave it until the area sits level with the rest of the fabric. A light steam from a steamer held a few inches away relaxes the loops and helps them settle back. Hold the steamer away from wool and cashmere long enough that the fabric stays merely damp rather than wet.
Then check it the way a snag checks itself. Run a fingernail lightly across the repair. Wear the sweater for an hour and see whether it catches on a necklace, a coat zipper or a car seatbelt. If it does not catch, the repair is done.
Mistakes That Ruin a Repair
Cutting the whole snag is the big one. Scissors take the loop out of the knit permanently and leave a hole that grows when the garment is washed. If you must cut anything, cut only thread ends you tied yourself.
Sewing through the front of the garment leaves visible stitches on the face of the sweater. Every stitch goes in from the wrong side and comes out from the wrong side.
Thread that is too thick shows through the fabric and announces the repair. Match the yarn weight instead of the yarn type, and when you cannot match it, choose something a shade finer rather than heavier.
Pulling too tightly cinches the row and leaves a puckered dent that is more obvious than the original snag. Stitches should close the gap, not draw the surrounding fabric together.
Treating every snag as a snag sends you into the wrong fix. A pulled thread needs the redistribution work above, and a real hole needs darning, so identify the problem first.
Washing before reading the care label can shrink wool or felt it further. Check the label before you wet anything.
Common Mistakes
The most common complaint is that the snag came back. It happens because the loop was pushed to the inside but not secured, and the surrounding stitches were never redistributed.
Work up the troubleshooting ladder in order. First, confirm the yarn is unbroken by holding the snag up to a window and looking at the fiber end. Second, pull the fabric an inch either side of the snag in opposite directions, one row at a time. Third, anchor the tail from the inside with two stitches in matching thread. Fourth, steam and lay it flat overnight before you touch it again.
A repair that is too tight looks dimpled or pinched, and it pulls the row out of line. Cut the thread you added, gently massage the row, and redo the stitches with slack in them. A repair that sits too loose leaves a small gap you can still catch. Add one more stitch through the nearest intact loop on the inside.
Two practical habits make a repair invisible. Test your method on a hem or an inside seam first, where a mistake stays hidden. And match thread to the yarn weight with the garment in daylight, because store lighting flatters colors badly.
Snags in a prominent spot, such as the center front of a cardigan or a cuff, deserve more caution. Any repair there is visible from across a room, so if you have already tried the hook twice without success, stop. Knitwear menders and invisible mending services can re-knit the area, and on an expensive or hand-knitted piece that is a fair trade for a perfect finish.
Frequently Asked Questions
Can I wash a sweater after fixing a snag?
Yes, once the repair is dry and you have trimmed every thread end. Check the care label first, since wool and cashmere often need hand washing or a delicate cycle in cool water. Wash inside out in a mesh bag so hardware cannot catch a fresh snag, and dry the sweater flat rather than hanging it.
How do I fix a snag in a cashmere sweater?
Cashmere fibers are fine and spring back easily, so use almost no tension. Push a fine crochet hook or even a toothpick through from the wrong side, catch the loop, and draw it slowly to the inside. Work from an inch either side of the snag to redistribute the loops, then steam lightly from a distance and lay the sweater flat.
What is the best way to hide a repair in a knit sweater?
Work every stitch from the wrong side of the garment so nothing shows on the face. Choose thread that matches the yarn weight rather than the yarn type, since heavier thread reads through a fine knit. Massage the rows to make the tension match, then comb the surface so the fibers lie in the same direction as the surrounding knit.
Can I repair a sweater that has a large hole from the snag?
Yes, but it is a darning job rather than a snag job. Anchor the loose ends to the fabric first with small stitches on the inside, then weave matching yarn across the gap in a grid, leaving a little slack so the mend stays flexible. Very large holes or worn-through areas are better handed to a professional mender.
Should I take a valuable sweater to a professional for repair?
If the garment is hand-knitted, expensive, or the snag sits somewhere visible like a cuff or center front, a professional knitter can re-knit the area far more neatly than a home repair. Bring the sweater in before washing it so the fibers are in their original state. The cost is usually far less than replacing a favorite piece.
Conclusion
Start by identifying what you have. A loose surface loop comes out with a hook or blunt needle worked from the wrong side in about two minutes, while a pulled thread needs the loops redistributed and a real hole needs darning.
Whichever you are facing, work from the least invasive option, secure any loose yarn from the inside, and leave the sweater flat until the repaired area sits level with the rest of the knit. Then trim only what you tied yourself, and the sweater goes back in the rotation.