To mend a ripped seam by hand, turn the garment inside out, pin the two raw edges back together along the original seam line, and sew them closed with a strong backstitch worked from about a quarter inch before the tear to a quarter inch past it. Ten minutes and a needle close most tears; a heavier seam needs a bit more patience.
The stitch to reach for is the backstitch, because each stitch locks into the one before it and the finished line holds under tension the way a machine seam does. On a delicate garment where you cannot tolerate any visible thread on the outside, work a ladder stitch instead, accepting that it will be weaker. Knowing how to mend a ripped seam by hand is a genuinely useful skill, and it takes less setup than most people expect.
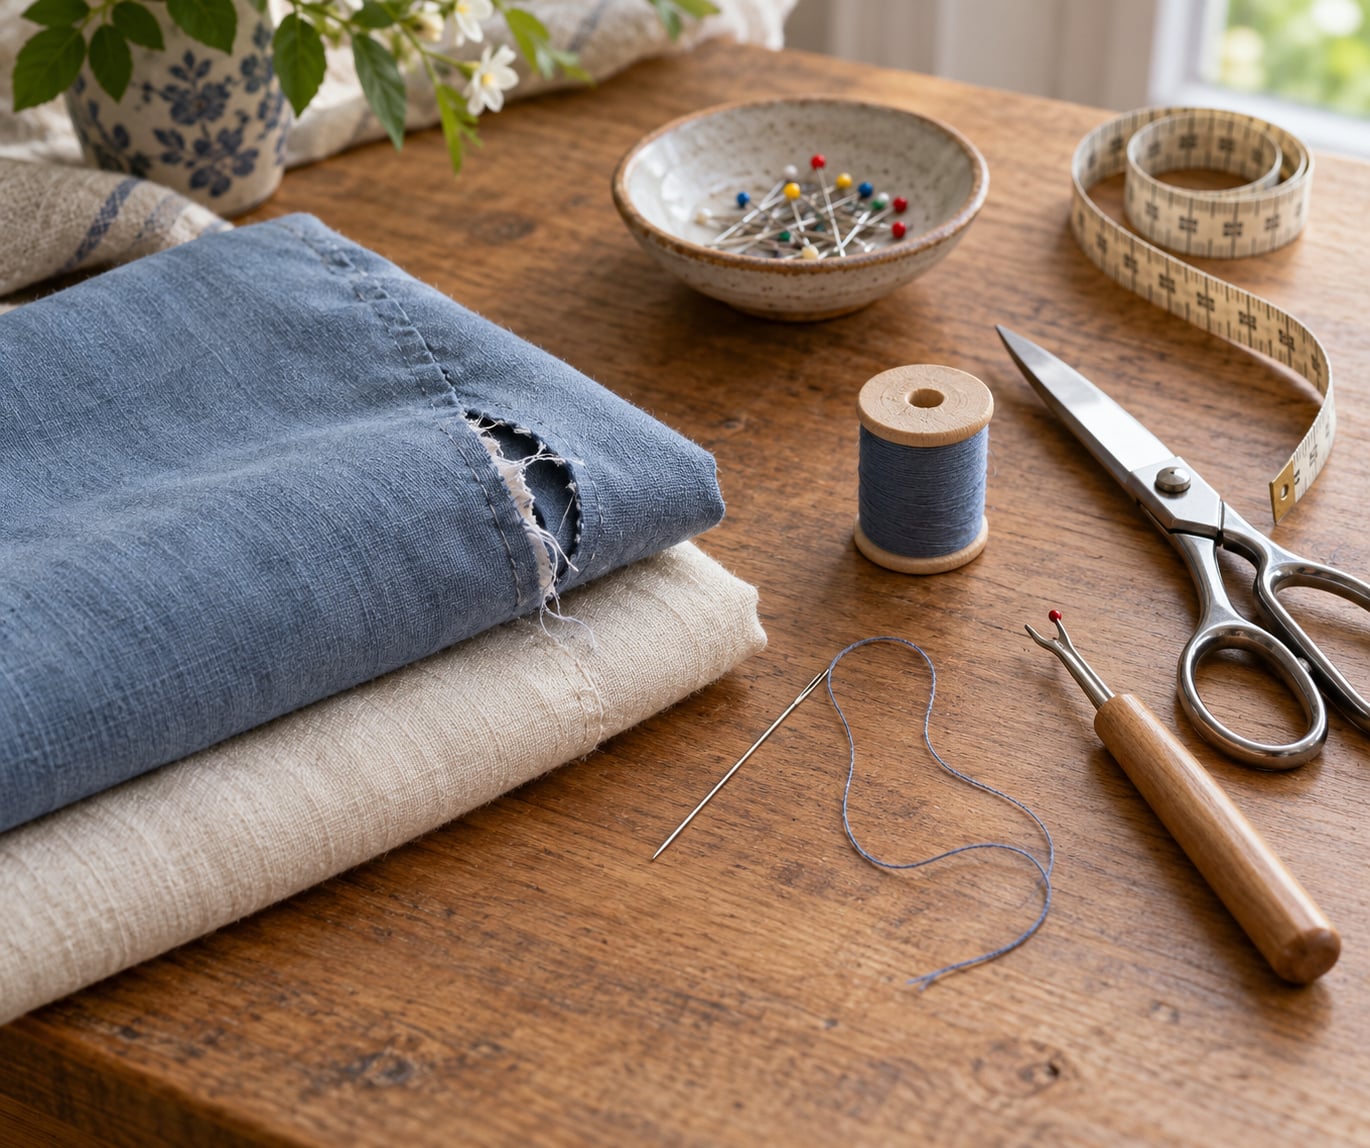
Before you thread anything, work out how much damage you are dealing with. A seam that has split along its stitching can simply be resewn. A seam that has blown out through the fabric, or a crotch or shoulder seam under real strain, needs backing fabric and a slower approach.
Table of Contents
- What You Need
- How to Mend a Ripped Seam by Hand: Step by Step
- Basic stitching steps: back one, forward two
- If the tear is L-shaped or V-shaped
- When the edge is frayed or the seam allowance is gone
- Quick fixes when you cannot stitch right now
- Common Mistakes and How to Fix Them
- Frequently Asked Questions
- What kind of thread should I use to mend a ripped seam?
- Can I repair a torn seam without a sewing machine?
- What is the easiest stitch to use for a small seam repair?
- Should I use matching thread or a contrasting color?
- How do I stop the repaired seam from opening again?
- When is a torn seam not worth repairing by hand?
- A Reliable Seam Repair Starts Small
What You Need
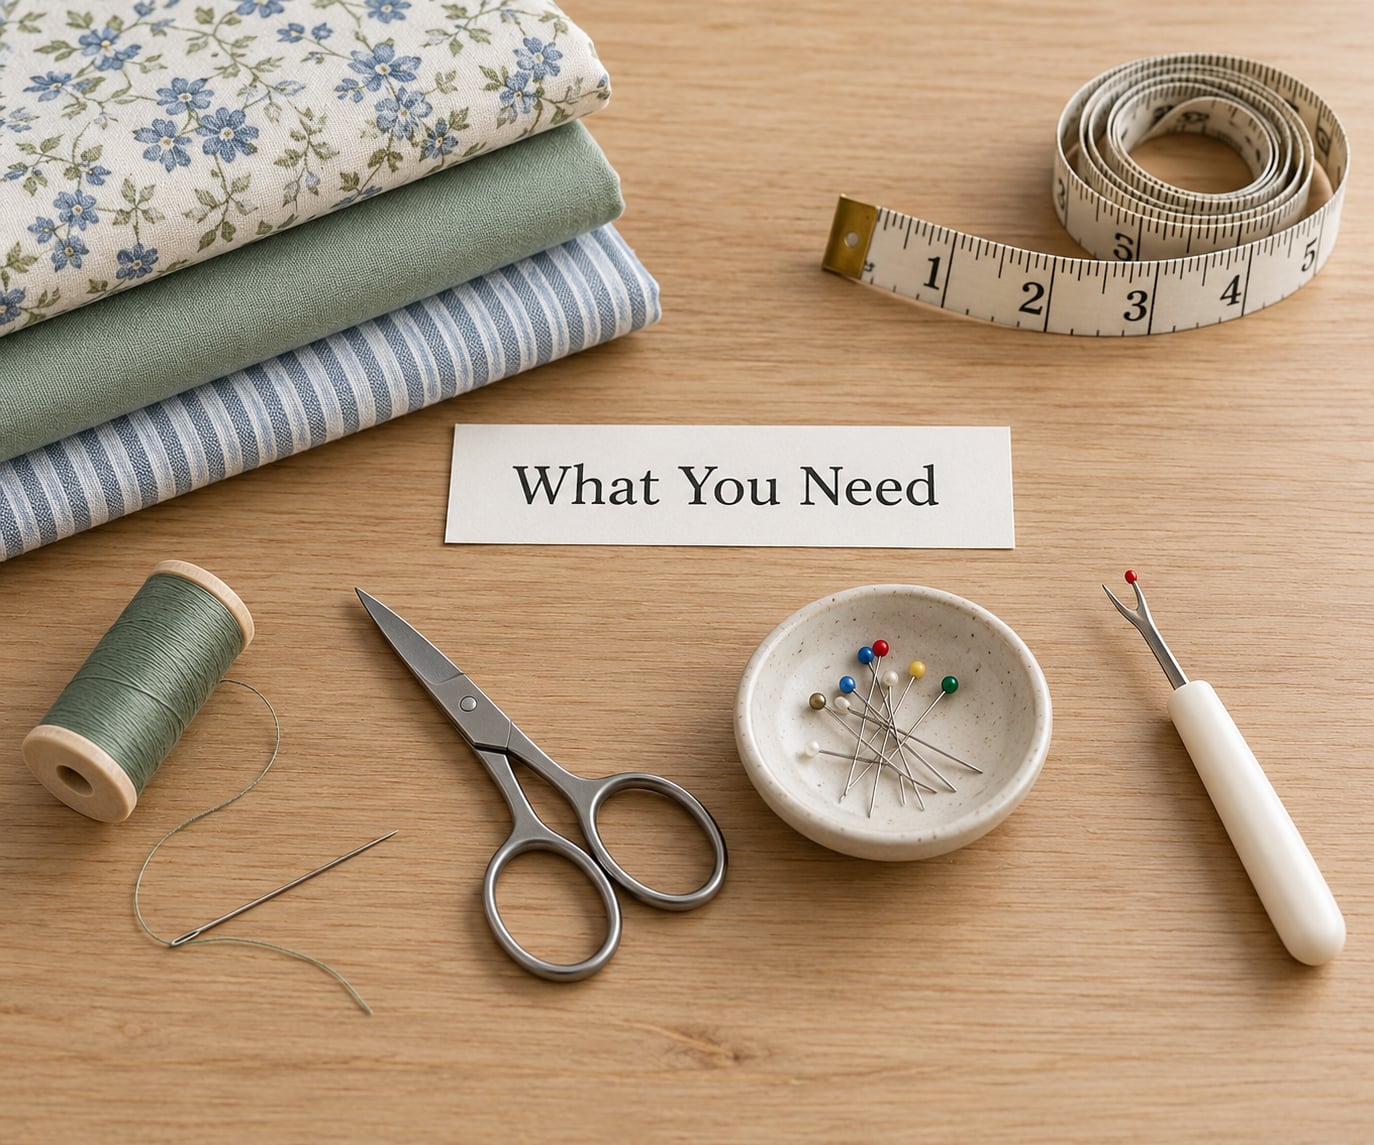
The tool list is short. A hand sewing needle, thread that matches the fabric weight, small sharp scissors, straight pins and a measuring tape cover almost every repair. A thimble is worth having once you start working through heavy denim, and a seam ripper takes care of stitches that were sewn wrong the first time.
Needle size follows fabric weight. Use a size 70/10 sharp for silk, chiffon and anything thin enough that a larger needle punches visible holes. A universal size 90/14 handles cotton shirting, dress shirts and most linens. Anything heavier, including canvas, coat fabric and denim, wants a size 100/16 jeans needle, and a denim needle if you are working through a crotch seam.
Thread follows the same logic. Fine thread on heavy fabric will snap the first time you pull the seam taut. Polyester all-purpose thread is the safest default because it is strong, has a bit of stretch and resists abrasion, which is why it is what most machine seams are built from. Cotton thread suits natural fibres and feels better on a garment you wear against bare skin.
Now inspect the seam before you sew. Turn the garment inside out and look at the back of the seam line rather than the outside of the garment. Check three things: whether there is still seam allowance folded inside the seam, whether the fabric around the tear is frayed or thinned, and whether the original stitching continues intact for at least half an inch past each end of the tear. That last point decides how confident the repair can be.
How to Mend a Ripped Seam by Hand: Step by Step
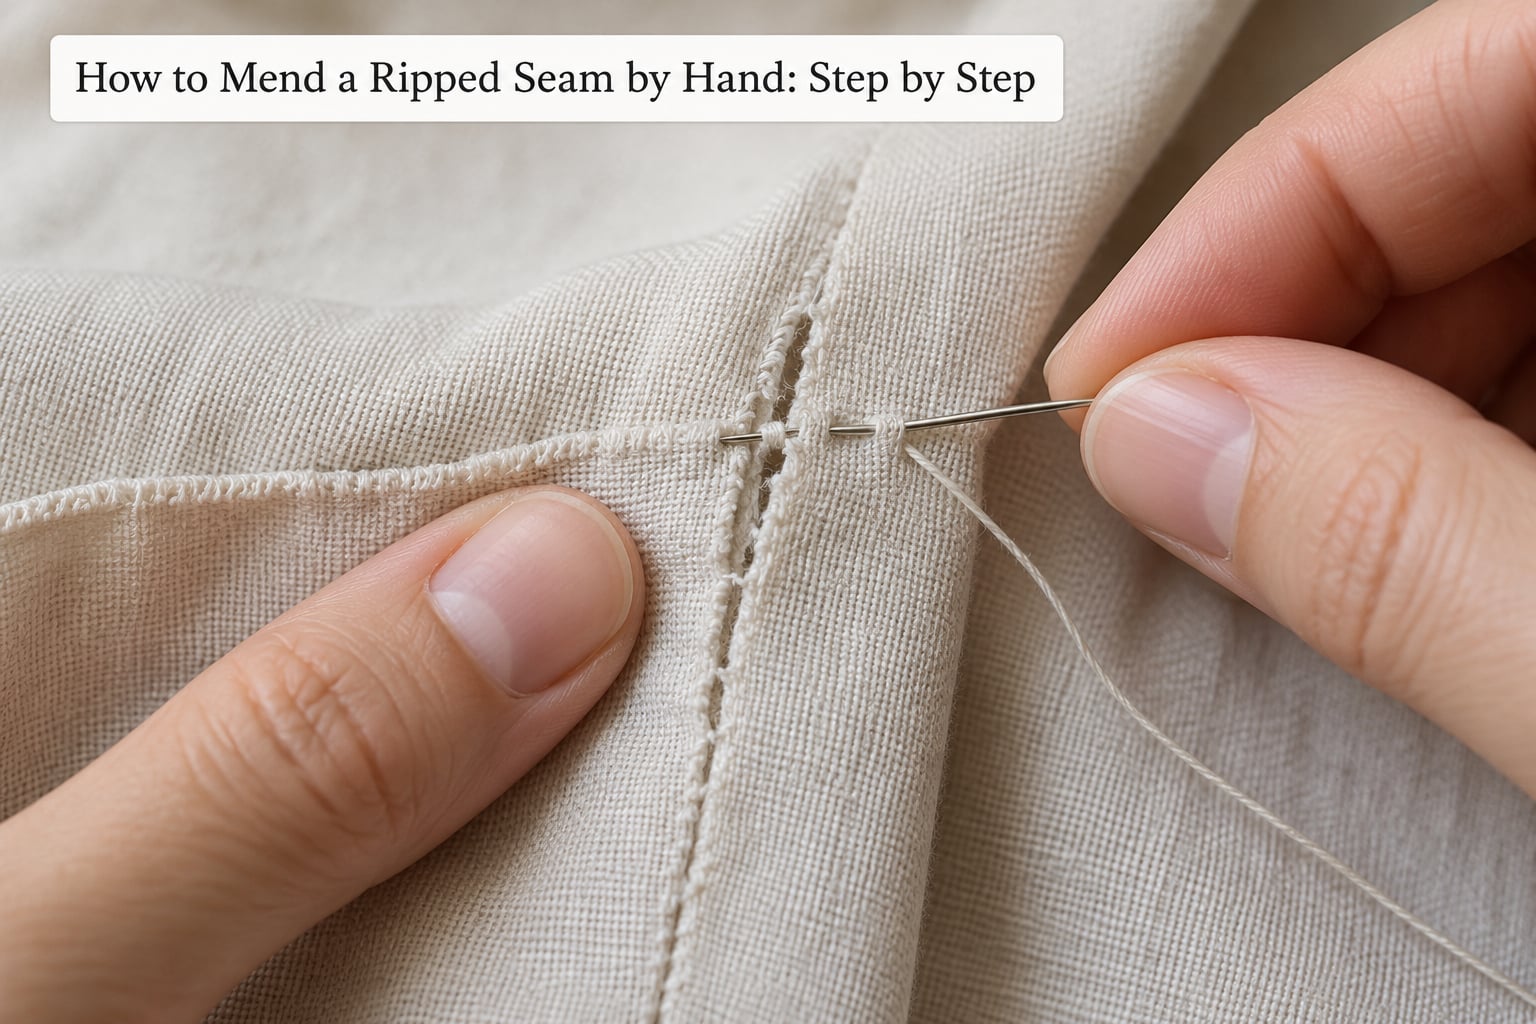
Basic stitching steps: back one, forward two
Five stages cover the whole repair, and each one tells you something about whether the stage before it worked.
- Assess and prepare the damage. Turn the garment inside out so the seam allowance is exposed. Trim away loose, dangling threads with your scissors so they do not end up caught inside the new stitches. If the fabric around the tear is fuzzy or thin, press a piece of fusible interfacing to the wrong side of the seam before you go further.
- Thread the needle and double the thread. Cut roughly 18 to 24 inches, or your arm span plus about ten inches for thick fabric. Cut on an angle so the end passes through the eye instead of splitting. Fold the ends together, moisten them slightly, roll them between your fingers and push them through the eye. Then run your fingers down the doubled length to smooth it and let a knot form at the loop.
- Pin the edges together. Line the two raw seam edges up so the original stitch holes match on both sides. Work along the fold, not the raw edge. Insert pins perpendicular to the seam every half inch or so. If the edges will not lie flat and match up, the problem is in the alignment, not in your sewing, so re-pin before moving on.
- Sew the backstitch. Bring the needle up from the back side about a quarter inch before the start of the tear, pull the thread through, then step back up one stitch length. Push the needle through again and bring it up two stitch lengths forward, which is roughly a quarter inch. Keep repeating until the gap is closed and both ends of the new line run a quarter inch into stitching that was still sound.
- Knot off and trim. At the end, stitch two or three very short stitches in the same spot to make a tiny knot inside the fabric, then pull the needle out and snip the thread close to the last stitch.
If the tear is L-shaped or V-shaped
A corner tear needs stitching along both legs, not just across the gap. Start a quarter inch before the corner on the first leg and run the backstitch to a quarter inch past the corner. Without clipping the thread, turn the corner and continue up the second leg for the same quarter inch of overlap into intact stitching. Backstitching right at the corner itself, so the second leg tucks under the first, is what stops it splitting open again at the point of the bend.
When the edge is frayed or the seam allowance is gone
Frayed edges give the thread nothing solid to grip. Work a blanket stitch along the raw edge first, catching about a quarter inch of fray in each stitch, and that stops the edge unravelling while you close the seam. If there is no seam allowance left because it has frayed down to the stitching line, back the damaged area with a scrap of similar-weight fabric or a strip of fusible interfacing. Stitch through both layers, then trim the backing close to the seam so it does not show on the outside.
Quick fixes when you cannot stitch right now
Sometimes you need the garment wearable tonight. Iron-on interfacing patches work on cotton and denim if you follow the ironing time on the packet. A small piece of tape applied to the inside of the seam holds a side seam together until you can stitch properly. For a hem that has come down in your travel bag, a temporary running stitch with doubled thread through the original holes gets you home. All of these are stopgaps. They buy days, not seasons.
Common Mistakes and How to Fix Them
The seam came out crooked. Almost always an alignment problem rather than a sewing problem. Unpick your work with a seam ripper, lay both edges flat, and pin them matching hole to hole before you stitch again.
The thread is too tight and the fabric puckers. You are pulling after every stitch instead of letting the needle do the work. Push the needle through, hold the thread slack, then pull until the stitch lies flat. Puckered cotton has a permanent memory, so press or steam the seam after you finish.
Your stitches are far too long. Long stitches are weak stitches because there is less thread holding each one. Aim for a stitch length of an eighth to a quarter inch and keep it consistent. The fastest cure for uneven tension is practice: run two rows on a scrap of the same fabric first, because the second attempt is nearly always better than the first.
You stitched the seam allowance shut, or sewed the wrong side. It happens when the garment is folded oddly before pinning. Rip it out immediately; the longer it stays, the harder it is to undo cleanly.
The thread keeps snapping. Either your needle is too fine for the fabric or the thread is too thin. Thread a heavier needle before you change thread, since the hole you already pierced is what weakens the yarn.
The stitches show on the outside of the garment. This is the main objection people have to backstitching, and it is fair. Small, tight stitches read more like machine stitching than hand work, which is usually enough to settle it. If the seam must be completely invisible, use a ladder stitch on a garment that will not take much strain, or accept the visible line and the strength that comes with it.
Frequently Asked Questions
What kind of thread should I use to mend a ripped seam?
Match the thread weight to the fabric. Polyester all-purpose thread is the safest default for cotton, denim, canvas and linens because it is strong, slightly stretchy and abrasion resistant. Use a finer cotton or polyester thread on silk, chiffon and lightweight shirting so it does not punch visible holes. Avoid anything labelled upholstery thread unless you are repairing upholstery or a very heavy seam.
Can I repair a torn seam without a sewing machine?
Yes, and for most everyday tears hand sewing is the right answer. Turn the garment inside out, pin the seam allowance edges together along the original seam line and close the gap with a backstitch that runs a quarter inch past each end of the tear into intact stitching. It takes about ten minutes on a shirt side seam and longer on a load-bearing seam such as a crotch or shoulder.
What is the easiest stitch to use for a small seam repair?
The backstitch is the easiest stitch that is also strong. Bring the needle up a quarter inch before the tear, step back one stitch length, then bring it up two stitch lengths forward and repeat. Each stitch locks into the one before it, so the line resists tension the way a machine seam does. A ladder stitch is easier still but far weaker, so keep it for low-strain seams.
Should I use matching thread or a contrasting color?
Matching thread, ideally the same fiber and a shade or two darker rather than lighter, because slightly dark thread reads as a shadow on the fabric and disappears more than a bright one. Contrasting thread works well on denim and deliberately visible mending if you like the look. Whatever the color, the stitch width matters more than the shade for hiding a repair.
How do I stop the repaired seam from opening again?
Stitch at least a quarter inch past each end of the tear into the original intact stitching, since stress concentrates at the ends of a repair. Double the thread, keep your stitch length between an eighth and a quarter inch, and reinforce thin or frayed fabric with fusible interfacing before you start. For a crotch, shoulder or side seam, add a second row of stitching offset by an eighth inch as a second line of defence.
When is a torn seam not worth repairing by hand?
Go to a machine or a tailor when the fabric has burned through rather than split along the stitching, when the tear runs across the grain under heavy load such as a shoulder seam, a crotch seam or the side seam of a fitted garment, or when the seam allowance is gone across a wide area. Hand mending works best when there is still sound fabric and sound original stitching to anchor into on both sides.
A Reliable Seam Repair Starts Small
Test your thread first, on a scrap of the same fabric, so you find out that it snags or breaks before you are halfway through a trouser leg. Then align the seam carefully hole to hole and pin it before you stitch anything. If the fabric around the tear feels weak, press on interfacing first rather than after.
Take your time with the first inch. Almost every failed hand mend comes down to rushing the alignment or pulling the thread too tight, and both are easy to undo when you catch them early.