To do natural looking makeup for photos, use less product than you would on an ordinary day, choose matte or satin finishes over shimmer and gloss, skip anything with SPF, and blend until no edge of blush or bronzer is visible. The camera records texture, shine, and blend lines that a mirror quietly forgives, so the goal is thin layers and a seamless-looking result rather than more coverage.
Here is the honest part: lighting changes the answer. A routine that looks perfect in soft window light can look flat and cakey under a direct flash, and a look that survives a flash can look ghostly in overcast daylight. So the first step is knowing what light you are walking into.
Last updated October 2026
Table of Contents
- What You Need
- Step-by-Step: How to Do Natural Looking Makeup for Photos
- Prepare Your Skin Without Creating a Mask
- How to Do Natural Looking Makeup for Photos: Build an Even Base
- Add Camera-Friendly Color to the Cheeks, Eyes, and Lips
- Set the Makeup, Then Check It in the Right Light
- Make Small Adjustments Instead of Adding More Product
- Common Mistakes and How to Fix Them
- Frequently Asked Questions
- What type of makeup looks best in photos?
- Why does my makeup not look good in photos?
- How do I choose a foundation shade for photos?
- Should I turn off beauty mode or filters when taking photos?
- How do I keep my face from looking shiny in photos?
- What should I do if the camera still makes my skin look uneven?
- Conclusion
What You Need
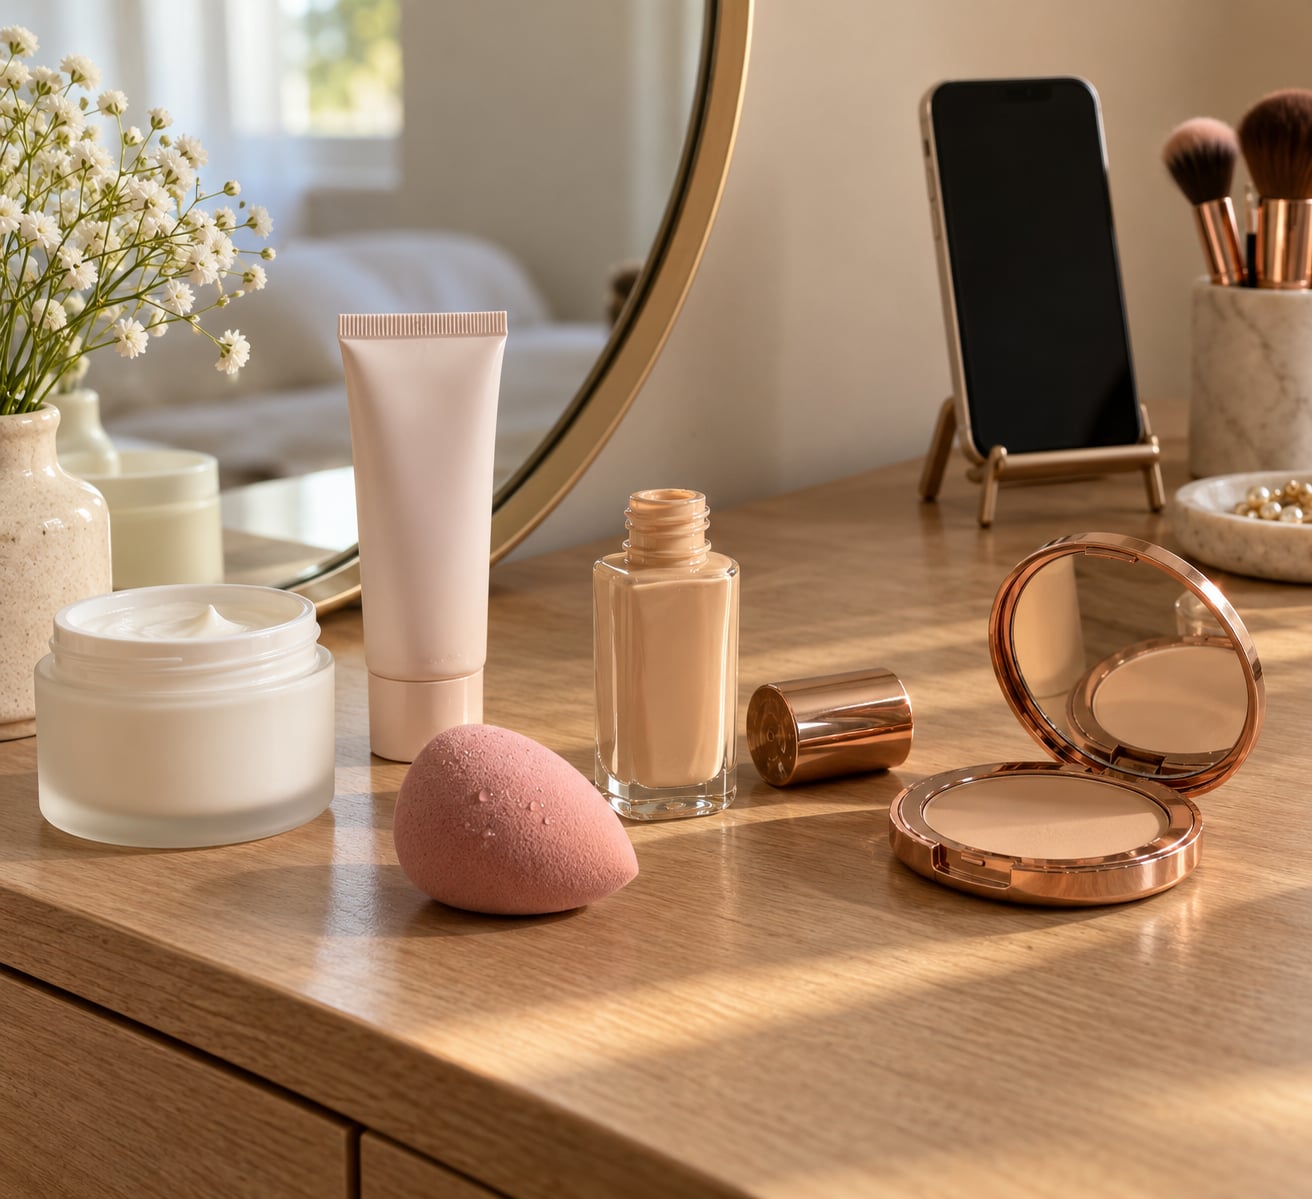
You need very little, and almost none of it needs to be a camera-special product. Here is a complete kit:
- A well-lit mirror facing soft, even light, not a bathroom with one hot bulb overhead.
- A phone or camera for test shots. This is the single most useful tool in the whole routine.
- A light hydrating product and a moisturizer matched to your skin type.
- Primer, optional, used only where you need it.
- A thin-coverage complexion product: a skin tint, tinted moisturizer, or BB cream.
- Concealer for the spots that still need it.
- Cream or powder blush, a neutral bronzer, and neutral eye products.
- A brow product and mascara.
- A cream or tinted lip color.
- A small blending brush or a makeup sponge.
- Setting powder or setting spray.
- Soft, diffused lighting for the test shots.
Patch-test anything new on your inner arm or along your jaw for 24 hours before it goes near your face on a shoot day. That is a habit worth keeping generally, but it matters more when you cannot afford a reaction two hours before a photoshoot.
Step-by-Step: How to Do Natural Looking Makeup for Photos
This is the full routine in order. Prep, base, conceal, set, cheeks, eyes, brows, lips, then look again in real light before you walk out.
Prepare Your Skin Without Creating a Mask
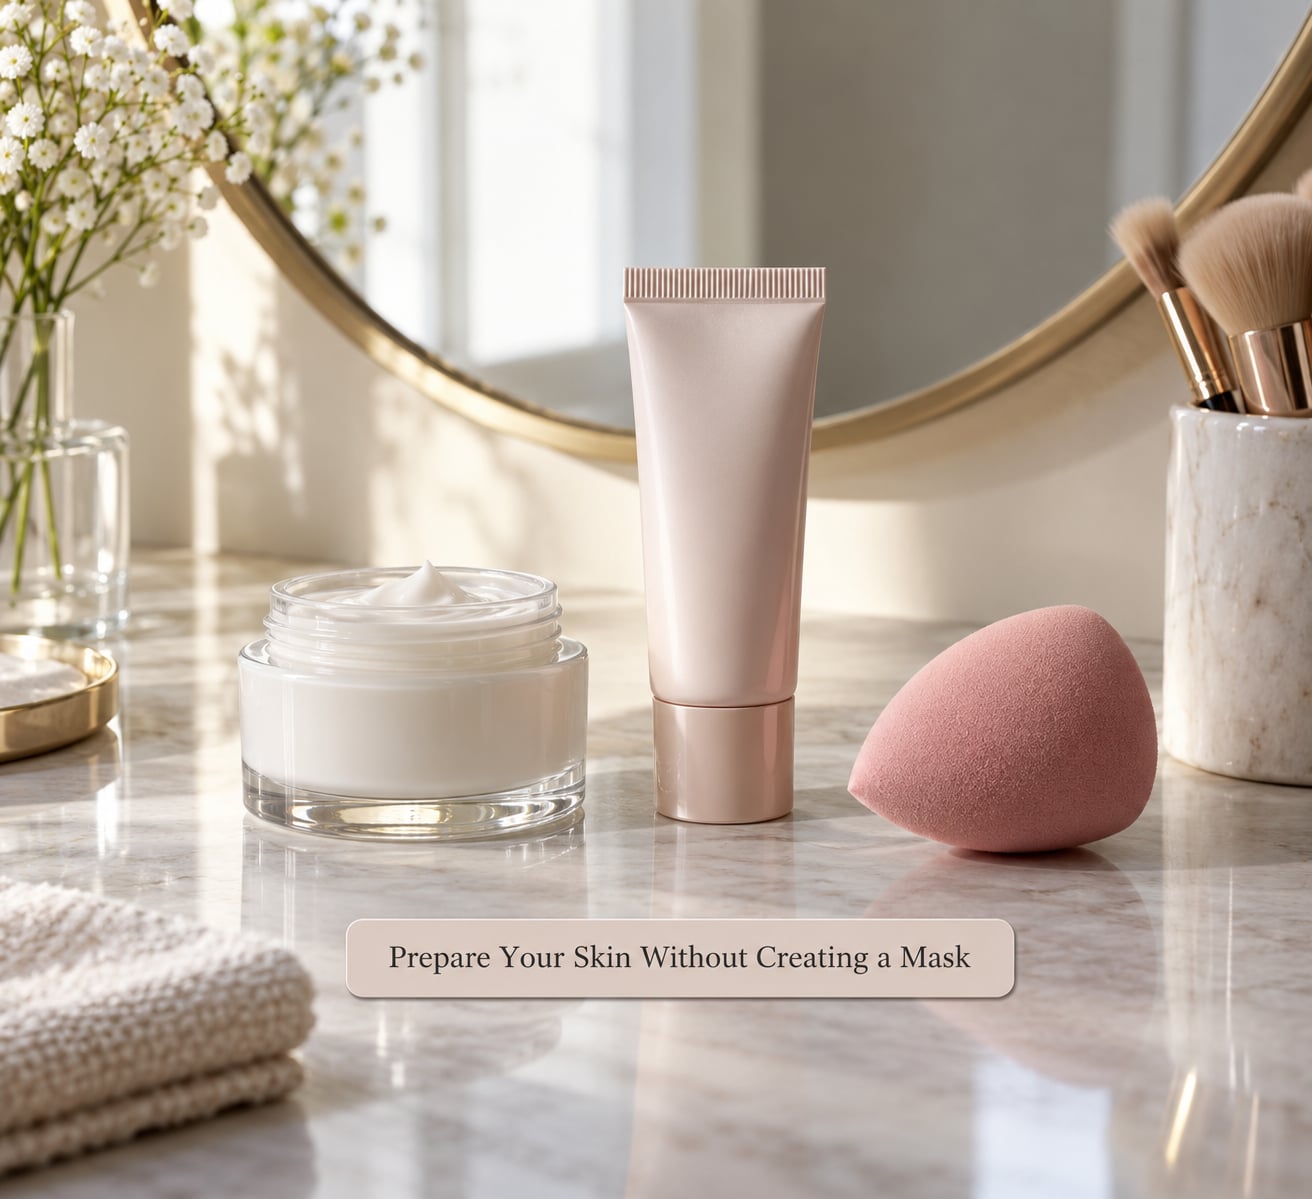
Start with clean skin and a moisturizer that suits your skin type. Give every layer two or three minutes to settle before the next one goes on, because applying over tacky or half-absorbed product is what creates patchy edges later.
Primer is optional and best used selectively: on your T-zone if you get shiny, or on the areas you know will not hold base. A primer over the whole face can create its own slick, mask-like surface that then slides and separates under flash.
Do not try anything new in the 24 to 48 hours before a shoot. A retinoid, a strong acid, or a peel the day before shows up as texture and redness in every frame.
How to Do Natural Looking Makeup for Photos: Build an Even Base
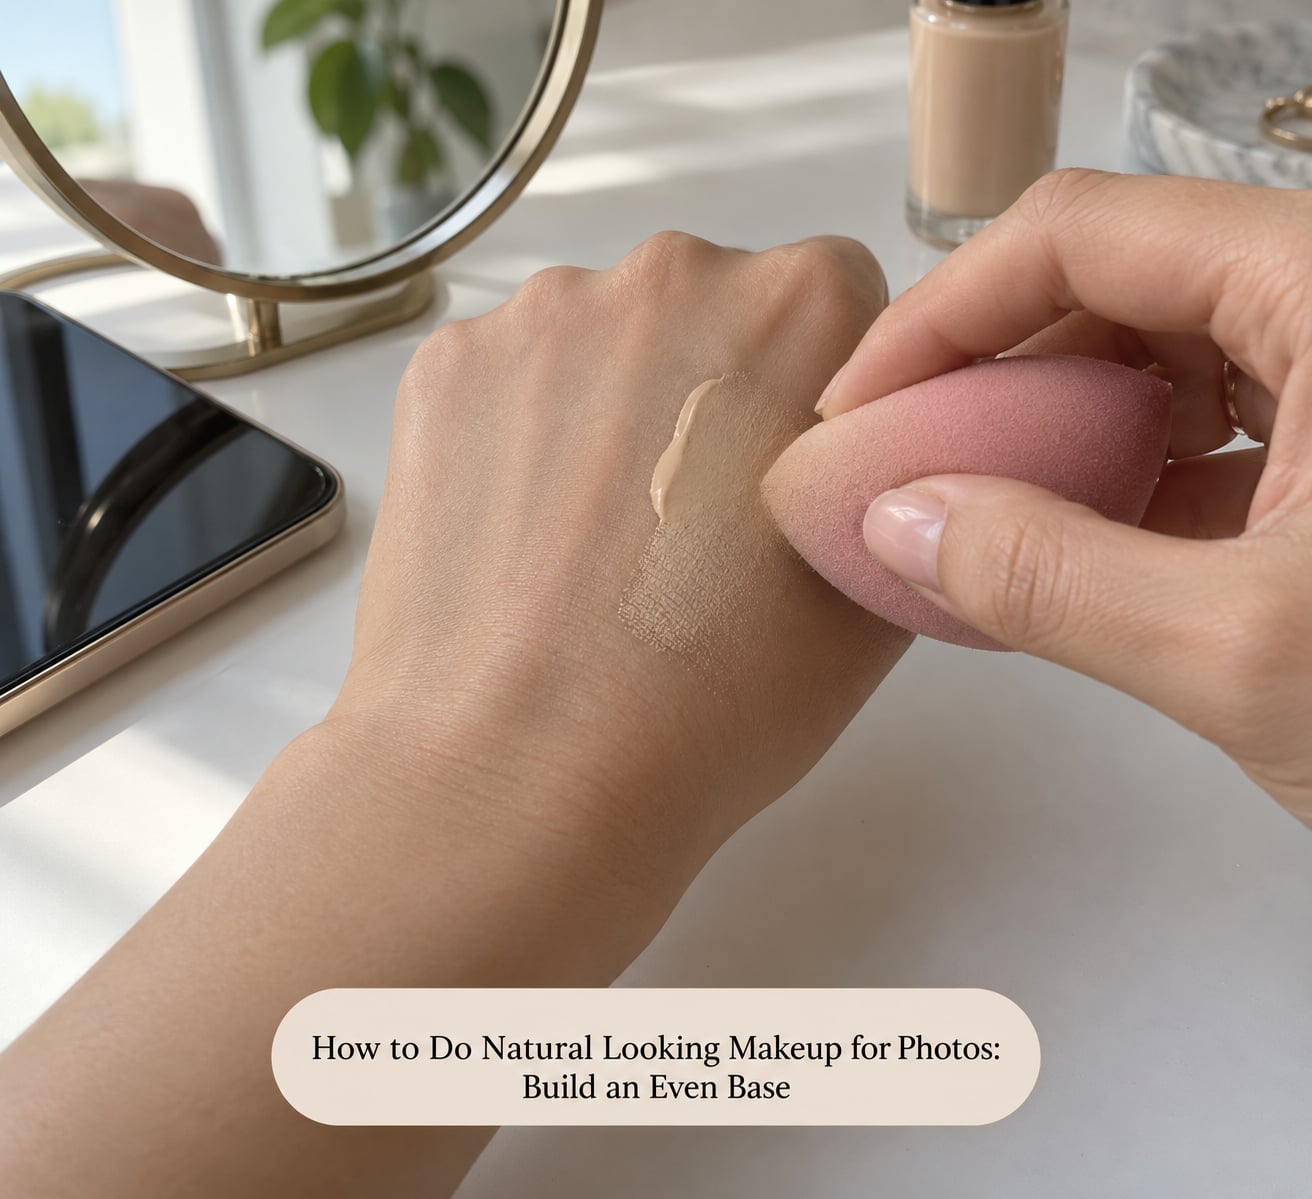
Apply a thin layer of complexion product with a damp sponge or a brush, then add a second layer only where you actually need it. Less product, applied properly, photographs better than a heavy layer that has to be rescued with more powder.
Edges matter more than coverage here. Blend down past your jaw and onto your neck so there is no visible boundary, and check the hairline and the sides of the face where the light will hit hardest.
Then take a test shot and look at that instead of the mirror. The bathroom mirror is one of the least honest tools in the room, mostly because it is lit for grooming rather than for viewing. One photo tells you more than ten minutes of mirror-watching.
Add Camera-Friendly Color to the Cheeks, Eyes, and Lips
Cheeks first, while your base is still fresh and your hands are clean. Warm-toned blush placed high on the apples and blended outward toward the temple reads as healthy color rather than a stripe. Cream blush over powder base gives a softer, less obvious edge; if you are using powder, use less than you think.
For eyes, stay neutral: a soft brown or taupe wash in the crease and a slightly deeper shade along the lash line gives definition without the hard outline that reads as a drawn shape on camera. Tightlining with a dark brown pencil on the waterline is the upgrade people notice most in photos, because lashes look fuller without mascara.
Groom brows lightly with a brow gel or pencil so they hold their shape when you blink. Brows sit close to the lens on a phone front camera, so they matter more than most people expect.
For lips, a tinted balm or a satin cream color stays believable after the camera processes it. Skip high-gloss, which catches every light source and looks wet in a still frame. Fill in, blend the edge with a fingertip, and leave it.
Set the Makeup, Then Check It in the Right Light
Set lightly. Press translucent powder onto the T-zone, the under-eye, and anywhere you know gets shiny, rather than sweeping it over the whole face, which is where the powdery look starts. If you prefer a spray, a matte one will hold better under flash than a dewy mist.
Now evaluate the result somewhere other than your bathroom. Stand near a window for a soft daylight check, and if you can, stand where the actual shoot happens. Look for four things: shine on the forehead, any visible edge of product along the jaw, whether the color still reads as your own skin tone, and whether you can see the makeup at all from three feet away.
That last check matters more than it sounds. If a viewer at normal distance can see the concealer, the base is too heavy for a photograph.
Make Small Adjustments Instead of Adding More Product
Fix shine with a tissue, not with powder. Fold a clean tissue once and blot the T-zone; it takes the oil off without flattening the finish into a matte patch.
Add a pinpoint amount of concealer or base only where a test photo shows a gap, and refresh the center of the face sparingly. Once the makeup reads evenly, stop. Most overdone camera makeup comes from the last five minutes of nervous adding-on.
Finally, compare an unedited test image with the phone’s portrait or beauty mode switched on. If the two look like different people, your own version is probably closer to what the photographer is after, and you now know exactly which areas need work rather than guessing from memory.
Common Mistakes and How to Fix Them
Testing in harsh bathroom light. Overhead bulbs flatten your face and exaggerate everything. Move to a window or a ring light before you judge anything.
Using too much foundation. If you can see your skin texture at arm’s length, the base is too heavy. Wipe it back and let the skin show through.
Leaving the jaw and neck untouched. This is the single most common giveaway in group and half-body shots. Carry the base down past the jaw and over the neck, and add the same bronzer along the neck so the two do not separate in color.
Matching your shade in direct light. A shade that disappears under a window may look orange or gray in shade. Check the jawline in the light you will be shot in.
Over-matting everything. A completely matte face reflects flash as flat white on the high points and loses all dimension. Satin or natural finishes on the cheeks and lips keep some light in the face.
Sharp eyeliner and heavy contour. A hard wing and a visible contour line survive exactly as long as your body does. Diffuse both edges until you cannot find where they start.
Testing with beauty mode or a filter on. Portrait mode smooths texture and reshapes faces. Turn it off for every test shot or you are grading makeup you never applied.
Changing everything the night before. New foundation plus new primer plus a new setting spray is three unfamiliar variables at once. Introduce one change at a time, a few days apart.
Before you walk out, run this checklist: skin hydrated and settled, base thin, jaw and neck blended, blush diffused past the cheekbone, no hard liner or contour edges, SPF-free and shimmer-free, camera test shot taken in the actual light, and a tissue in your bag.
Frequently Asked Questions
What type of makeup looks best in photos?
Matte and satin finishes photograph best in most situations. Skip heavy shimmer, chunky glitter, gloss, and any SPF in your base, because flash reflects off those particles and creates a pale halo or glare. Use a thin, buildable layer of tint or tinted moisturizer, cream blush diffused past the cheekbone, neutral eyes, defined brows, and a satin lip color.
Why does my makeup not look good in photos?
Cameras capture more texture and more reflected light than your eyes do. Direct flash creates a white cast from powder and SPF, amplifies pores and fine lines, and turns shine on the T-zone into bright hotspots. A bathroom mirror flatters what a lens exaggerates. Test with a flash photo, use thinner layers, and set only the zones that get shiny.
How do I choose a foundation shade for photos?
Swatch two or three shades along your jawline, not on the back of your hand, and check them in the light where the photos will be taken. The shade that disappears into your neck is the one. Take a flash test shot before you commit, because flash pushes the base cooler and lighter than daylight does.
Should I turn off beauty mode or filters when taking photos?
Yes, turn them off for every test shot. Portrait and beauty modes smooth texture and lighten skin, so they hide problems you need to fix and exaggerate ones you do not have. Judge your makeup from an unedited image, then let the photographer decide which finishing tools to use at the end.
How do I keep my face from looking shiny in photos?
Set only where you actually get shine: the T-zone, the under-eye, and the chin. Press translucent powder on with a fingers-first technique rather than a sweeping brush, which leaves a powdery cast under flash. Blotting papers handle a refresh between shots far better than adding more powder, which builds up over a long session.
What should I do if the camera still makes my skin look uneven?
Take a photo in the exact light of the shoot and work only on what the camera shows, because it is often one or two specific spots rather than the whole face. Even out those areas with a small amount of base, correct color separately with a peach or lavender corrector under dark circles, and keep powder off the textured parts.
Conclusion
Learning how to do natural looking makeup for photos is mostly restraint. Prep the skin lightly, use thin layers instead of one heavy coat, blend the jaw and neck so nothing separates, and set only the places that actually shine.
Then take one test photo in the real light before you do anything else, and correct only what that photo shows. That single habit solves most of the problems people blame on their makeup when the lighting is really the cause.