To shape eyebrows at home safely, brush the hairs up with a spoolie, mark your natural start, arch and tail with a pencil, snip only the tips that break the top line, then pluck the strays that fall outside that mapped shape. It takes about fifteen minutes and no real skill beyond a light hand and good lighting.
The word that scares people is pluck, because you cannot add hair back on demand. What nobody tells you at the salon: you can always trim more later, so the safest order is trim first, pluck second, and stop the moment the shape looks right.
Table of Contents
- What You Need
- How to Shape Eyebrows at Home Safely: Step-by-Step
- How to Shape Eyebrows at Home Safely Without Overplucking
- Trim Long Brow Hairs Carefully
- Check Symmetry and Finish the Edges
- Common Mistakes
- How to Keep the Look Between Sessions
- Frequently Asked Questions
- What is the safest way to shape eyebrows at home?
- Should I use tweezers, a razor, or scissors to shape my eyebrows?
- How often can I shape my eyebrows without thinning them?
- How do I fix an eyebrow shape I overplucked?
- Why does shaping my eyebrows hurt, and when should I stop?
- Is it better to shape uneven eyebrows at home or see a professional?
- Conclusion
What You Need
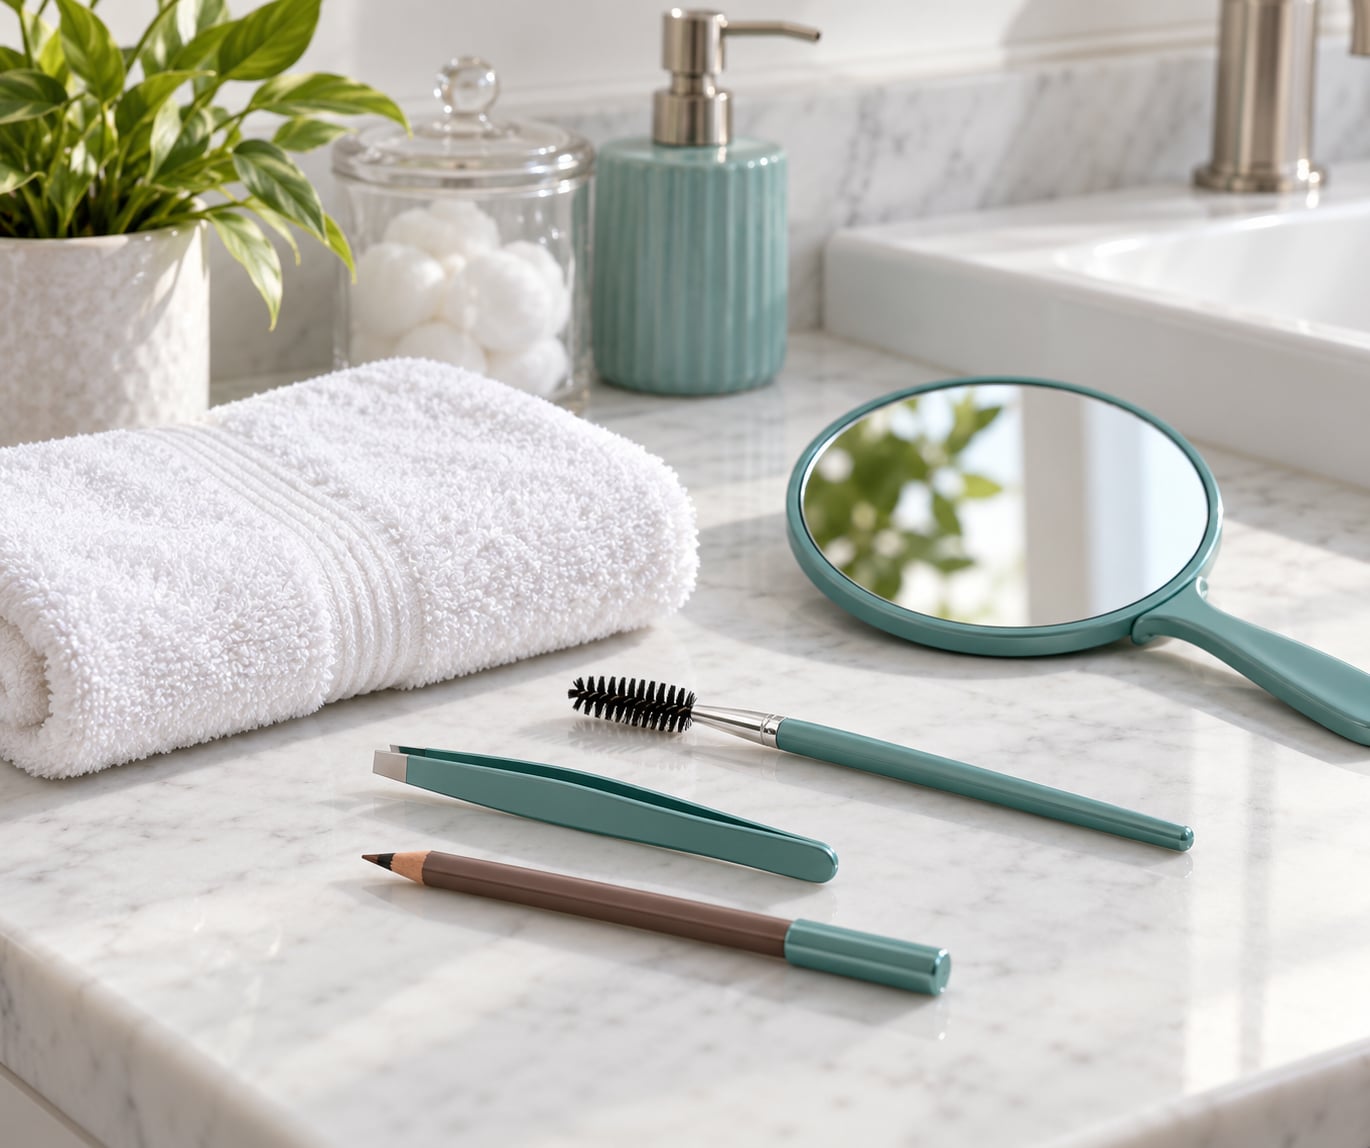
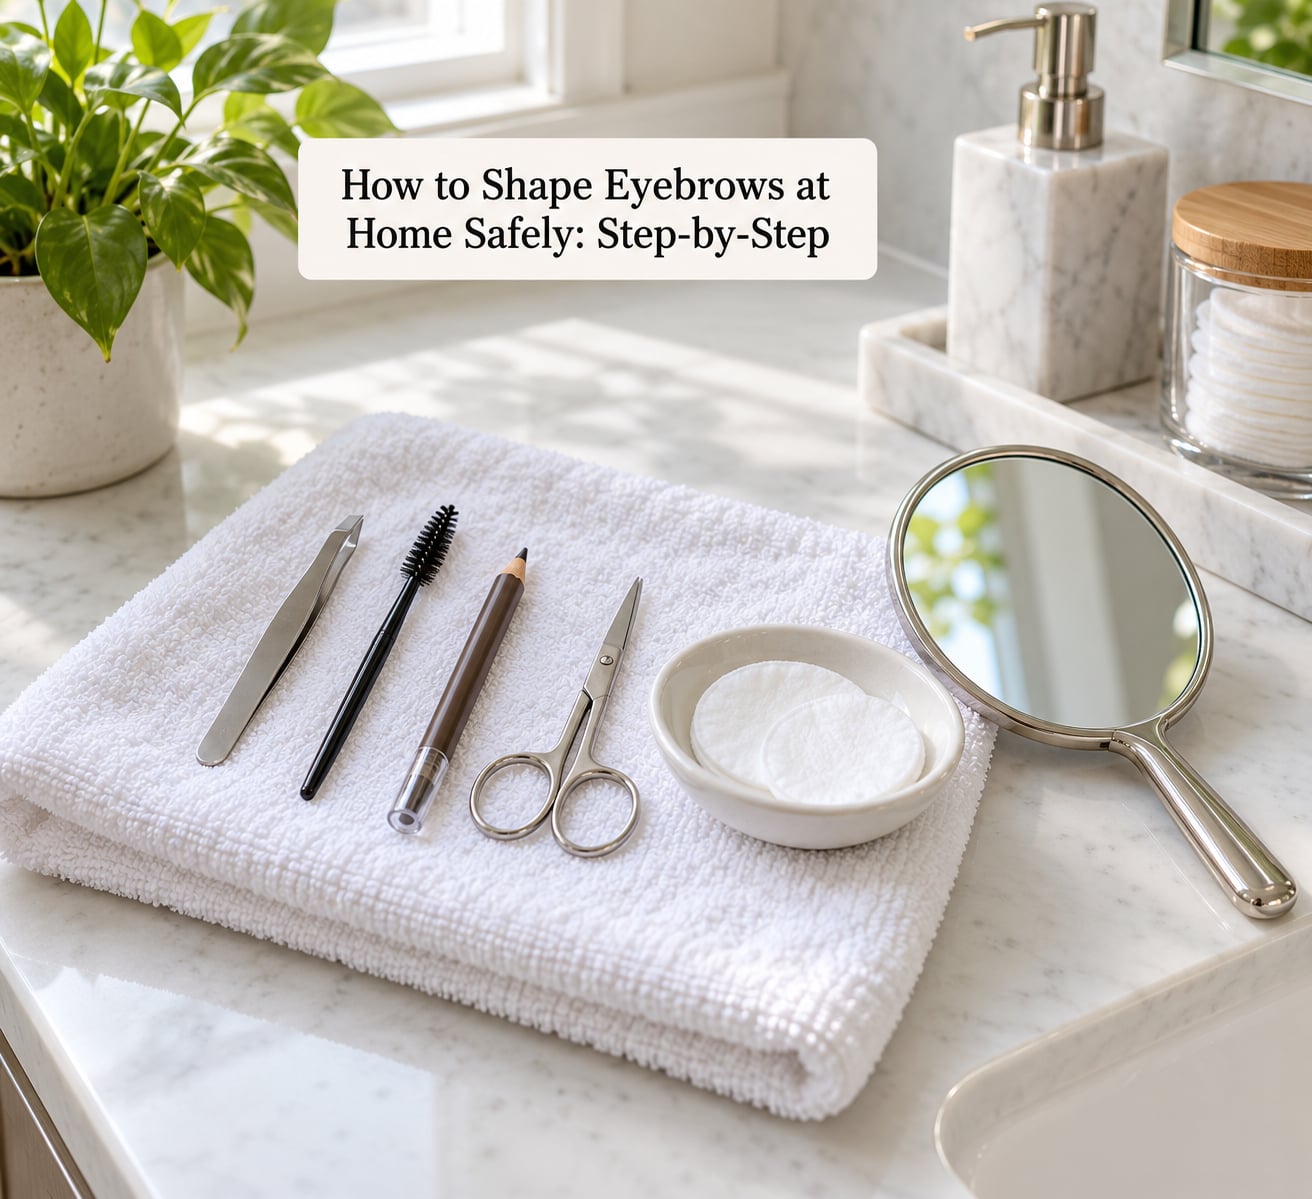
A good result comes down to sharp tools and clear light, not an expensive kit. Everything below can sit in a bathroom drawer for years.
- Slanted tweezers for precision work on stray hairs.
- A spoolie brush to comb hairs into place before and after you touch anything.
- A brow pencil or brow powder to map your shape first.
- Small brow scissors or a brow trimmer to cut long hairs at the tips.
- A clean washcloth and mild cleanser for prep and aftercare.
- A hand mirror plus a well-lit, upright mirror so you are not judging your work in a magnifying close-up.
Wipe every tool with rubbing alcohol before you start and let it air-dry. Skipping that step is the most common hygiene mistake people make at home, and it takes ten seconds to fix.
Not every removal method belongs in a beginner’s bathroom. Here is the honest split.
| Method | Skill needed | DIY verdict |
|---|---|---|
| Brushing and gel only | None | Safe start. No hair removed. |
| Trimming tips | Low | Safe. Easily corrected by trimming again. |
| Plucking a single hair | Low to medium | Safe when you work one hair at a time. |
| Razor or facial shaver | Medium | Quick, but easy to nicks if the skin is loose. |
| Threading | High | Leave it to a professional. You need both hands. |
| Waxing or laminating | High | Professional only. Burns and over-processing are real risks. |
How to Shape Eyebrows at Home Safely: Step-by-Step
Work in daylight if you can, and work on one brow at a time so you can compare as you go. Most of a first session should be brushing and trimming, not plucking.
How to Shape Eyebrows at Home Safely Without Overplucking
Start by mapping before you remove anything. Hold a pencil vertically from the centre of your nostril up toward your brow bone; where it meets your brow is roughly where the head of the brow begins. Then angle it from the side of your nose past the middle of your pupil to find the arch, and from the nostril out toward the corner of your eye for the tail.
Lightly dot those three points with the pencil, then connect them with a soft line you can see and erase afterwards. Brows are not symmetrical and never were, so the line is a guide, not a rule.
Pluck with the skin pulled taut between thumb and forefinger, grip one hair at the root, and pull in the direction it grows. A quick firm pull beats a slow hesitant one that tears the skin. Work in small sections and put the tweezers down every few hairs.
The rule that prevents most damage: step back to arm’s length, look, and stop as soon as the intended shape appears. On a first pass, remove only hairs that clearly sit outside the mapped line, and stay away from the inner edge near the nose. You can always come back in a week.
Trim Long Brow Hairs Carefully
Comb the hairs straight up with the spoolie until they stand proud of the brow line, then take the scissors to the tips that stick out above your outline. You are cutting the ends, not the roots.
Never cut close to the skin, and never trim an entire brow without checking how the hair grows first. Some brows sweep outward, some straight up, some sideways along the tail. Cut against that direction and you will take off far more than you meant to.
Do the same on the second brow, holding both up and comparing the two top lines before you set the scissors down.
Check Symmetry and Finish the Edges
Brush both brows back into their natural position and compare the upper and lower contours from across the room, not from six inches away. A close-up mirror makes everything look heavier and messier than it is.
Make tiny corrections only where the two sides genuinely differ. Some tidying at the outer tail and just under the arch is usually enough; people obsess over a difference of half a millimetre that nobody else can see.
If a few fine hairs sit above or below the line, a dry face shaver with a light downward stroke clears them quickly. Dampen the skin first, use a fresh blade, and go slowly if the skin on your cheek has started to loosen with age, since a dragging surface is easy to nick.
Common Mistakes
- Plucking the inner edge. Those hairs frame the face. Leave them alone unless a professional tells you otherwise.
- Building a very high arch. Follow the arch your brow already has. You can remove hair above it, never from inside it.
- Removing too many hairs in one sitting. Take a break, step back, and decide whether more is actually needed.
- Cutting below the natural growth line. Trim tips only, and keep the scissors parallel to the brow.
- Using dull or shared tools. A blunt blade nicks and pulls instead of cutting cleanly, and shared tools are how germs travel.
- Judging the result in a close-up mirror. Check from arm’s length in daylight before you panic about what you have done.
Work slowly, and remember that beginner brows look worse for a day or two before they look better. That is normal.
How to Keep the Look Between Sessions
Brush your brows into place with the spoolie each morning and finish with a clear brow gel, or a tinted gel if you want them to look fuller without any precision work. Tinted gel is the gentlest first step for beginners, since it removes nothing.
There is no reason to retouch brows that already look fine. Plucking on a schedule rather than a need is the single biggest cause of thinning brows I see.
If the area stings, swells or stays red for more than a day or two, stop shaping it. Dab on a plain unscented moisturiser, skip perfumed products and harsh scrubs for a few days, and see a dermatologist or doctor if the reaction persists or the skin is already irritated, flaky or recently treated with a peel or prescription retinoid.
Frequently Asked Questions
What is the safest way to shape eyebrows at home?
The safest method is brushing, trimming the tips of long hairs, and plucking only the hairs that clearly sit outside your natural shape. Work in daylight, sanitise your tools with rubbing alcohol first, and pull the skin taut before plucking a single hair at a time in the direction it grows. Step back to arm’s length every few minutes and stop the moment the shape appears.
Should I use tweezers, a razor, or scissors to shape my eyebrows?
Use each for a different job. Scissors or a brow trimmer cut long hairs at the tips, tweezers remove individual strays with the most control, and a razor or facial shaver clears the soft peach fuzz above and below the brow quickly. Beginners do best starting with a spoolie, trimming and light tweezing, and adding the razor only for edges.
How often can I shape my eyebrows without thinning them?
Most people only need to tidy their brows every two to four weeks, and many need far less than that. Brushing with a spoolie and setting them with brow gel counts as shaping too, so a daily routine does not involve removing anything. If you find yourself plucking most weeks because a gap bothers you, that gap is normal and filling it with gel is safer than taking more hair.
How do I fix an eyebrow shape I overplucked?
Stop removing hair from that brow and let it grow back, which takes roughly three to four months to look normal again. In the meantime, brush the hairs upward and outwards with a spoolie and use tinted brow gel or short pencil strokes to fill the gaps, and avoid trimming the regrowth while it comes back. If the shape is badly compromised, a professional brow artist can often rebuild an outline around what you have left.
Why does shaping my eyebrows hurt, and when should I stop?
Most of the sting comes from plucking against the growth direction or from dry, tight skin. Pulling the skin taut, plucking in the direction the hair grows, and working right after a warm shower or with a clean ice pack held nearby all reduce it. Stop immediately if the skin bleeds, swells, or stays painful or red the next day, and seek medical advice if the reaction does not settle.
Is it better to shape uneven eyebrows at home or see a professional?
Shape them at home if the difference is small, because a spoolie, gentle trimming and light tweezing can tidy uneven brows safely. See a brow professional when one brow has been over-plucked, when you want a straight or strongly defined shape, or when the skin is loose or sensitive. Professionals can also thread and wax, both of which are difficult and risky to do on yourself.
Conclusion
Brush both brows up, mark your start, arch and tail with a pencil, remove only the few hairs that clearly sit outside the shape, then check from arm’s length and stop. If you do one thing differently from most beginners, make it the stopping point, because a slightly wild brow always grows back and a sparse one takes months.