To blow dry hair straight at home, you need three things working together: hair that is already about 80% dry, a brush holding gentle tension on the section, and airflow aimed down the hair shaft. Prep, protect, section, dry, set, finish. On shoulder-length hair most people need 15 to 20 minutes from towel to smooth.
The part almost everyone gets wrong is speed. Drying soaking-wet hair on high heat is what leaves ends feeling like straw and roots looking frizzy by lunchtime. Slow down the styling phase, speed up the drying phase, and the finish changes completely.
Table of Contents
- What You Need
- How to Blow Dry Hair Straight at Home: Step by Step
- Step 1: Prep Your Hair and Protect It
- Step 2: Rough-Dry to About 80% Dry
- Step 3: Create the First Smooth Pass
- Step 4: Smooth the Front and Crown
- Step 5: Finish with Cool Air and a Light Product
- What heat setting should you use for your hair type?
- How long should a straight blow-dry take?
- Common Mistakes
- Frequently Asked Questions
- What kind of brush is best for blowing hair straight at home?
- Can a blow dryer make hair straight without a brush?
- What heat setting should I use to avoid frizz and damage?
- How do I blow dry thick or wavy hair straight?
- How long does a home blowout usually last?
- Conclusion
What You Need
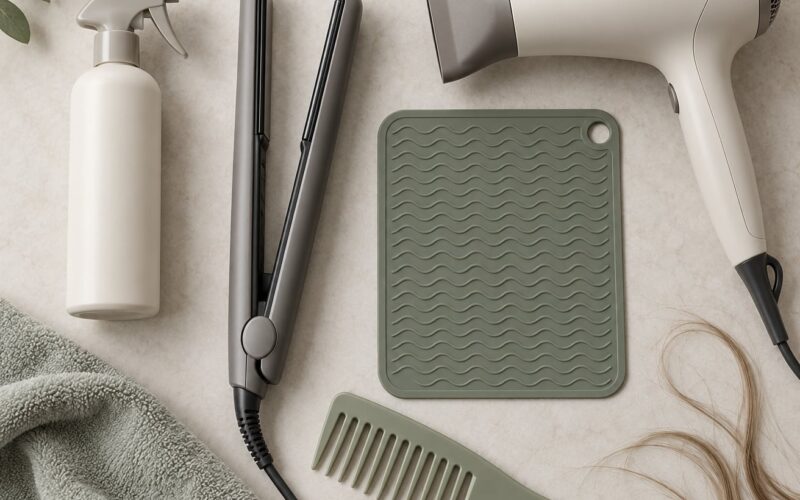
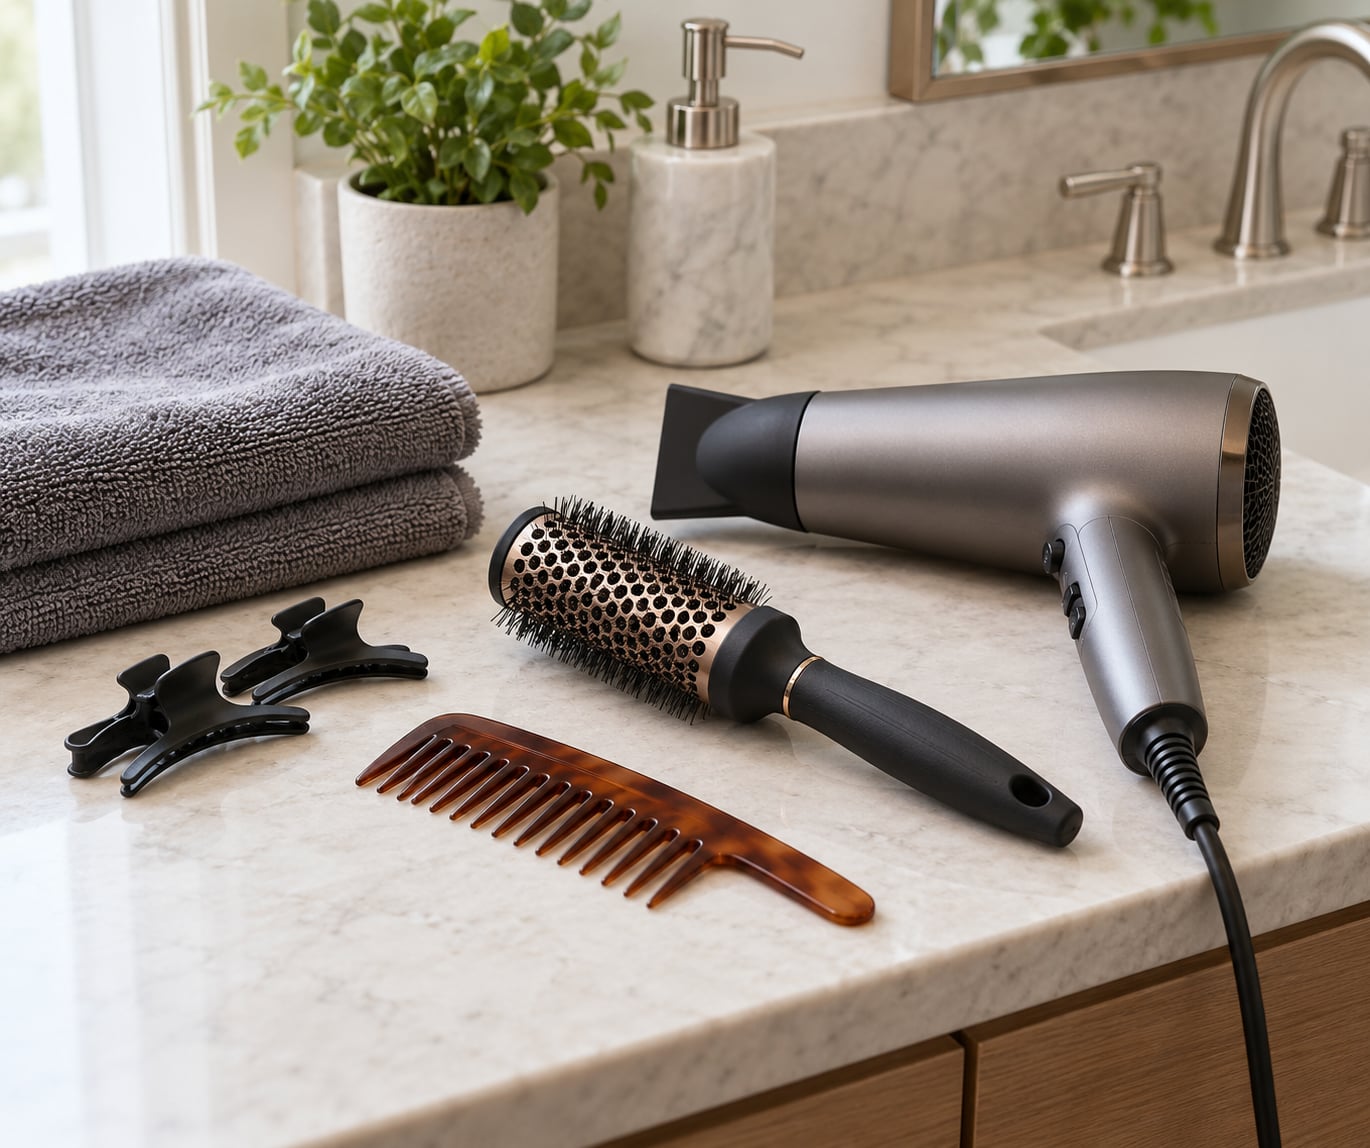
You can do this with very little, but each item below earns its place. The two that actually change the result are a heat protectant and a concentrator nozzle.
- A round brush or paddle brush. The round brush gives you tension and root lift. The paddle brush smooths long, straight lengths and is far easier for a beginner.
- A blow dryer with attachments. A concentrator nozzle directs airflow in a tight line. Without one, air scatters across the section and lifts the cuticle instead of laying it down.
- Heat protectant spray. Applied to damp hair before any warmth hits, it coats the shaft. Follow the label amount, since more is not better.
- A wide-tooth comb for detangling wet hair without pulling.
- Sectioning clips so you are not chasing loose hair around your head.
- A microfiber towel. Rubbing with a terry towel roughs the cuticle up, which is where frizz starts.
- A cool setting on the dryer. Not optional. It is the step that sets the shape you just created.
- Optional: a lightweight smoothing spray, a shine serum for the finish, and a small clip to hold the front sections out of the way.
Brush plus dryer beats brushing wet hair loose and hoping for the best. Brushing wet hair without controlled airflow just pushes moisture around the shaft and makes it dry unevenly.
How to Blow Dry Hair Straight at Home: Step by Step
Step 1: Prep Your Hair and Protect It
Squeeze water out gently with a microfiber towel. You are aiming for hair that is dry enough not to drip and damp enough that heat protectant spreads evenly.
Detangle with a wide-tooth comb, starting at the ends and working upward in small pieces. Roughing through knots under tension pulls the cuticle up, and that lifted cuticle is exactly what catches humidity later.
Then apply heat protectant to damp hair. Use the amount on the label and spread it from mid-length to ends. Heavy oils and masks belong after you dry, not before, because oil under high heat is a repeated source of damage.
You know this step worked when your hair feels slick, cool and evenly coated, with no wet patches left at the ends.
Step 2: Rough-Dry to About 80% Dry
Attach the concentrator nozzle. Set medium or high heat for this stage only, because your job here is removing water, not styling.
Move the dryer continuously and point the airflow from roots toward ends. Hold it about six inches away and never park it on one spot, especially at the scalp.
Drying the nape and the sections underneath first saves real time, because those pieces shrink as the top layers dry. Aim for hair that is dry to the touch but not yet styled.
Step 3: Create the First Smooth Pass
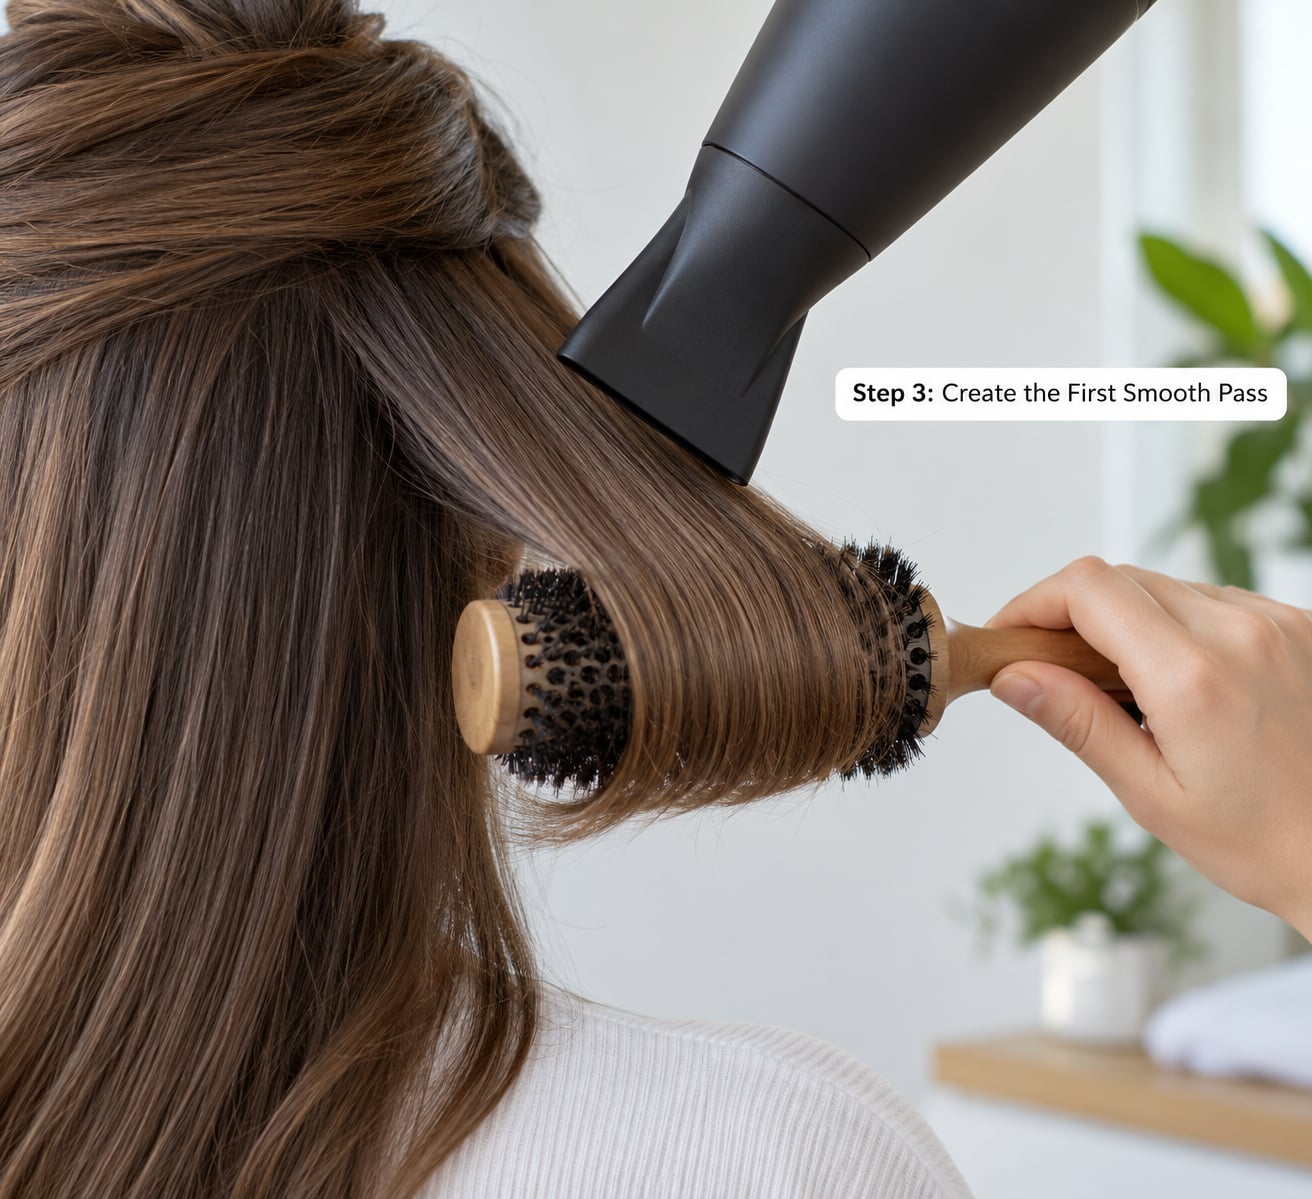
Take a section no wider than the width of the round brush, roughly an inch or two. Comb it clean first so you are not fighting tangles with heat.
Place the brush under the section near the roots, lift slightly, and pull the brush toward the ends while directing airflow over the top of the brush, not into your hand. The brush is doing the straightening; the dryer just sets it.
Start on medium heat. Once the section is mostly dry, drop to a lower heat and slow the pass down. That slower second pass is where the smoothness comes from.
You can tell it is working when the hair leaves the brush and holds the line you made instead of springing back.
Step 4: Smooth the Front and Crown
Work in smaller sections at the front, near the hairline. Point the dryer away from your face and keep the brush moving so you are shaping, not tugging.
Crown hair lies flat on its own once it is dry, so treat it last and use light tension. Pulling tight at the top is the fastest route to a flattened, frizzy crown.
If your ends flip outward as you dry, you are probably drying them at a slight upward angle. Drop the dryer so the airflow finishes pointing down the last inch of the shaft.
Step 5: Finish with Cool Air and a Light Product
Switch to cool and sweep the dryer over your hair from about ten inches away for 30 seconds. Cool air sets the shape without adding more heat exposure.
Finish with a small amount of smoothing spray or shine serum, warmed in your palms and applied to mid-lengths and ends. Keep it light. Heavy product after drying flattens the finish and weighs out any movement.
Done right, your hair feels dry and flexible, not stiff, and stray hairs stay put for the rest of the day.
What heat setting should you use for your hair type?
Warm air is for removing moisture. Hot air is for styling a section that is already nearly dry. Keeping that rule simple is the whole trick, but hair type still changes the numbers.
| Hair type | Rough-dry stage | Styling stage | Notes |
|---|---|---|---|
| Fine or straight | Medium, moving constantly | Low | Goes frizzy fastest. Add a second cool shot at the end. |
| Medium thickness | Medium to high | Medium | The easiest hair type to blow straight. |
| Thick or coarse | High | Medium | Dry the underside first. Expect 20 to 30 minutes. |
| Curly, coily or textured | High, for moisture removal only | Low to medium, cool finish | Stretch hair fully first, then dry the cuticle down flat. |
| Color-treated or bleached | Medium | Low | Processed hair dries faster and is the first to feel brittle. |
Dryers with an ionic function pull moisture out of the strand faster, so you can work at a lower temperature for the same result. If your dryer has one, low heat plus ionic is the gentlest combination.
How long should a straight blow-dry take?
If it takes longer than this, you are almost certainly drying wetter hair than you think. Prep time counts too.
| Length | Fine hair | Medium hair | Thick hair |
|---|---|---|---|
| Chin to shoulder | 8 to 12 minutes | 12 to 15 minutes | 15 to 20 minutes |
| Mid-back | 12 to 18 minutes | 18 to 25 minutes | 25 to 35 minutes |
| Waist-length | 20 to 30 minutes | 30 to 40 minutes | 45 to 60 minutes |
Letting hair air-dry for 20 to 30 minutes before picking up the dryer cuts both the drying time and the heat needed, because there is simply less water left to remove.
Common Mistakes
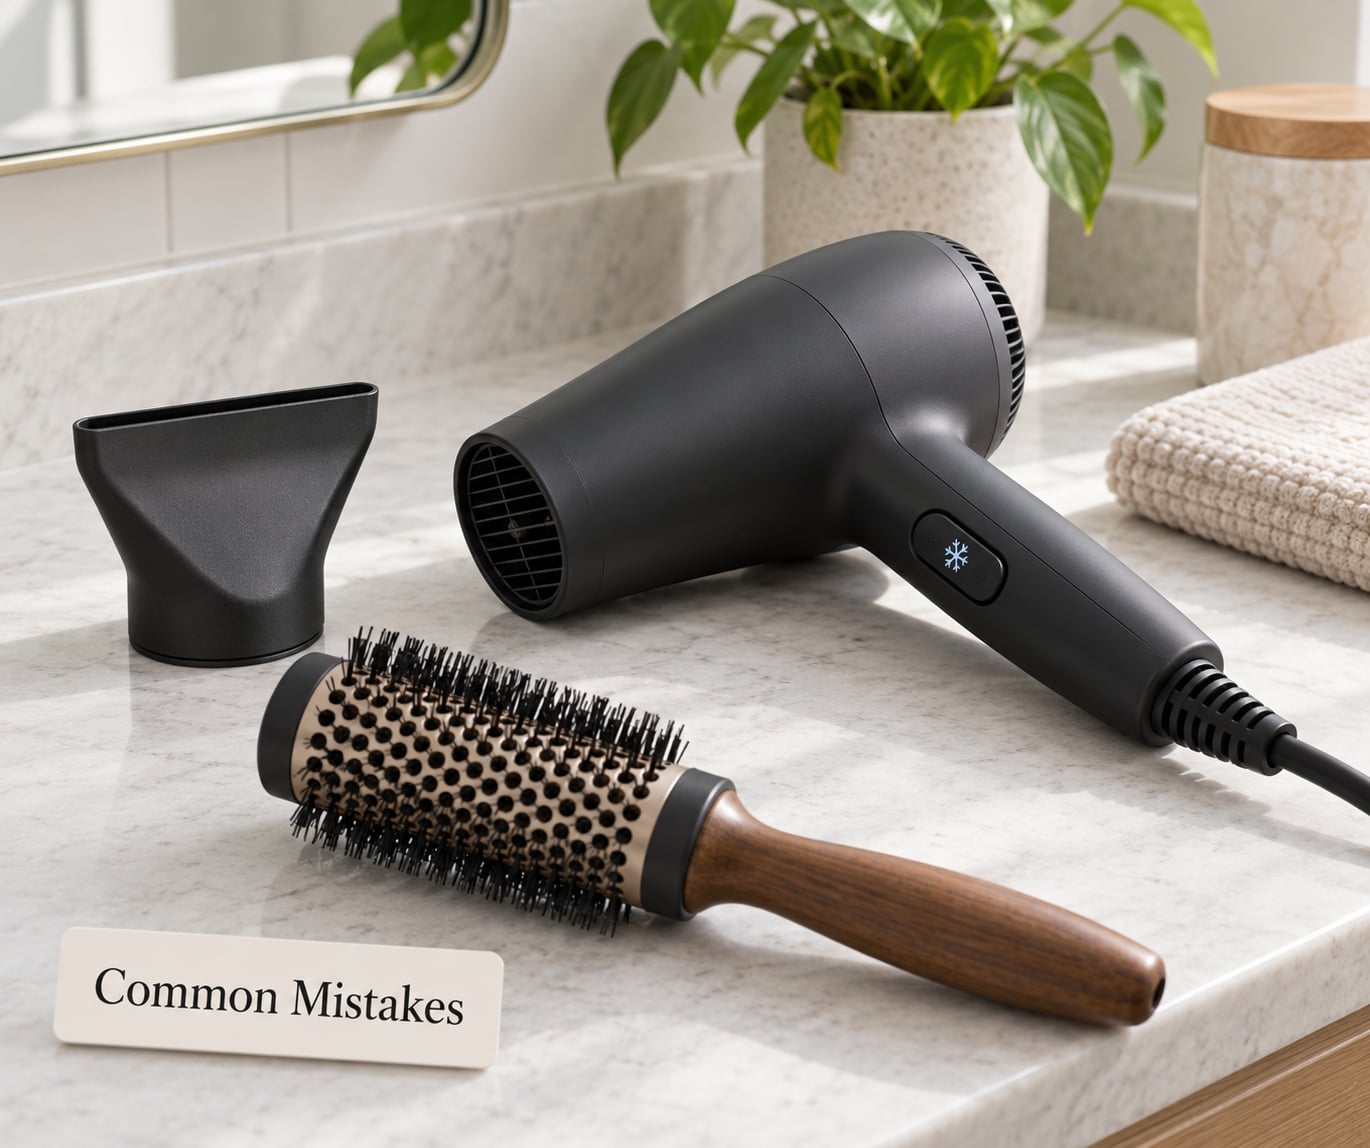
Almost every disappointing at-home blowout comes down to one of these. Each has a simple correction.
- Drying soaking-wet hair on high heat. Water trapped in the strand boils, which roughens the cuticle and leaves that straw texture at the ends. Correction: get to 80% dry first, then style.
- Holding the dryer too close. Six inches or more, always moving. One stationary blast on a section is what causes the brittle spots you feel a week later.
- Pulling the brush too tight. Tension should be gentle and even. Tight pulling on damp hair stretches it, and it springs back frizzy.
- Applying oil or heavy masks before drying. Coat the hair with heat protectant instead, and add oil or serum when the hair is dry and cool.
- Skipping the cool setting. The cuticle sets as hair cools. Skip it and the shape relaxes the moment you put the dryer down.
- Rough detangling. Work from ends upward with a wide-tooth comb on damp hair, before any heat.
- Ends flipping outward. Direct the last few inches of airflow downward, and dry the ends last.
- Over-drying. Once a section is smooth and dry, move on. Extra minutes on the same section bring back frizz and static.
A few tool choices that make the job easier. Pick a round brush barrel a little narrower than the section you are drying for more tension, and a wider one if you are just smoothing long hair. Use the narrowest nozzle that still covers the section for precision, and the wide smoothing concentrator for a one-pass finish over bigger sections.
Arm fatigue is real, especially above shoulder-length hair. Smaller sections, more clips, and dropping your head upside down for the back sections all reduce the strain.
Frequently Asked Questions
What kind of brush is best for blowing hair straight at home?
A round brush is the better choice if you want tension at the roots, because it grips the section and lets you pull it straight while the dryer follows. A paddle brush gives a smoother, flatter finish on long straight hair and is easier for beginners. Either works on curly hair once it is fully stretched. Match the brush barrel to the section size: narrower barrel, more control.
Can a blow dryer make hair straight without a brush?
Yes, on already-wavy or straight hair, but expect a shorter-lived result and more frizz. Without a brush there is nothing holding the section under tension, so airflow lifts the cuticle instead of laying it flat. You can comb down each section repeatedly while aiming the dryer downward. It is a reasonable method for a quick refresh, not for a full blowout.
What heat setting should I use to avoid frizz and damage?
Use medium heat for the rough-dry stage to remove water, then drop to low for styling the section. High heat belongs on thick hair while it is still soaking, and nowhere else. Finish every pass with 30 seconds of cool air. If your hair feels straw-like while you work, you are either too hot, too close, or spending too long in one spot.
How do I blow dry thick or wavy hair straight?
For thick hair, work in smaller sections and dry the nape and undersides first to save time. Keep medium heat through the rough-dry and drop to medium or low while styling, with the round brush pulling each section straight. Wavy hair needs the cuticle sealed down, so apply heat protectant to damp hair and finish with cool air plus a light smoothing spray.
How long does a home blowout usually last?
A properly blow-dried straight style lasts until the next wash, usually two to four days. Wind, rain and humidity shorten that, and touching it constantly restarts the frizz. If you sleep on it, a satin or cotton pillowcase reduces friction overnight. A quick refresh on day two is a light blow-dry on low heat with a smoothing spray, not a full re-dry.
Conclusion
A straight blowout is not about a special dryer or a secret product. It is tension from the brush, air pointing down the shaft, and hair that is mostly dry before you start styling it.
Start here: clean, detangled hair with heat protectant on it, then rough-dry every section to about 80%. From there, make slow, controlled medium-heat passes, and finish with cool air. Do those five things consistently and the flat-iron look is not far off.