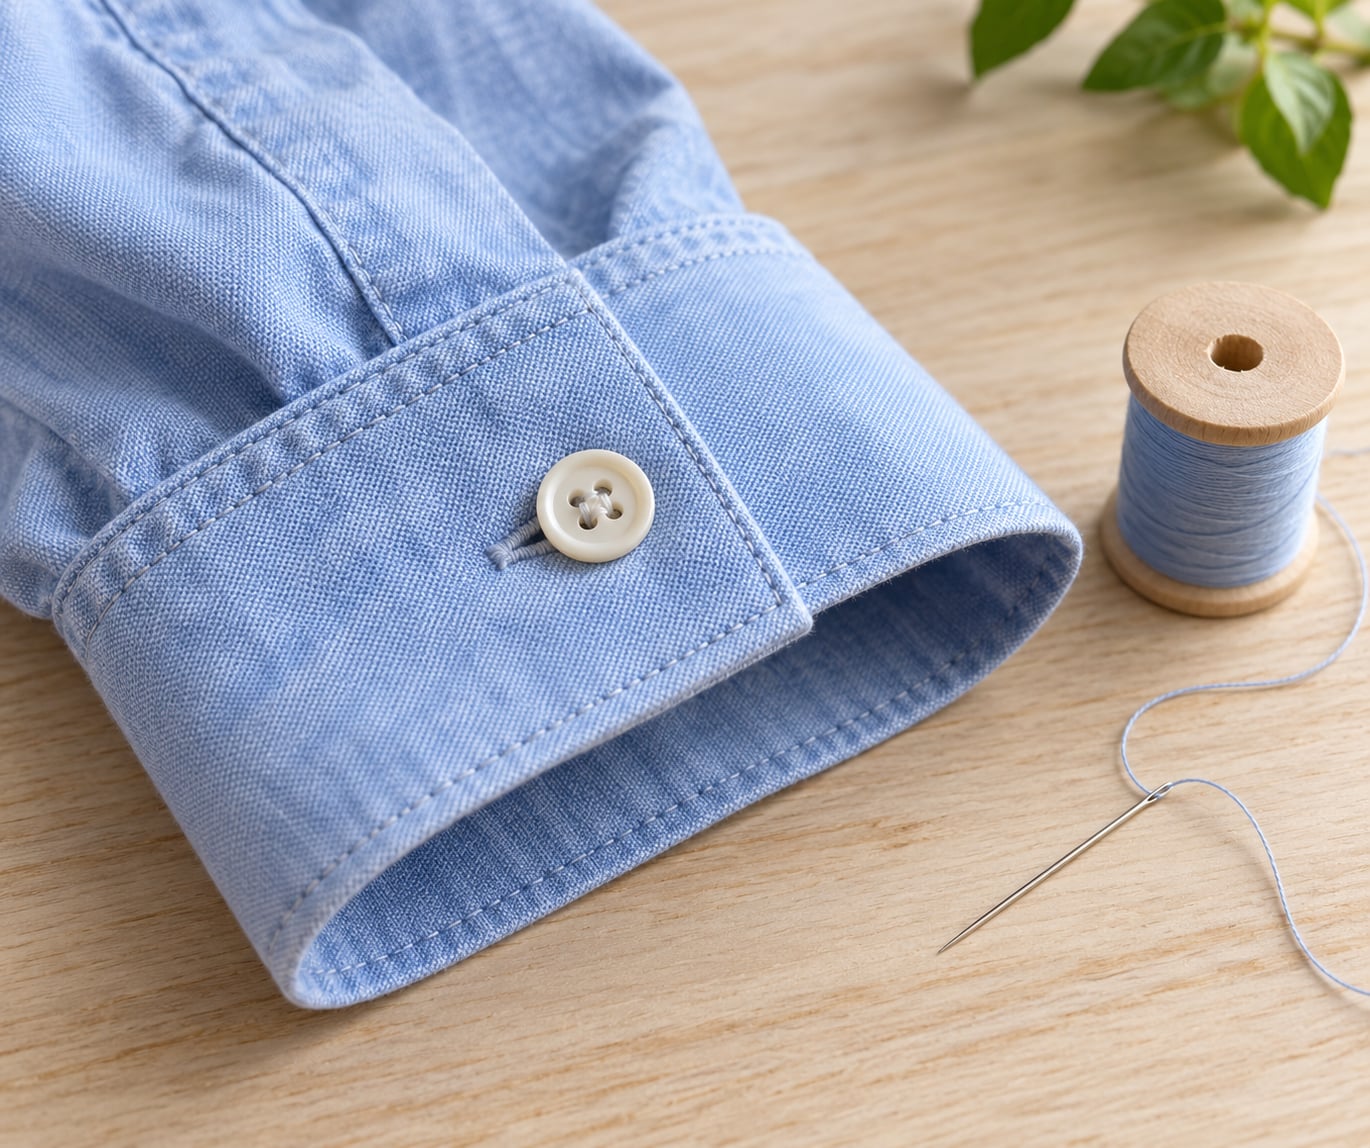
If you know how to sew a button back on neatly, the whole repair takes about five minutes: mark where the button belongs, push a needle threaded with doubled, waxed thread up from the wrong side through the first hole, cross to the other hole and back down several times, then wind the loose thread under the button to form a shank before you lock and trim it. Four methods cover almost every case, from a four-hole shirting button to a shank button on a wool coat.
The trick that separates a repair that lasts from one that pops off in a fortnight is the bit nobody sees: a small thread shank under the button and a locked finish, not a knot. Beginners usually skip both.
Over the years I have watched people re-sew the same cuff button three or four times, always in the same spot, always with the same loose knot. Almost every one of those failures comes down to too few passes, thread that frayed through the eye of the needle, or a buttonhole stretched past the point where it can hold anything.
Table of Contents
- What You Need
- Which button type are you dealing with?
- How to Sew a Button Back on Neatly: Step-by-Step
- Method 1: Sew a Four-Hole Button Neatly with Thread
- Method 2: Sew a Button Back on Fast with a Double-Threaded Needle
- Method 3: Sew a Shank Button
- Method 4: Attach a Button Without Sewing
- Why your button came off in the first place
- Common Mistakes
- Frequently Asked Questions
- How do I sew a button back on without making the thread visible?
- What type of thread should I use for a button?
- How do I line up a button with the original buttonhole?
- Should I sew through the existing holes in the garment?
- How do I attach a four-hole button neatly?
- What can I do if I do not have a needle and thread?
- Conclusion
What You Need
You need very little, and most households already have it. Keep the list short so you do not put off a five-minute fix because one item is missing.
- A hand-sewing needle. A size 7 or 9 sharps works for most clothing. A long-eye needle is easier to thread and worth the swap if you sew often.
- About 16 inches of thread, doubled. Longer than it feels necessary, because you cut twice: once for the needle and once for the tail that becomes the shank.
- The button itself. Check the care tag or the seam allowance before you go hunting for a match. Manufacturers often sew a spare inside.
- Small scissors or snips for a clean cut at the thread, not a dull nail pair that frays the ends.
- Optional: a thimble for denim and coat wool, a needle threader if threading makes your hands ache, a thimble-style pin to hold your place, and a small block of tailor’s beeswax to smooth and strengthen the thread.
Which button type are you dealing with?
Almost every sewing failure I see starts with the wrong method for the button shape, so match yours before you thread anything.
| Button type | How you stitch it | Best for |
|---|---|---|
| Flat, two-hole | Straight back and forth, one thread line through each hole | Simple blouses, shirt cuffs, children’s clothes |
| Flat, four-hole | Cross pattern through all four holes, plus a thread shank | Shirting, trousers, waistbands, most everyday repairs |
| Shank button | Wrap thread around the shank only; never sew through it | Coats, jackets, blazer and suit buttons |
If your sewing kit is bare, a doubled strand pulled from a sturdy spool with a slightly stiff needle still works. What does not work is thin embroidery floss, which abrades and snaps at the first snag.
How to Sew a Button Back on Neatly: Step-by-Step
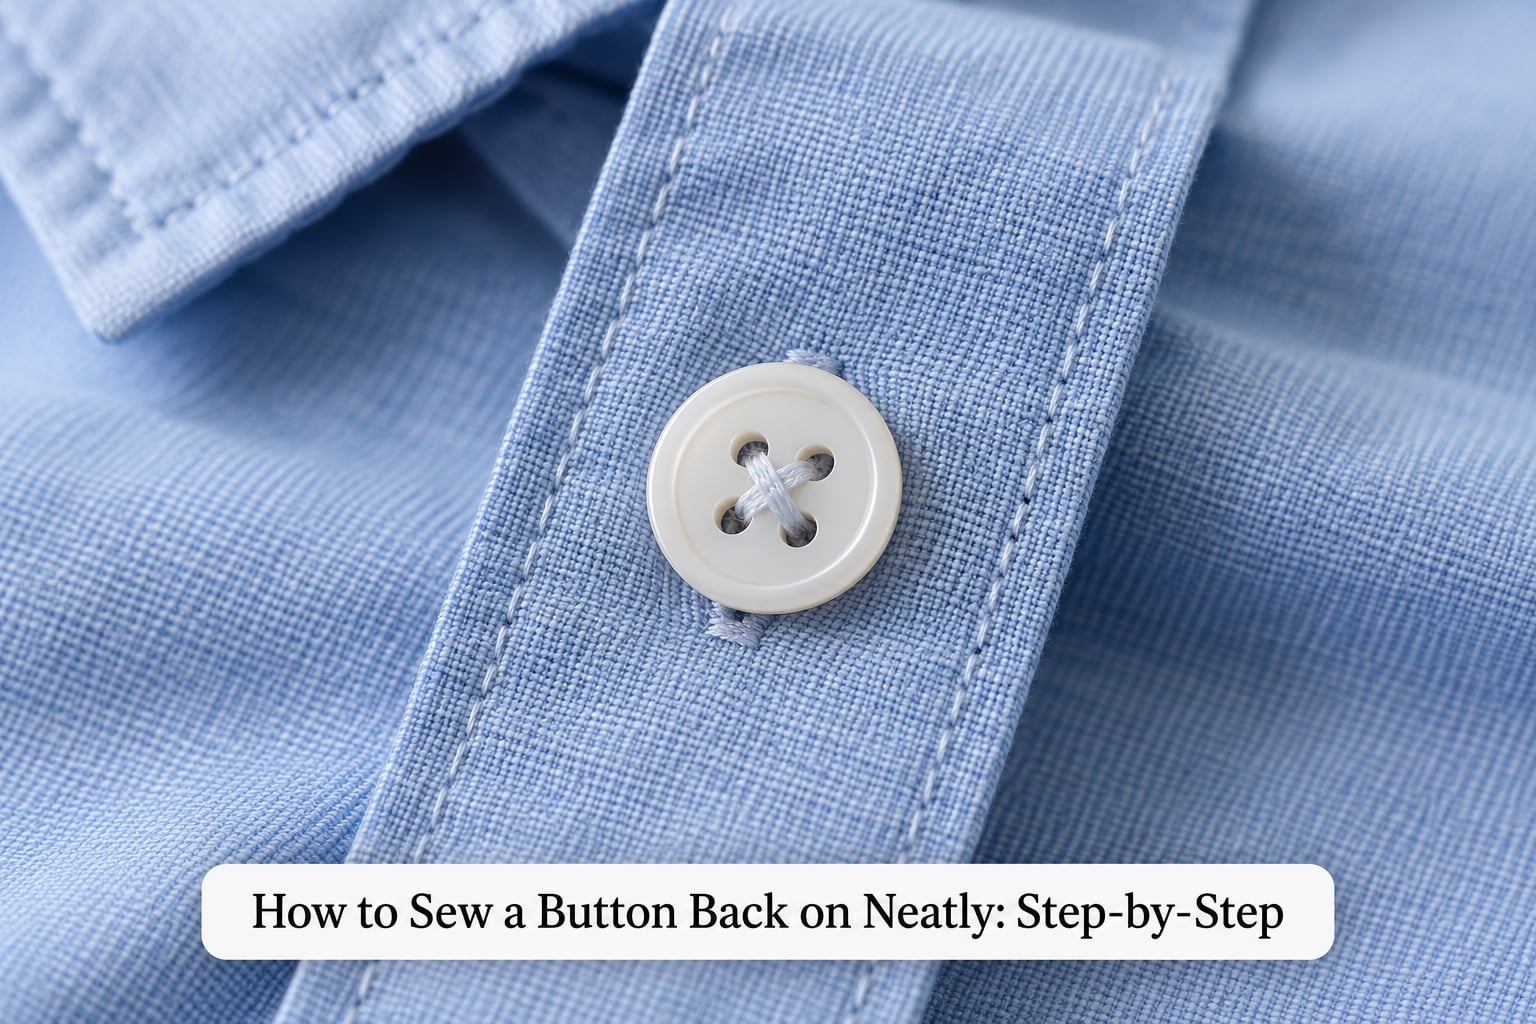
Method 1: Sew a Four-Hole Button Neatly with Thread
This is the method I recommend to beginners because the four holes hold a lot of thread and forgive small mistakes. Allow five minutes.
- Clear the old thread. Snip the loose threads close to the fabric and pull them out. Leaving a knot under the button means your new one will sit crooked.
- Mark the position. On a waistband, measure 1 inch from the folded edge and centre the button on it. For a cuff or placket, align the new button with its partner on the other side before you mark anything.
- Prepare the thread. Cut about 16 inches, fold it in half, and run the loop through the needle eye to make a knot. Then fold the thread in half again and thread both tails through the eye so it is doubled. Run it through a cake of beeswax if you have one.
- Start from the front. Push the needle up through the fabric directly under where the button will sit, catching both tails on the first pass so the anchor holds.
- Stitch through the holes. Go up through one hole and down through the hole beside it. Repeat the journey four or five times, keeping the thread snug and the spacing even.
- Cross for four holes. For a four-hole button, move from one hole to the diagonal hole so the thread makes an X across the middle. It distributes the load and stops the button twisting.
- Finish and trim. Leave a gap of about a millimetre under the button, wind the remaining thread around the stitches beneath it five or six times to build a shank, pass the needle through those wraps, then knot on the underside and cut.
To keep the shank height even instead of guessing, lay a spare sewing needle flat on the fabric under the button while you stitch. The thread gaps rest on the needle, so the button sits at a consistent height across all four holes.
For a delicate blouse or a knit, sew the button flat with no shank at all. A shank is clearance for thick fabric, and on something thin it just looks like a mistake.
Method 2: Sew a Button Back on Fast with a Double-Threaded Needle
When you need to fix a button in a hurry, use the doubled-thread trick that circulates constantly on sewing forums. Fold your thread in half, put both tails through the eye of the needle, and take your very first stitch through both tails together.
The first stitch anchors the thread without any knot at all, which is why it is fast and why it leaves no lump inside the garment. Then stitch through the holes exactly as you would with a single thread.
Two cautions. Keep the doubled tails short enough that they do not drag across the fabric as you pull, or you will unpick the whole thing later. And skip the doubled thread on silk, chiffon, and anything sheer; the extra thickness shows and can cut the fabric.
Method 3: Sew a Shank Button
A shank button has a loop or stem on the back instead of holes. You never sew through it. Every pass of thread through that shank is a pass that can snap.
Position the button on your mark and take three or four wraps of thread around the shank, pulling each one snug with the button held down. For a coat or jacket, sewing forums are near-unanimous that a shank and a generous thread loop are non-negotiable, since that button carries the load every time you fasten your coat.
Lock the wraps by passing your needle underneath them from below, then wind the tail around the base a few more times and knot underneath where the shank hides the lump. Leave enough clearance for the button to lie flat without the fabric puckering into a ridge underneath it.
Method 4: Attach a Button Without Sewing
Sometimes the real question is how to attach a button without sewing at all, and the honest answer is that nothing temporary will survive a wash. It will get you through today, which sometimes is the whole job.
- Fabric adhesive dots or a fabric glue pen. Good on a spare button resting on a jacket or a bag. Not for silk, wool, or anything you would dry clean, and never for a buttonhole you still want to use.
- A safety pin through the shank. The honest emergency fix. Snap the button back on, tuck the pin under the lining or inside a sleeve so it does not scratch you.
- A temporary fastener. Hook-and-loop dots peel apart cleanly and survive a trip in a bag. Bring real thread when you get home.
Why your button came off in the first place
Diagnosing the failure saves you repeating it. In order of how often I see them: too few stitches through the buttonholes, a missing thread shank on thick fabric, ordinary thread that frayed and snapped inside the needle eye, and a buttonhole stretched by the pull of the button over years.
For heavy garments, up the count rather than the tension: five or six passes on a coat or a pair of jeans, all of them evenly spaced. Tearing the thread by yanking is what frays it, not the passing.
A sewing machine can do the job in under a minute if you own one and know the buttonhole foot, but hand sewing beats it for placement. On a waistband where the button needs to sit exactly opposite its hole, the machine is fussier than your fingers.
Common Mistakes
- Stitches pulled too tight. The fabric puckers and the button leans. Pull until the thread is taut, then ease off a hair.
- The button sits off-centre. You marked by eye instead of matching the opposite button, or forgetting the 1 inch waistband inset.
- Thread cut too short. Leave 2 inches at minimum after the last pass, because you will trim twice.
- No shank under a flat button. On coats and denim the button should stand slightly proud so the garment closes without dragging.
- A knot showing inside the garment. Start from the front so the anchor hides beneath the button, and tie off on the side the button covers.
- Wrong button size. A replacement that is a few millimetres larger or smaller will either gape or strain the buttonhole.
- Thread too fine for the fabric. Polyester or a waxed all-purpose thread on a coat is the difference between a repair that holds and one that snaps.
One more that gets overlooked: if the buttonhole itself has gone slack, sewing the button perfectly will not fix it. Zigzag over the buttonhole a few times to stabilise it, or hand-bartack the far end with a few tight stitches, and the button will sit flat again.
Frequently Asked Questions
How do I sew a button back on without making the thread visible?
Start the repair from the front of the garment so your starting knot sits directly under the button. Finish by winding the loose thread several times around the stitches beneath the button to build a shank, then pass your needle through those wraps and knot on the underside, where the button covers it. Cutting the thread close to the fabric, not long, keeps the ends from peeking out on the inside.
What type of thread should I use for a button?
A strong all-purpose polyester thread, doubled, works for cotton, denim, and most garments. Wax it with tailor’s beeswax if you have a block; the wax reduces tangling and friction, which is what frays thread at the needle eye. For a wool coat, choose a heavier bonded or waxed thread and add passes rather than force. Avoid embroidery floss, which abrades and snaps easily.
How do I line up a button with the original buttonhole?
Close the garment first and check where the buttonhole sits, then mark the button on the opposite panel from that position. On a waistband, measure 1 inch from the folded edge and centre the button on that line. On a cuff or placket, lay the closed garment flat and pin the new button exactly opposite its partner so both sides line up when it is buttoned.
Should I sew through the existing holes in the garment?
If the old holes are still crisp and in the right place, yes. Reusing them keeps the button exactly where the buttonhole expects it and looks tidier than making new holes beside them. If the holes have torn, stretched into a ragged oval, or sit in the wrong position, skip them and mark fresh holes, since a button anchored in damaged fabric is the first one to go again.
How do I attach a four-hole button neatly?
Go up through one hole and down through the hole beside it, repeating four or five times with even spacing and slack-free tension. On a four-hole button, move diagonally between holes so the thread crosses in the middle and the load spreads. Finish by winding the remaining thread under the button to form a shank, locking the wraps with your needle before you knot and trim.
What can I do if I do not have a needle and thread?
Use a temporary fix to hold the garment wearable: a fabric adhesive dot or glue pen on a spare button, a safety pin threaded through the button shank and tucked under the lining, or hook-and-loop dots for a bag or a coat placket. None of these survive a wash or a proper pressing. Replace them with hand stitching as soon as you have a needle and a sturdy thread.
Conclusion
Start by checking the care tag for a spare button, then mark the position against the buttonhole before anything else. For most repairs, the four-hole method with doubled waxed thread is the one to learn: it holds the thread, spreads the strain, and is forgiving while you get the hang of it.
When you finish, tug the button gently with a firm but not hard pull before you wear the garment. If it holds and the button sits flat with no thread showing on the inside, the repair will outlast the original seam. If it shifts, add two more passes and rebuild the shank.