How to apply concealer under tired eyes comes down to four things: a well-prepared base, a corrector that cancels the colour, a very small amount of product placed only where there is shadow, and a light set. Skip any one of those and the finish goes cakey by lunchtime, which makes eyes look more tired than they did bare.
The whole routine takes about five minutes of actual application, plus ten you spend waiting for skincare to absorb. Most of the struggle people have with under-eye concealer is not the product. It is how much they use and how hard they rub it in.
Here is exactly how to apply concealer under tired eyes so the result looks like rested skin rather than a cover-up.
Table of Contents
- What You Need
- Step-by-Step: How to Apply Concealer Under Tired Eyes
- How to Prepare the Area
- Choose the Right Concealer
- Place Concealer Where You Need It
- Blend Without Creating Lines
- Set the Concealer Lightly
- Common Mistakes
- Frequently Asked Questions
- How much concealer should I use under my eyes?
- Should I apply concealer on the lower lash line?
- How do I stop concealer from creasing under my eyes?
- What if my concealer looks too light or too dark under my eyes?
- Do I apply concealer before or after foundation?
- What type of concealer is best for tired eyes?
- The Best Place to Start
What You Need
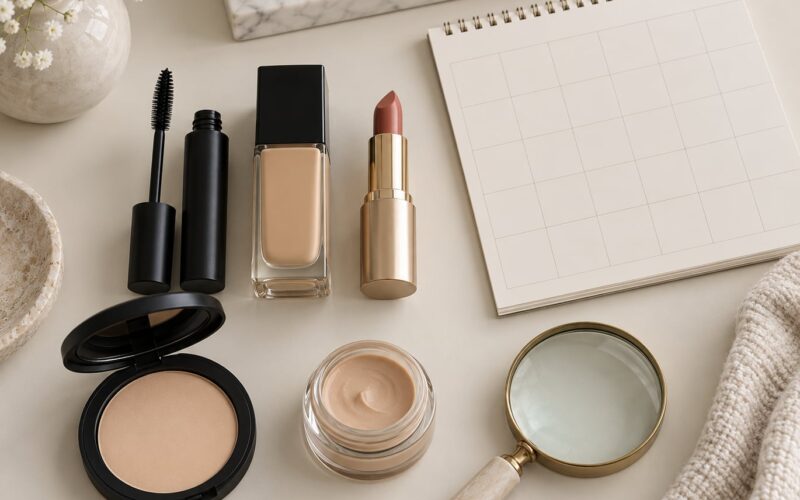
You need four things, and three of them are probably already in your bathroom cabinet.
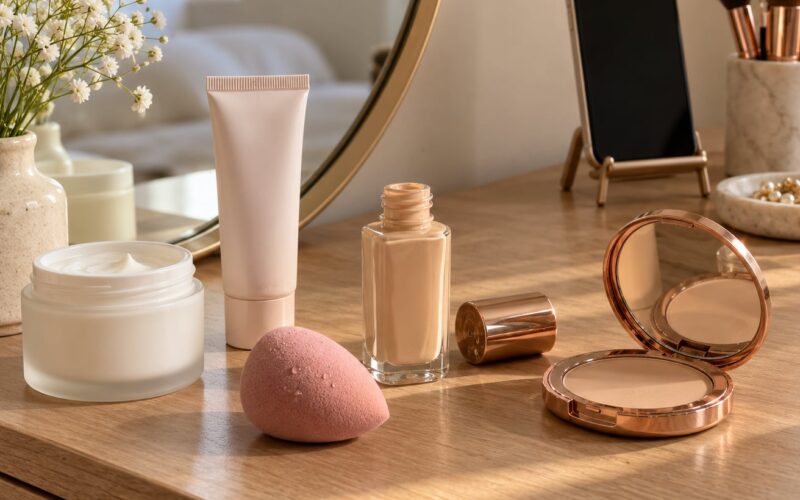
- A hydrating eye cream or moisturiser. Under-eye skin is the thinnest on your face and holds product worse when it is dry.
- A lightweight, buildable liquid concealer. Buildable matters more than coverage. You should be able to add a second thin layer instead of fighting one thick one.
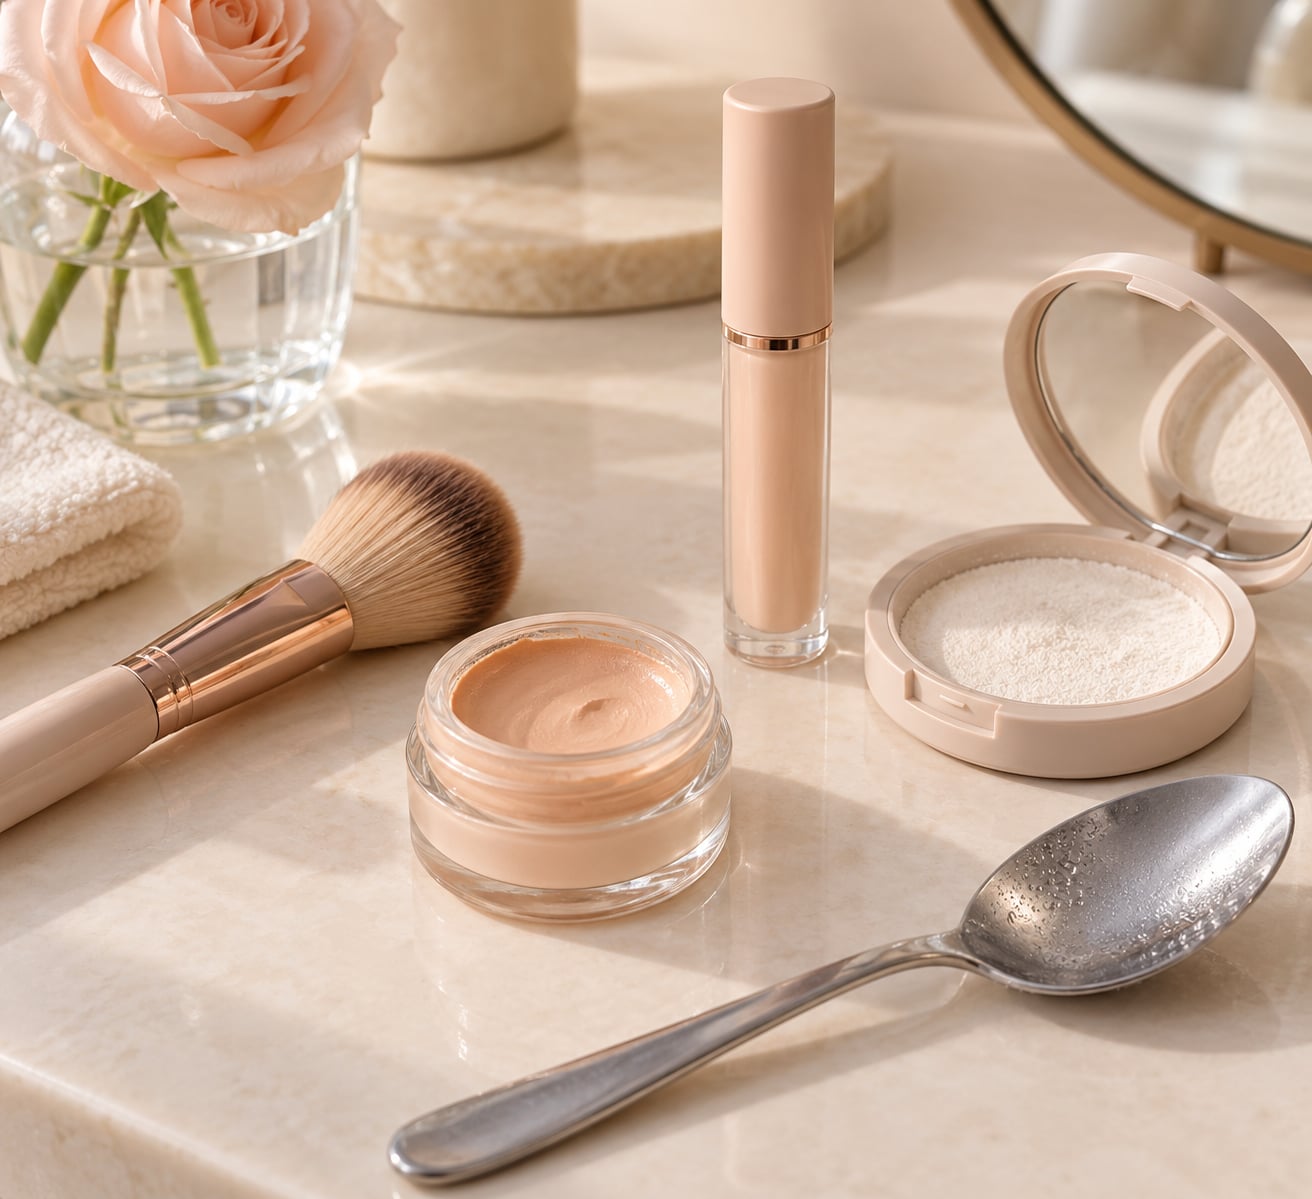
- An optional colour corrector. A potted peach, orange or pink corrector if your circles are pigmentary rather than shadow-based.
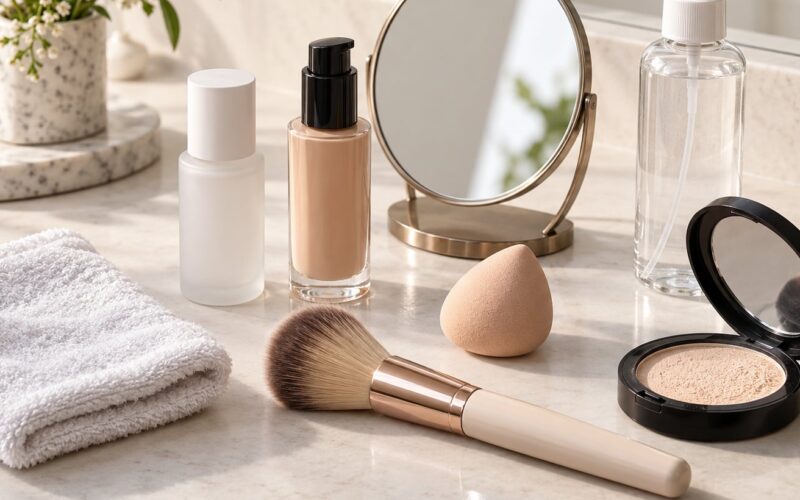
- A small brush or your ring finger, plus a fine setting powder. A fluffy under-eye powder is the one tool worth spending money on.
A damp beauty sponge works too, and a setting spray can stand in for a primer. What matters is the formula, not the equipment. A good concealer tapped on with a fingertip beats a mediocre one applied with an expensive brush.
Step-by-Step: How to Apply Concealer Under Tired Eyes
How to Prepare the Area
Apply a small amount of eye cream or moisturiser and wait five to ten minutes for it to absorb. If you apply concealer over a slick or still-wet layer, it slides straight into the lines you are trying to smooth.
Tap the cream on rather than rubbing it in, and use less than you think. You are filling a moisture gap, not creating a mask.
A thin primer helps concealer grip, but use it sparingly. Too much and it collects in fine lines, which is the exact problem you were trying to solve. A few sprays of setting spray on a damp sponge does the same job without adding a film.
One warning: thick occlusive balms, petroleum jelly included, are a real trick for some people and a terrible one for others. They seal in moisture beautifully but they leave a slick surface that powder clings to unevenly. If you use one, keep it to a whisper-thin layer and skip powder over the top.
Choose the Right Concealer
Look for a lightweight formula that blends with a finger. A satin or radiant finish reads better under the eye than a matte one, because matte formulas settle into texture and make a dry area look drier.
Check the shade in natural light near a window, not under a bathroom bulb. Most people reach for one shade lighter than their foundation, and that is usually the reason their concealer looks grey or ashy. Match your foundation shade first, then go at most half a shade lighter if you want brightness without a cast.
If your circles are genetic or pigmentary, a corrector does the real work. Apply a thin layer first, let it sit for about a minute, then go over it with concealer. On deeper skin tones this peach or orange layer is often the difference between covered and still covered.
Place Concealer Where You Need It
Dot concealer on three points at most, and only where there is a shadow. A rice-grain amount per eye is genuinely enough, and that is roughly what people mean when they say “use less than you think”.
Here is where each dot goes:
- Inner corner. Right where the tear duct sits. Brightness here reads as awake from several feet away.
- Lower lash line, just beneath the lashes. Only a tiny amount, and stop before you reach the waterline. Product that close to the eye travels when you blink or when your eyes water.
- Centre of the under-eye. Directly beneath the darkest part of the circle, following the curve of the shadow rather than painting a triangle.
That viral under-eye triangle spreads product across the whole area, including the parts that move every time you blink or talk. On dry or mature skin that is where the creasing comes from.
Blend Without Creating Lines
Warm the product first. Dot it on the back of your hand, or roll it between the pads of your two ring fingers, then tap it into place. Warm formula spreads with almost no pressure, which is exactly what you want.
Pat and tap. Do not rub, drag or sweep. A ring finger is the softest tool you own and it presses rather than pulls, so it is the right choice for this area every time.
Work from the inner corner outward, one small press at a time, and stop as soon as the coverage looks even. You can always add a second thin layer. You cannot take product back off once it has worked into a line.
If you use a sponge, press it on and lift it straight up. Smudging it back and forth is the single most common reason a blended finish still looks caked by noon.
Set the Concealer Lightly
Let the concealer sit for one to two minutes so it sets into the skin rather than sitting on top of it. Then add the smallest amount of powder you can, focusing on the lower lash line and the outer part of the under-eye where creasing starts.
Use loose powder for a soft set or a pressed powder for more hold, and always go light. A heavy dusting of powder on a moving area is what creates that cracked, crepey look by mid-afternoon.
If you use a self-setting cream concealer, you may be able to skip powder entirely. Do a press with a fingertip and leave the area flexible.
Common Mistakes
Almost every under-eye problem comes down to one of these six.
Using too much product. If it disappears completely in one thin layer, that is the right amount. Fix: start with a rice-grain dot and only add more to the spots that still need it.
Applying before skincare has absorbed. Concealer on damp or slick skin slides into every line. Fix: wait five to ten minutes after moisturising.
Rubbing instead of tapping. Rubbing drags the formula into fine lines and leaves you with a patchy, dragged finish. Fix: pat with a ring finger, working from the product outward.
Choosing a shade that is too light. A shade lighter than your foundation reads grey, ashy or ghostly, especially by midday. Fix: match foundation shade first, then go half a shade lighter at most.
Setting too heavily. Thick powder on a mobile area cracks and flakes. Fix: press on a small amount only where the creasing actually happens.
Treating every shadow with concealer. Not every under-eye darkness is a colour problem. A shadow cast from the brow bone needs light and placement, not more pigment. Fix: use a light reflective concealer or a touch of highlighter on the brow bone instead.
Two finishing tips. First, a cool compress held on each eye for a few minutes before you start does more for puffy mornings than any concealer can, because it drains fluid rather than hiding it. Second, if the under-eye has already creased during the day, do not rub it. Press a clean blotting paper or a damp sponge into the area to press the product back down, then re-set with a tiny touch of powder.
Frequently Asked Questions
How much concealer should I use under my eyes?
About a rice-grain amount per eye is plenty. Most people use three to four times more than they need, and the excess is what settles into fine lines and creates the cakey look. Dot it on, wait a few seconds, and only add a second layer to the spots that still look uneven. If your concealer disappears completely after one thin layer, you have the right amount.
Should I apply concealer on the lower lash line?
A very small amount, yes, but not right on the waterline. Product applied that close to the eye travels the moment you blink or your eyes water, and it can end up smudged into the lower lashes by lunchtime. Dot lightly just beneath the lashes where the shadow is darkest, and stop there. If you notice tearing during the day, move your application slightly lower.
How do I stop concealer from creasing under my eyes?
Five things help: use less product, moisturise and wait five to ten minutes before applying, choose a lightweight buildable formula, pat rather than rub, and set lightly with powder only where creasing starts. Under-eye skin is thin and moves constantly, so thick product has nowhere to go but into the lines. Let the concealer dry down for one to two minutes before you set it, too.
What if my concealer looks too light or too dark under my eyes?
Too light usually means one shade too bright, which reads grey or ashy against most skin tones. Match your foundation shade exactly and only go half a shade lighter if you want extra brightness. Too dark is easier to spot in natural light, and the fix is to layer a lighter shade over the darkest area rather than starting over. Checking near a window instead of under a bathroom bulb catches both problems early.
Do I apply concealer before or after foundation?
After foundation, as the default. Foundation sets a flat base, and concealer applied on top sits exactly where you put it. The exception is a full-coverage or long-wear base, where applying concealer first and letting foundation sweep over it gives a more even result. Either way, do your eyeshadow first and clear off any fallout before touching the under-eye.
What type of concealer is best for tired eyes?
A lightweight, buildable liquid with a satin or radiant finish. Buildable means you can add thin layers instead of fighting one thick coat, and a radiant finish reflects light back off dull skin rather than settling into texture. If your dark circles come from pigmentation rather than shadow, pair it with a peach or orange corrector underneath. Matte formulas are the worst choice here, because they exaggerate every line.
The Best Place to Start
Start on one under-eye only. Use a rice-grain amount, tap it in with your ring finger, and then stand near a window and look at what is actually left. Most of the time you will find that the inner corner and the darkest part of the circle are covered and the rest does not need anything at all.
Add a second layer to the spots that still bother you rather than over the whole area. That single habit is what separates a smooth, rested under-eye from the creased one that gives the whole look away.