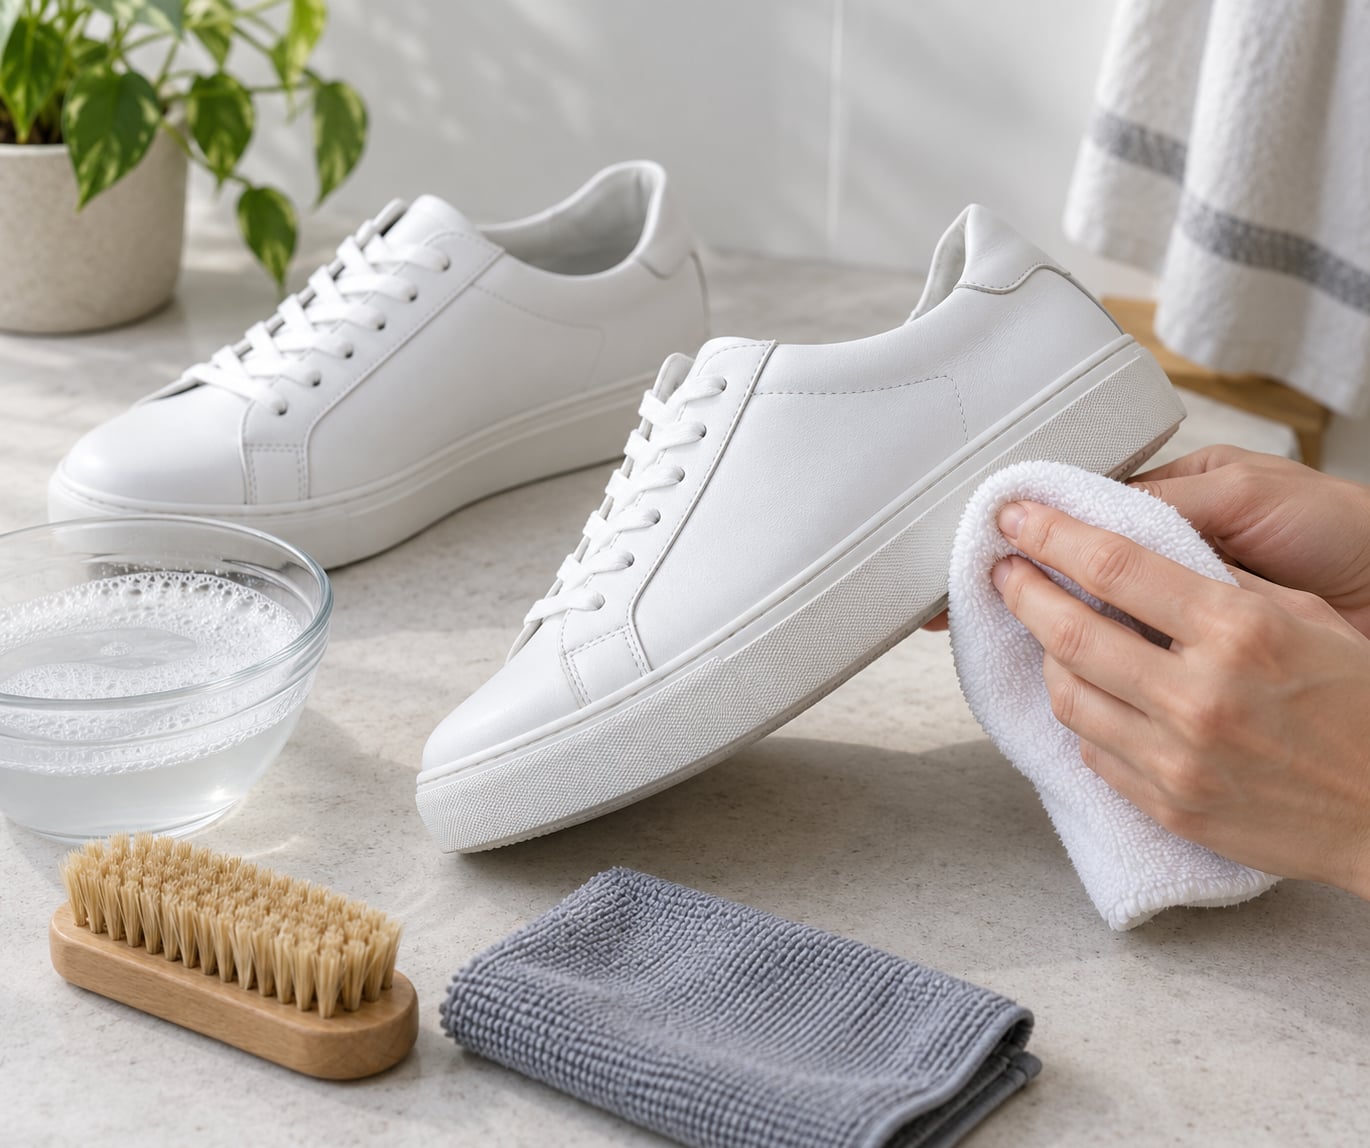
How to clean white sneakers properly takes about 30 minutes and almost no shopping. Knock the dry dirt off with a soft brush, scrub the uppers with warm water and a few drops of mild dish soap, abrade the rubber midsoles with a damp melamine sponge, then blot and air-dry away from direct sunlight.
One material is the exception to everything below. Leather, suede, nubuck, canvas, mesh and rubber do not tolerate the same cleaner, the same water level or the same drying time, and the wrong choice is what turns a dirty shoe into a yellowed one.
Table of Contents
- What You Need
- Step-by-Step
- 1. Check the Care Label and Test the Cleaner
- 2. Remove Loose Dirt and Rubber Residue
- 3. Make a Gentle Cleaning Solution
- 4. Scrub by Material Without Soaking
- 5. Wipe Away Foam, Detergent, and Stains
- 6. Air-Dry White Sneakers Properly and Restore Their Shape
- Common Mistakes
- Frequently Asked Questions
- Can I use baking soda to clean white sneakers?
- Does toothpaste work on white sneakers?
- How do I clean yellowed white sneaker soles?
- What is the safest way to clean white leather sneakers?
- How often should I clean my white sneakers?
- Clean White Sneakers Properly by Starting With the Care Label
What You Need
Nearly everything on this list is already in a kitchen drawer or a bathroom cabinet. I keep an old toothbrush and a cut-off sock in a drawer for exactly this job.
- A soft-bristled brush or an old toothbrush. Soft bristles for uppers, a slightly firmer brush for rubber midsoles. A stiff brush belongs on the outsole grooves only.
- A microfiber cloth. Plain cotton leaves lint; microfiber wipes a surface without re-depositing grime.
- A bowl and lukewarm water. Never hot. Heat sets protein-based stains and shrinks cotton canvas.
- Mild dish soap or a pH-neutral sneaker cleaner. Two or three drops per bowl of water is the working dilution. More foam is not more clean.
- Baking soda. For a scrubbing paste on rubber midsoles and outsoles. Read the warning below before touching anything else with it.
- A melamine sponge. The abrasive foam pad sold as a Magic Eraser. It is the fastest route to bright rubber, and it will wear down suede in seconds.
- A suede brush or suede eraser, plus a dedicated leather cleaner, if your pair is anything other than all-canvas or all-mesh.
- Paper towels or shoe trees, for reshaping while the shoe dries.
The care label inside the tongue always outranks this list. Waterproof membranes, patent finishes, nubuck and metallic panels all have their own rules, and a specialist product is the right call the moment a standard one is a guess.
Step-by-Step
The order matters more than the products. Dry debris that meets water gets pushed deeper into the fibres, so remove it before a single drop goes near the shoe.
1. Check the Care Label and Test the Cleaner
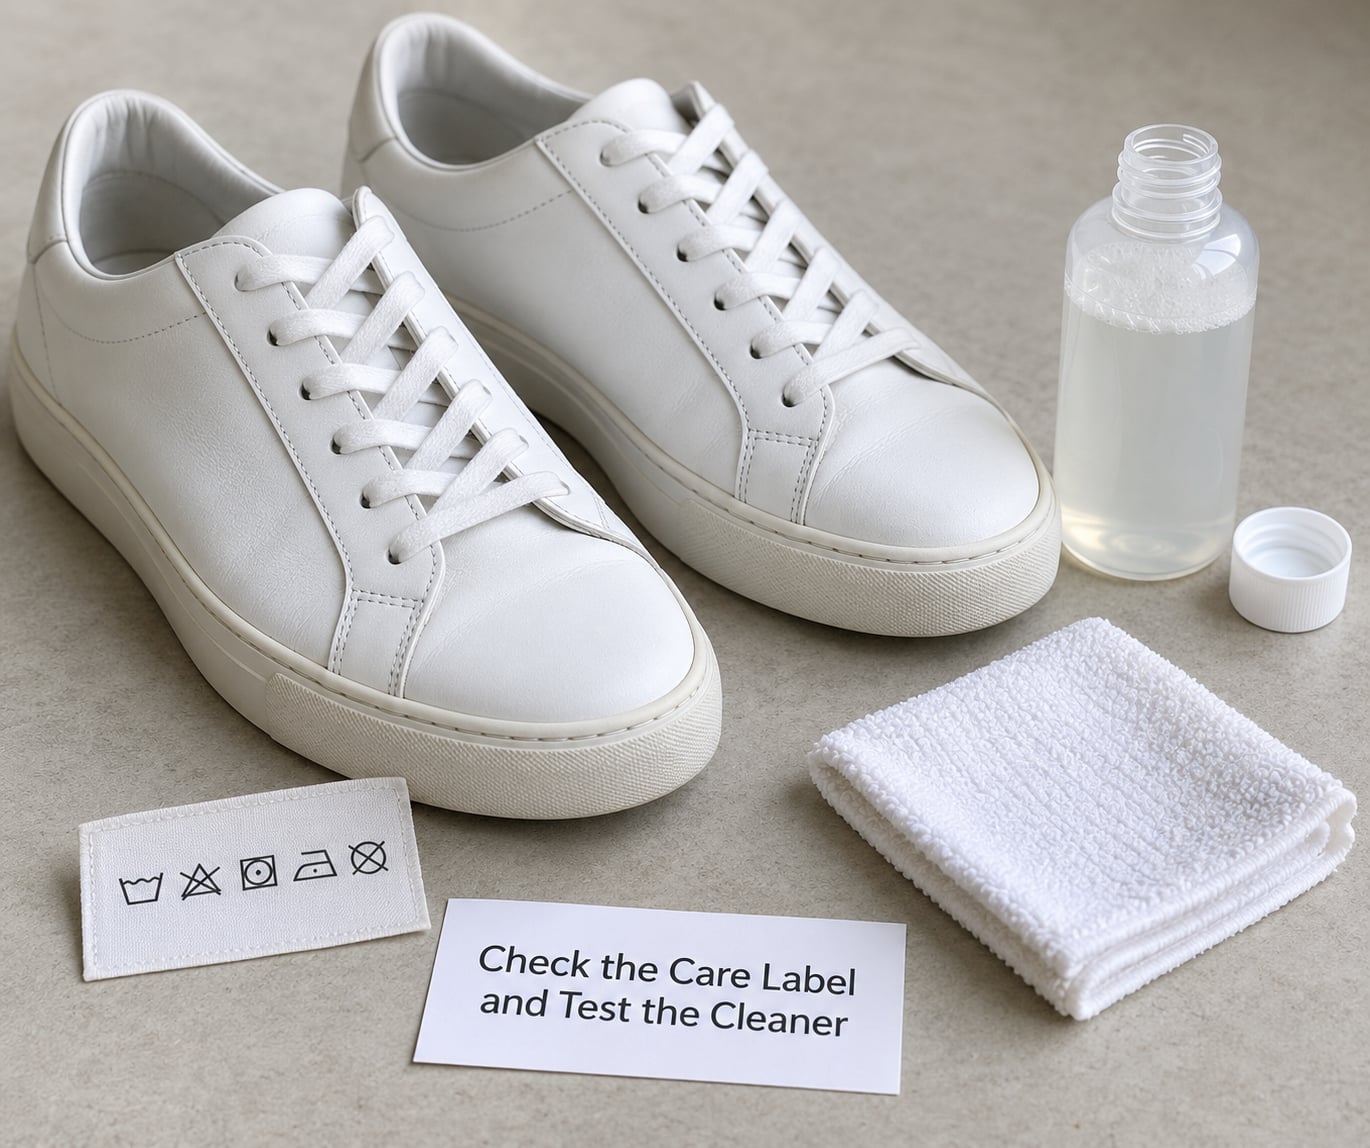
Identify what you are holding: cotton canvas, smooth leather, suede or nubuck, engineered mesh, a rubber midsole, or a combination in one shoe. Most sneakers are all three at once, which is why a single method always disappoints someone.
Dab the cleaner onto a concealed area, the inside of the tongue or behind the heel, and wait ten minutes. Look for color transfer, a tacky surface or a changed sheen. That test tells you whether the shoe is colorfast before you find out the expensive way.
Skip the whole process, or use only manufacturer-approved products, when the label says nubuck, patent, waterproof, vulcanized-only or pre-finished. Set the shoes somewhere they can sit for 30 minutes without anyone stepping in them.
2. Remove Loose Dirt and Rubber Residue
Pull the laces out and lift the insoles. Both come out cleanly on their own later, and leaving them in traps the dirt you are trying to remove.
Let any mud dry first if it is still wet, then knock it off with the dry brush. Work the bristles into the seams, the eyelet rows and the crease where the upper meets the midsole, where most of the visible grime actually lives.
Transferred rubber marks come off dry with a soft eraser or a rubber-gripping tool, before any water is introduced. Do this part outside or over a bin; the crumbs that come away are astonishing.
3. Make a Gentle Cleaning Solution
Put two or three drops of mild dish soap in a bowl of lukewarm water and stir until it is just cloudy. That dilution does the work on cotton canvas, mesh and rubber.
Leave hot water, bleach, bleach alternatives, harsh bathroom sprays and high-strength alcohol solutions alone. They look efficient and they are responsible for most of the yellowing I get asked about, because they strip the surface finish and scorch it back.
For leather, mix a pH-neutral leather cleaner with water instead and apply it to the cloth rather than the shoe, so the upper stays barely damp. Never saturate suede, nubuck or any waterproof membrane; water gets into those layers and cannot get back out.
4. Scrub by Material Without Soaking
Canvas takes the most scrubbing. Use soft circular motions across the whole upper, not just the mark, because a clean ring around a dirty patch reads as a mistake. Cotton fibres hold a stain deep, and the surrounding fabric has to relax too.
Leather wants light pressure and a damp cloth, not a soaked brush. Work in small sections and blot dry as you go. Mesh takes a soft toothbrush pushed gently between the strands, since the soil sits in the weave rather than on it.
Rubber takes a firmer brush and more force than feels polite, because the oxidation sits in the surface. You will see the foam turn grey-brown and the colour come back where the sponge has passed. That change is your signal to keep working; if nothing lifts after ten gentle passes, move up the ladder in step 5 rather than pressing harder.
5. Wipe Away Foam, Detergent, and Stains
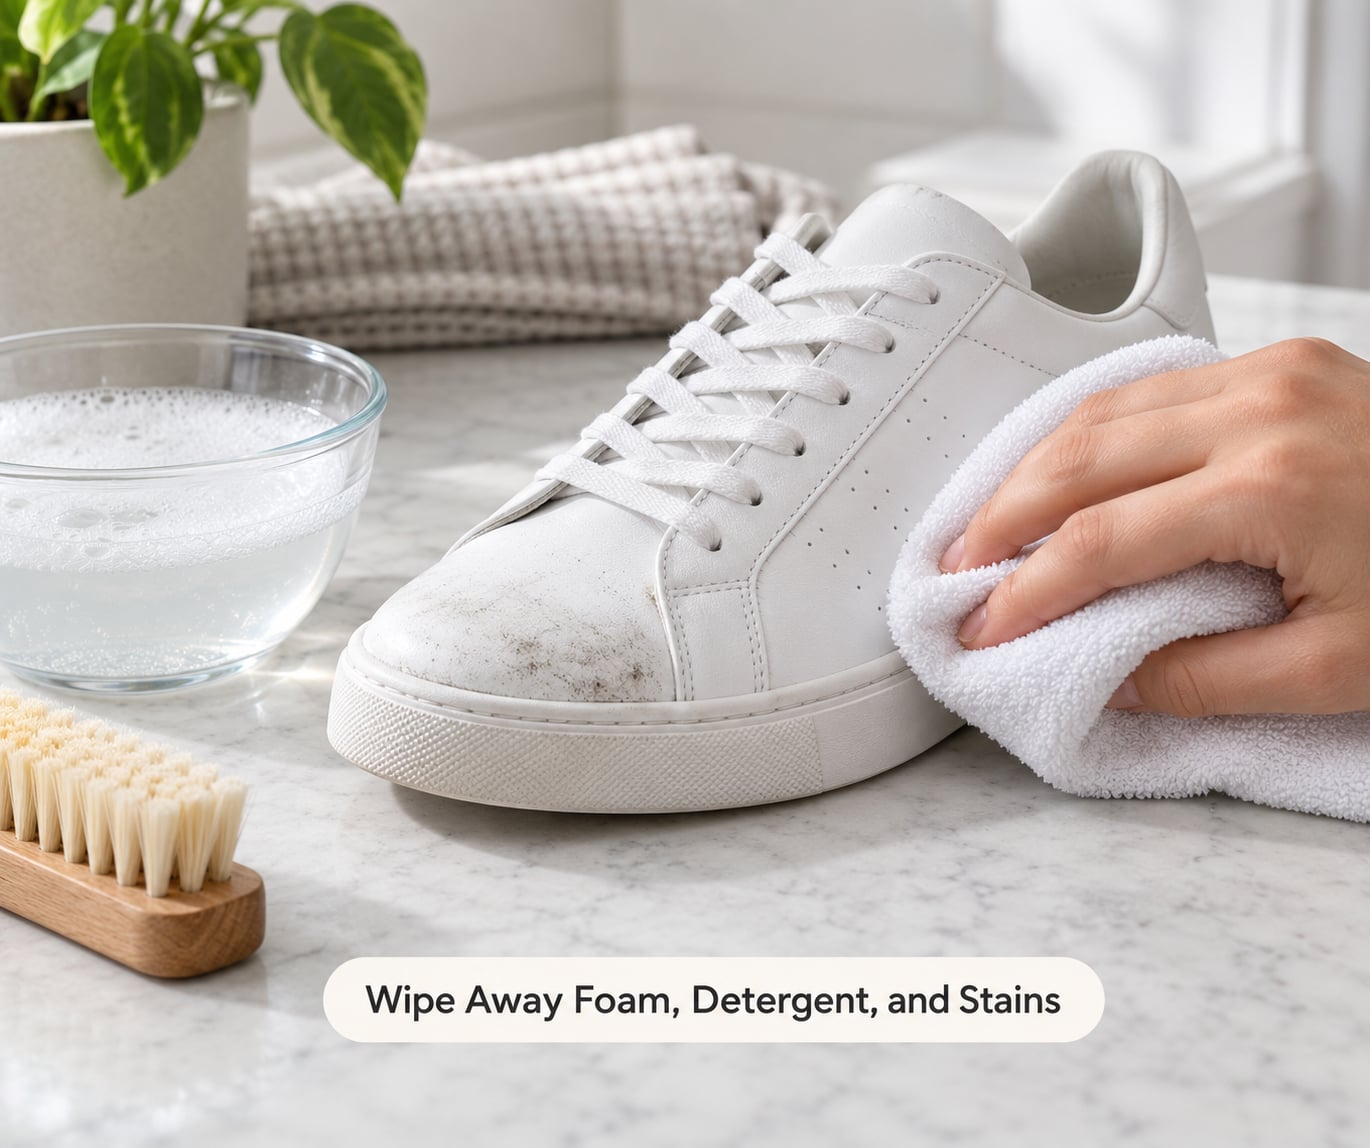
Wipe with a clean damp microfiber cloth until the foam is gone, then go over it once more with a dry cloth. Every trace of detergent left behind keeps attracting dirt, and it leaves a water-spotted finish once the shoe dries.
For a mark that survived, treat the spot again rather than scrubbing the whole shoe harder. Work the remedies in order, mildest first: a damp melamine sponge for surface scuffs, then a paste of two parts baking soda to one part mild dish soap left for 15 minutes on rubber, then for badly yellowed midsoles a cotton pad soaked in 3 percent hydrogen peroxide under a plastic wrap for a couple of hours.
Grass and mud come off with soap and dwell time. Oil and grease need a drop of dish soap worked in with a fingertip and left five minutes before wiping. Colour transfer from another shoe responds to a cloth barely damp with isopropyl alcohol, dabbed rather than rubbed. Ink lifts with the same alcohol, working from the outside of the stain inward.
Old oxidation is a chemical change, not a stain, and the honest answer is that very yellowed midsoles only fade. Treat that as maintenance rather than restoration, and stop at the level that stops damage.
6. Air-Dry White Sneakers Properly and Restore Their Shape
Blot the uppers with a dry towel instead of rubbing them, then remove as much surface moisture as you can before the shoe starts to shape-set.
Put the laces and insoles back, stuff the toe box with loosely rolled paper towels or insert shoe trees, and let the pair sit at room temperature out of direct sun, away from radiators, heating vents and strong lamps.
Wet leather, suede and nubuck crack, stiffen, fade and warp under forced heat. Direct sunlight does its own damage: it yellows what should be white and fades what should not be. A fan moving room air across the shoes halves the drying time without touching their temperature.
Common Mistakes
- Soaking the whole shoe. Water reaches the glue and the glue lets go. Spot clean and use short contact instead.
- Hot water or bleach. Both set protein stains and both will yellow the rubber. Lukewarm water and mild soap handle everything here.
- Scrubbing hard on suede or nubuck. You cannot lift flattened nap back up. Dry brush only, and use an eraser with restraint.
- Drying in direct heat. Dryers and radiators cause cracking and warp the shape. Shade and moving air.
- One product for a mixed-material shoe. The cleaner that is perfect for the midsole may be too strong for the upper. Split the job by material.
- Skipping the concealed-area test. Ten minutes of waiting can save a permanent mark.
- Expecting decade-old yellowing to vanish. It fades. It does not reverse.
For keeping the pair white afterwards: brush off dry dirt after each wear, spot-treat marks within a few hours while they are still surface stains, and do a full wet clean every four to six weeks if you wear them weekly. A stain and water repellent applied before the first wear buys you the most warning, since most marks set within hours.
If you only ever do one thing right, make it the test and the dry brush. Knowing how to clean white sneakers properly starts with knowing what the upper is made of, and that single answer prevents nearly every mistake on this list.
Frequently Asked Questions
Can I use baking soda to clean white sneakers?
Baking soda is a mild abrasive, so it works well on canvas midsoles and rubber outsoles where you dab on a paste of two parts baking soda to one part mild dish soap and leave it 10 to 15 minutes. Skip it on leather, suede and nubuck. The alkaline paste dries and yellows finished leather over repeated use, and it flattens a suede nap with no way to lift it back.
Does toothpaste work on white sneakers?
White toothpaste is a mild abrasive in a detergent base, which is why it takes scuffs off rubber midsoles reasonably well. It leaves a filmy residue on canvas and mesh and it is far too harsh for leather or suede. If you try it, use a whiter formula, keep it off the uppers, and wipe the rubber down with a clean damp cloth afterwards.
How do I clean yellowed white sneaker soles?
Work up a ladder, mildest first. Start with a damp melamine sponge on the dry midsole, then a paste of baking soda and mild dish soap left 15 minutes and scrubbed with a medium brush, then a cotton pad soaked in 3 percent hydrogen peroxide under a plastic wrap for a couple of hours. Very old oxidation usually only fades, so aim at maintenance rather than a full reset.
What is the safest way to clean white leather sneakers?
Dampen a soft cloth with water and a pH-neutral leather cleaner, then wipe rather than soak, working in small sections and blotting dry immediately after each one. Keep dish soap, vinegar, baking soda and alcohol off finished leather; they strip the oils and leave a yellow cast behind. Air-dry at room temperature with paper stuffed inside, because heat cracks leather that is still wet.
How often should I clean my white sneakers?
Brush off dry dirt after every wear, spot-treat anything that marks within a few hours, and give the pair a proper wet clean every four to six weeks if you wear it weekly. Deep-clean at the end of the season before storage, when you can let them dry slowly without needing them. A stain remover and water repellent applied before first wear gives you the most warning of all.
Clean White Sneakers Properly by Starting With the Care Label
Work out what the shoe is made of, read the label, and test the cleaner where nobody will see it. Remove the dry dirt first, then use a small amount of mild soap on a soft brush and work it by material rather than all at once.
Most of the time one small mark needs one spot treatment, not a full clean. Save the whole routine for shoes that have genuinely been through a week of wear, and you will keep them looking new far longer than you would scrubbing them every weekend.