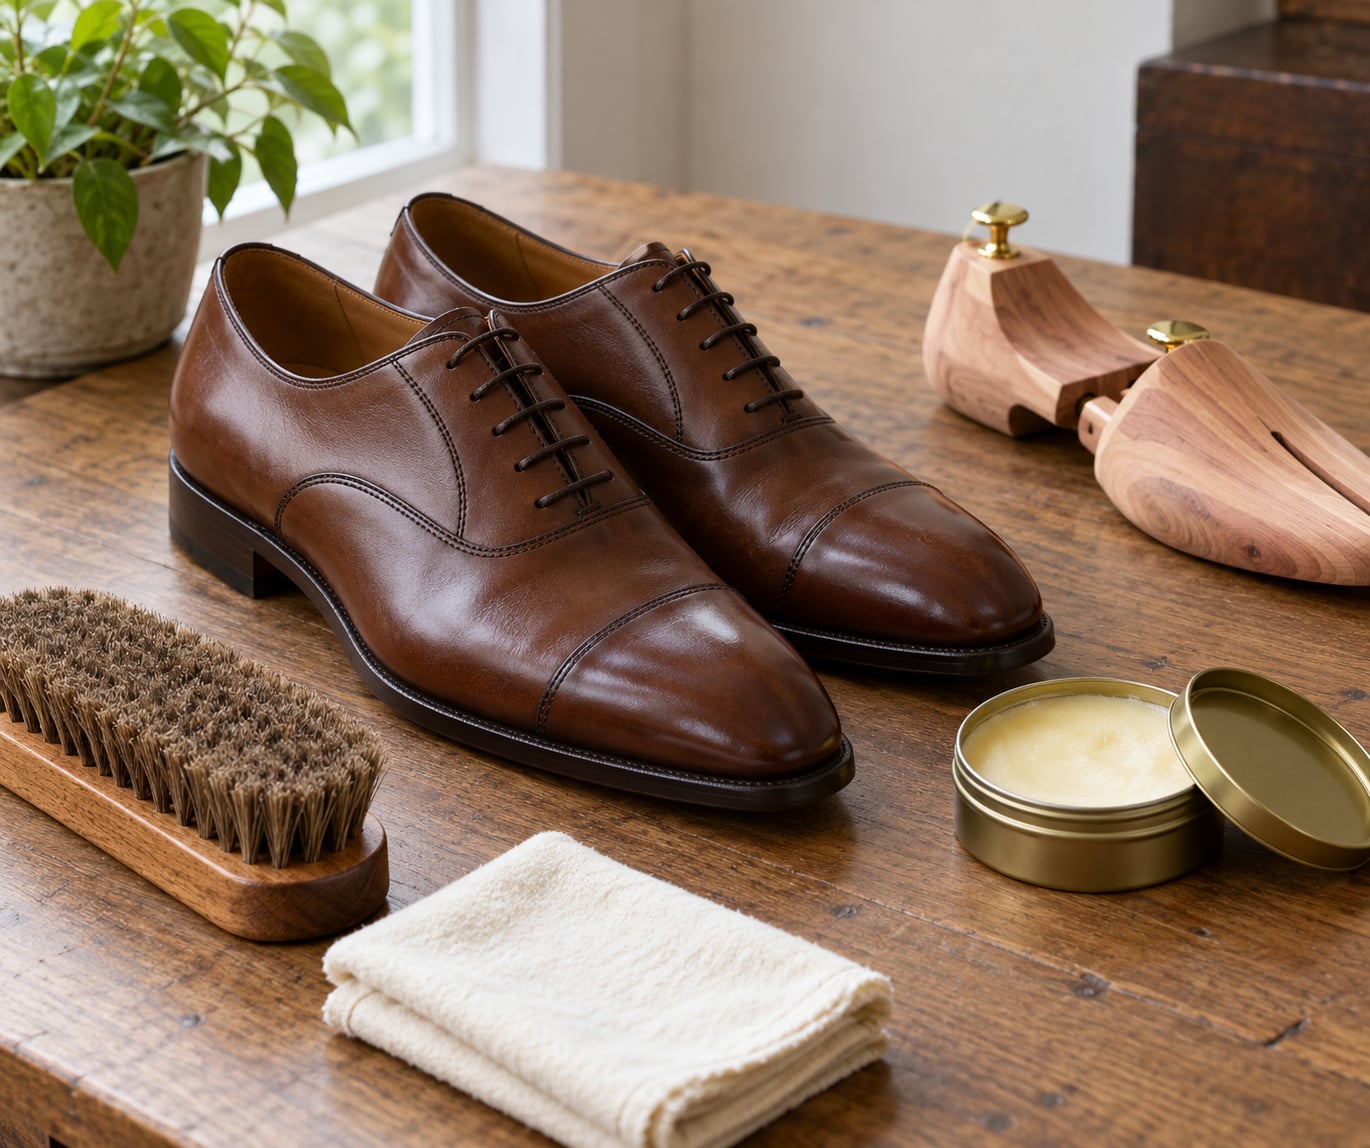
To condition leather shoes, clean them first, apply a thin layer of conditioner matched to the leather finish, work it in with circular motions, let it absorb for 20 to 30 minutes, then buff off the residue. It takes about 40 minutes start to finish and needs no specialist tools.
That is the whole method. The differences that matter are which product you pick for your leather and how little you use of it.
Leather is a natural material built from collagen fibres. Every time you flex a shoe, walk in rain or stand near a radiator, those fibres lose a little of the natural oils and moisture that keep them pliable. Conditioner puts those lipids back so the surface keeps bending instead of drying out and splitting.
Style writers tend to talk about shoe care in months, but wear hours tell the truth better. A pair of Oxfords worn twice a week lasts far longer than loafers worn daily in the same conditions, no matter what the calendar says. Judge condition by the leather in front of you rather than by a schedule, then use the schedule as a safety net.
Last reviewed for 2026.
Table of Contents
- What You Need
- Step-by-Step: How to Condition Leather Shoes Without Ruining Them
- 1. Check the Leather Before You Condition
- 2. Clean the Shoes Thoroughly
- 3. Choose the Right Conditioner for Your Leather
- 4. Apply a Thin, Even Layer
- 5. Let the Leather Rest, Then Buff It
- 6. Protect and Maintain the Shoes Afterward
- Common Mistakes That Damage Leather Shoes
- Frequently Asked Questions
- How often should leather shoes be conditioned?
- Can I use shoe polish to condition leather shoes?
- Can you condition suede or nubuck shoes?
- What should I do if leather shoes are already cracked?
- How long should leather shoes dry after conditioning?
- Is it safe to use household leather oil on shoes?
- A Simple Care Routine
What You Need
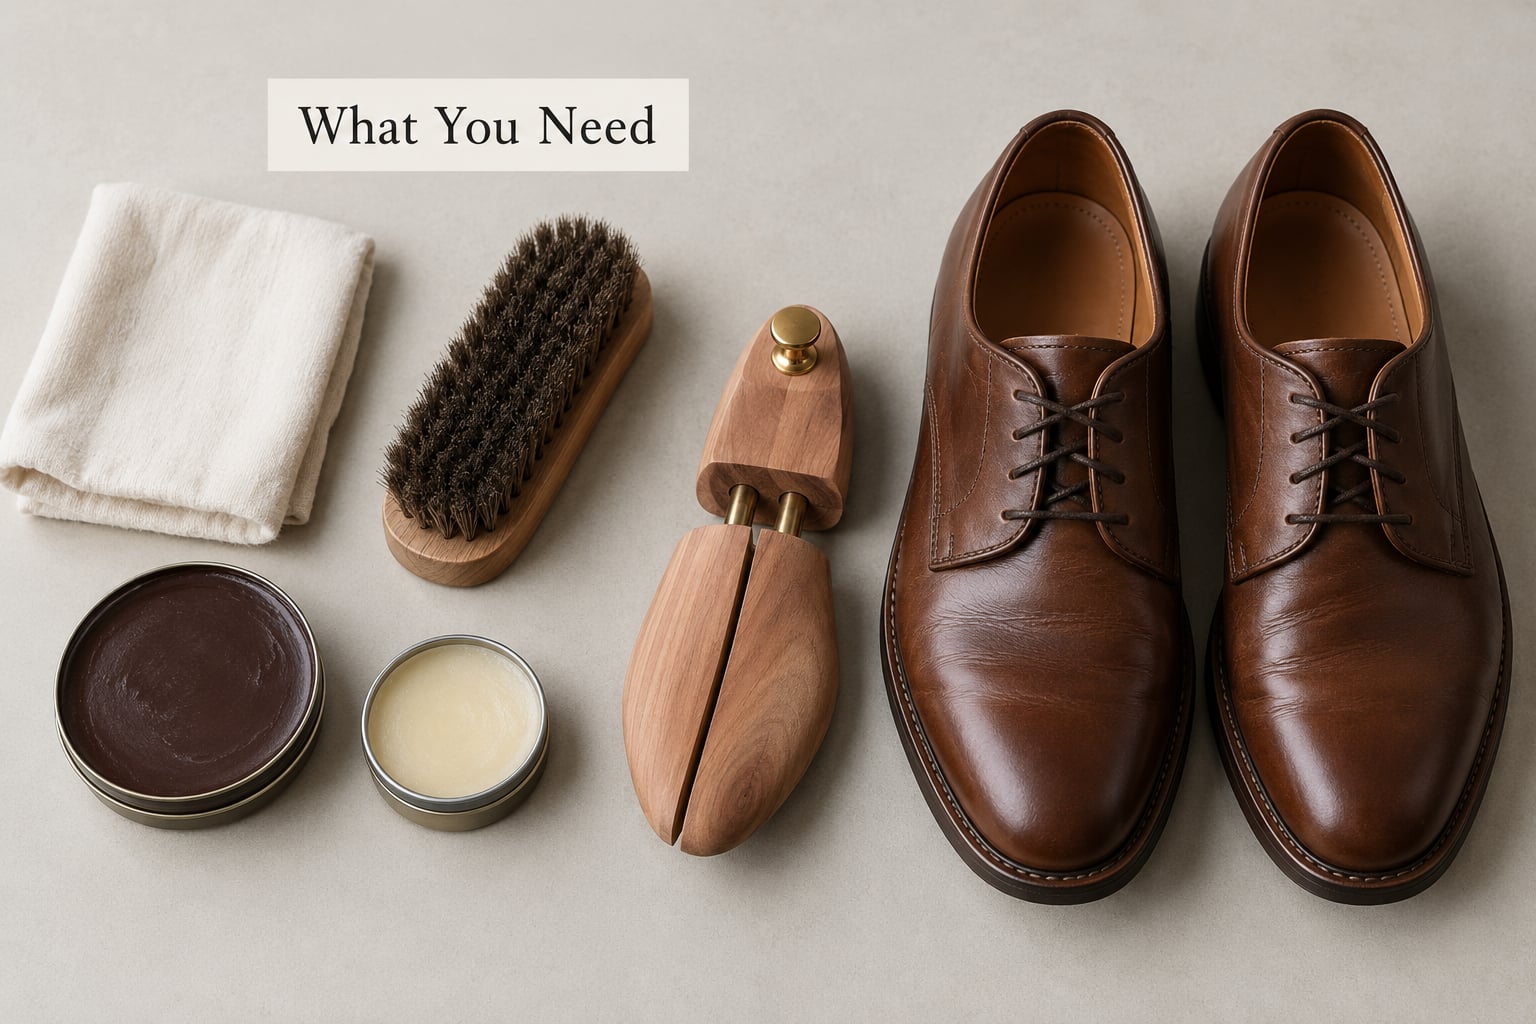
The kit is short, and most people who own leather already own three quarters of it.
- Horsehair brush — lifts dust from the welt, seams and stitching without scratching the grain.
- Two soft, lint-free cloths — one for applying conditioner, a clean one for buffing.
- Leather cleaner or saddle soap — a mild, pH-balanced cleaner removes grime that conditioner would otherwise seal in.
- A neutral leather cream or conditioner — the one product that matters most, matched to your finish.
- A suede brush and eraser — only if you own suede or nubuck, and only for those shoes.
- Cedar shoe trees — inserted after conditioning, never before.
Which finishes need caution is the part people skip, and it is where shoes get ruined.
Suede, nubuck, patent leather, heavily waxed leather and exotic skins should not touch an ordinary cream or oil. A cream will darken suede unevenly and flatten the nap, and patent leather is coated, so the product sits on the surface and eventually yellows. Exotic leathers take an unpredictable finish that can be hard to reverse, so spot-test them twice and use the smallest amount you can.
Step-by-Step: How to Condition Leather Shoes Without Ruining Them
1. Check the Leather Before You Condition
Three physical signs tell you the leather is ready for conditioner.
The first is dullness or lightening: the colour has faded and the surface reflects light flatly instead of evenly. The second is stiffness at the flex points, especially across the vamp where your foot bends, or at the top of a boot shaft. The third is scuff marks that will not buff out with a dry cloth, which means the leather underneath has lost suppleness rather than just surface finish.
Wipe a damp cloth over an inconspicuous spot, inside the tongue or under the heel, and wait a few minutes. If the area darkens noticeably, that tells you how much colour change the product will cause across the whole shoe. Skip the whole treatment if the leather looks waxy, coated or painted, because it has nothing to absorb.
2. Clean the Shoes Thoroughly
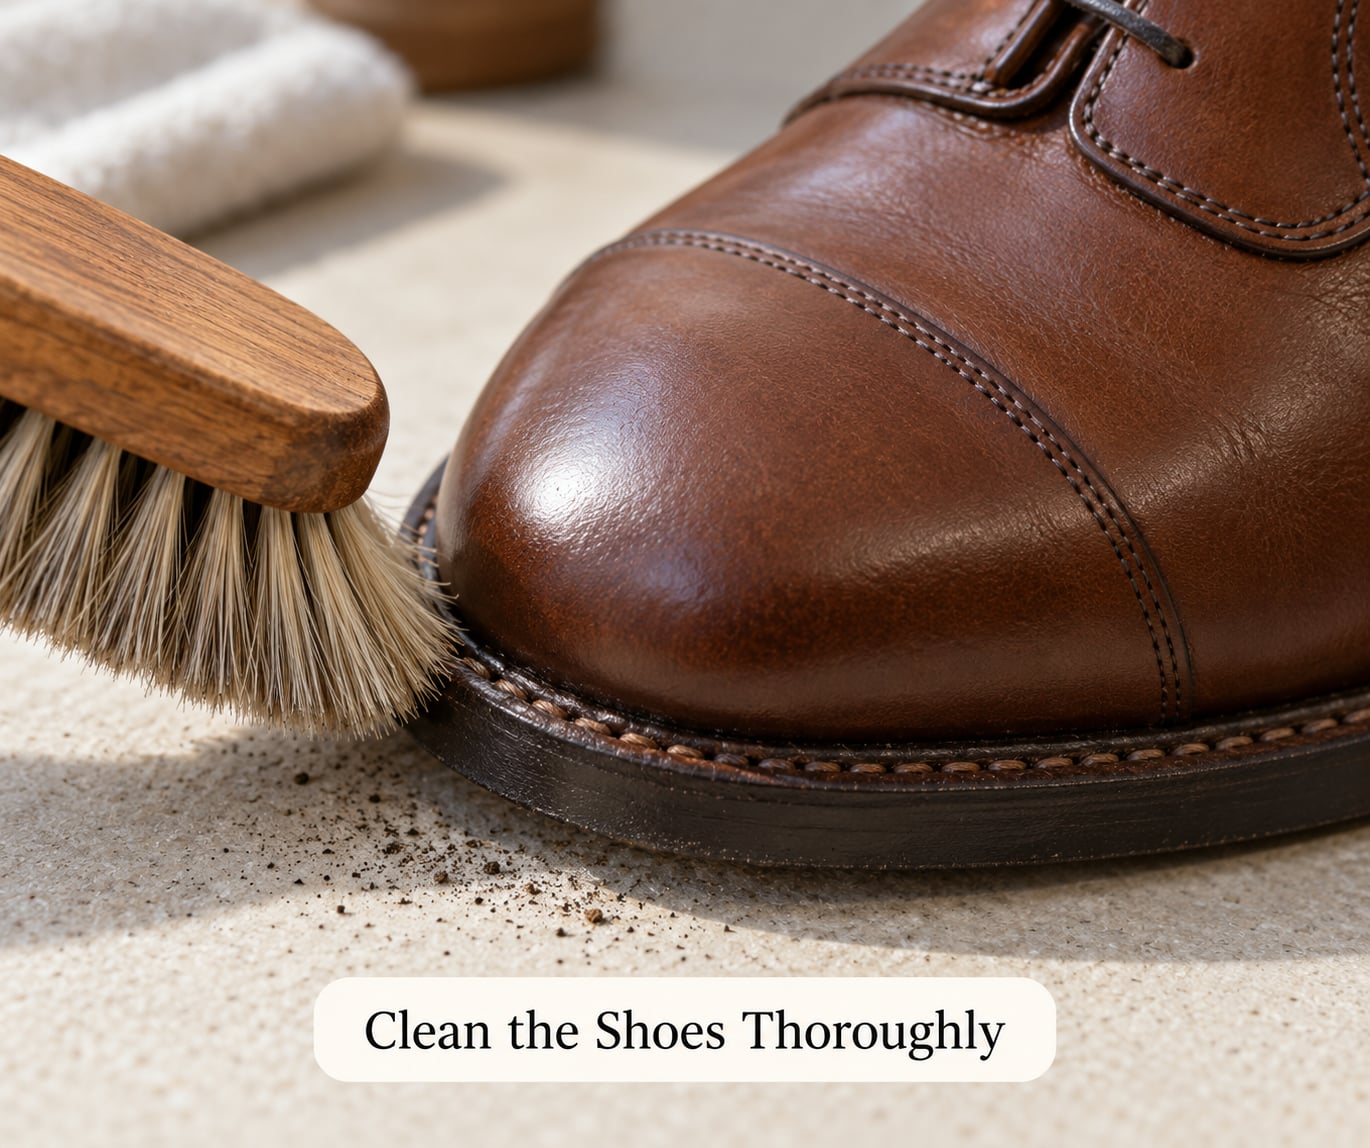
Conditioner over dirt just seals the dirt in and spreads it.
Brush the shoe down with the horsehair brush first, working the brush into the welt, the stitching and the seam where the upper meets the sole. Then wipe with a cloth barely dampened, using a small amount of mild cleaner if the leather is grimy. Avoid soaking the shoe and keep water away from the welt stitching, where constant moisture weakens the thread.
Shoes must be completely dry before any oil goes on. If you have just come in from rain or snow, set them on shoe trees and let them air out overnight, ideally away from radiators and vents.
Road salt gets its own rule. Salt left on leather draws moisture out of the fibres, so scrub it off with a damp cloth and let the boot dry fully before conditioning. Conditioning over salt drives the salt deeper and leaves the patchy darkening people spend months trying to undo.
3. Choose the Right Conditioner for Your Leather
Match the product to the finish, not to the shoe’s colour. Here is the short version.
| Leather type | Best conditioner | Application | Avoid |
|---|---|---|---|
| Smooth calfskin, full-grain dress shoes | Neutral cream or a renovating cream such as Saphir Renovateur | Thin coat in circular motions, buff while slightly damp | Heavy oils, silicone sealers |
| Oiled and pull-up leather, work boots | Mink oil or neatsfoot oil, or dubbin for severe dryness | Generous coat on a work boot, buff after absorption | Pigment creams, which fight the existing colour |
| Rough-out and nubuck | Dedicated nubuck or suede spray conditioner | Spray from 20 cm away, brush the nap with a suede brush | Cream, wax, dubbin, mink oil |
| Suede | Suede conditioner spray | Even mist, work with a suede brush once dry | Any cream or liquid oil, which mat the nap |
| Patent, exotic, heavily waxed leather | Very little, or nothing — a leather-specific cream only | Dab, never rub, then buff immediately | Conditioner, dubbin, mink oil |
The three most common products are a wax paste like dubbin, an oil such as mink oil, and a cream. Dubbin sits on the surface and builds a water-resistant barrier, which is why boot makers and cold-weather forums on Reddit recommend it for heavy duty and snow. It also darkens leather and does nothing for deep dryness. Oils absorb fastest and go deepest, and they darken light leather dramatically. Creams hydrate moderately, add a little colour and leave a buffable finish, which is why they suit dress shoes.
On StyleForum the consensus advice in the long-running shoe care thread is a small application of conditioner first, then shoe cream, finishing with wax. That ordering is right, and the reason is simple: cream and wax sit on top, so they cannot feed the fibres underneath. Condition first, polish second, protect last.
4. Apply a Thin, Even Layer
A dime-sized amount per shoe is plenty, and less than you think is the safer error.
Warm the conditioner between your fingers so it spreads instead of sitting in one spot, then work it in with circular motions across the upper. Keep the pressure light and cover the whole panel, including the quarters and the toe, rather than concentrating on the visible shine zone.
Pay attention to the places that get skipped: the welt stitching, the seam along the top edge, the tongue edges and the shaft of a boot. These are the highest-wear zones and the first to dry out. Push a little extra into the stitching with the edge of the cloth so the thread is coated too.
If the surface looks wet or greasy, you have gone too far. Let it sit for a few minutes and wipe off the excess before it soaks in.
5. Let the Leather Rest, Then Buff It
Give it 20 to 30 minutes to absorb, then buff.
Set the shoes on shoe trees away from direct heat and let them stand. Leather dried in the sun, on a radiator or with a hairdryer will harden and crack at exactly the flex points you were trying to protect. Room temperature and moving air is the only safe method.
You will know it worked when the surface feels dry and matte rather than tacky, and the colour evens out instead of pooling around the seams. Buff with a clean soft cloth in fast, light strokes, then a second pass with a barely damp cloth if a faint film remains. Comparing one treated shoe against its untreated pair is the quickest check: the conditioned one should look richer and darker but not patchy, and it should flex without creaking.
6. Protect and Maintain the Shoes Afterward
Conditioning feeds the leather; protection keeps water out of it afterwards.
Finish with a breathable protector rather than a silicone or Scotchgard-type spray. Silicone sealers coat the surface in plastic, so the leather can still dry out underneath while the coating cracks with it and traps moisture. Once the shoes are fully dry and buffed, insert cedar trees, which draw out residual damp and hold the vamp shape. Trees go in after conditioning, not before, because they can wick the conditioner away from the upper before it has soaked in.
A workable cadence by shoe type: dress shoes worn twice a week need conditioning every four to six months, work boots worn daily every two to three months, and winter boots exposed to salt every month through the season. Blundstone owners on Reddit report conditioning their boots every three to six months depending on wear, which matches that range. Treat it as a ceiling, not a target, and go sooner when the three signs show up.
Before long-term storage, clean and condition the shoes, let them dry fully, then store them with trees in a breathable box away from heat.
Common Mistakes That Damage Leather Shoes
Nearly every ruined pair I have seen shares one of these causes.
Conditioning dirty shoes. Dirt and conditioner combine into a gritty paste that abrades the grain as you buff. Clean first, every time.
Using too much product. Over-application is the most common forum complaint, and the result is a greasy tacky film that never fully goes away. It attracts dust, darkens unevenly and can soak through to the inside of the shoe. Thin coats, always.
Treating every finish the same. Cream and oil on suede or nubuck mats and stains the nap, and dubbin on patent leather sits on top as a yellowing film. Check the finish before you reach for the bottle.
Drying with direct heat. Radiators, hairdryers, fireplaces and parked cars in summer are the fast route to permanent cracking.
Storing shoes while damp. Moisture left in the lining or the welt leads to mould and mildew, and salt plus damp is worse.
Trusting WD-40. This is the top question people ask about leather care and the answer is clear: do not put WD-40 on leather shoes. It is a petroleum solvent and lubricant, not a conditioner. It coats the surface, softens some finishes temporarily, breaks down pigmented finishes and creases over time, and it can stain lighter leather permanently. It also draws existing oils out while replacing them with something leather cannot absorb.
Skipping conditioner and polishing only. A weekly wax or cream makes a shoe look good and does nothing for the dryness underneath, which is how leather quietly degrades under a nice surface.
If shoes are already tacky, let them air out for an hour and buff again; if they are stiff, apply another very thin coat. Uneven darkening usually means too much product worked in too heavily, and buffing with a dry cloth after a full dry-out evens most of it out.
Frequently Asked Questions
How often should leather shoes be conditioned?
Condition dress shoes worn twice a week every four to six months, work boots worn daily every two to three months, and winter boots exposed to salt monthly through the season. Treat those as a ceiling rather than a target. Look at the leather instead: dull colour, stiffness at the flex points and scuffs that will not buff out all mean it is ready sooner than the schedule says.
Can I use shoe polish to condition leather shoes?
Not on its own. Shoe polish and shoe cream sit on the surface of the leather to add colour and shine, and they cannot replace the natural oils that keep the fibres supple. Condition first so the leather absorbs moisture and lipids, then apply cream or polish and buff. Polish over dry leather will slow the cracking rather than stop it.
Can you condition suede or nubuck shoes?
Yes, but only with a product made for suede and nubuck. Ordinary cream, dubbin, mink oil and wax will darken the leather unevenly and flatten or stain the nap. Spray a suede conditioner from about 20 cm away, let it dry, then brush the nap back up with a suede brush. Test one hidden spot first, since suede absorbs almost immediately.
What should I do if leather shoes are already cracked?
Start by cleaning and applying a thin coat of conditioner or mink oil, then leave it overnight so the fibres drink it in. Repeat for up to a week, buffing each morning, and gently work the leather back and forth by hand to soften the flex points. Deep structural cracking in the vamp will not fully disappear, but conditioning stops it spreading and brings the leather back to usable.
How long should leather shoes dry after conditioning?
Let the shoe stand for 20 to 30 minutes before you buff, and keep walking off it during that time. Full drying takes longer, several hours or overnight, and it should always happen at room temperature with air moving around the shoe. If the conditioner still leaves a tacky film after buffing, wipe it again rather than leaving it to sit and cure.
Is it safe to use household leather oil on shoes?
Products made for furniture, saddles or car interiors are risky on shoes. Mink oil, neatsfoot oil and dubbin are genuine leather conditioners, but household oils such as WD-40, vegetable oil and furniture conditioners contain solvents or leave greasy films the leather cannot absorb. Stick to a product labelled for leather footwear and patch-test an inside seam first.
A Simple Care Routine
Start tonight, not next season: take one pair out, brush them, wipe them, and put a dime-sized amount of neutral conditioner on one shoe only. Leave it twenty minutes, buff, then compare the two.
If the treated shoe flexes more easily and the colour looks even, you have your answer for that leather. Clean before you condition, use less product than feels right, dry at room temperature, buff gently, and put the trees in afterwards. Ten careful minutes a few times a year is the entire job.