
Selling clothes you no longer wear takes about seven steps: sort your wardrobe into three piles, clean and repair each piece, pick the sales channel that matches the item and your price band, price it against what comparable garments actually sell for, photograph it properly, list it honestly with measurements, then package and ship with tracking. The whole process is beginner-friendly, but the difference between a listing that sells in a week and one that sits for six months is almost always pricing and photos.
Start small. Pick one platform, list five items you already know fit you, and see how it goes before you empty a whole closet onto it. Tracking what sells, what sits, and what price moved an item tells you more than any article, including this one.
Table of Contents
- What You Need
- How to Sell Clothes You No Longer Wear, Step by Step
- 1. Sort Clothes Into Sell, Donate, and Recycle Groups
- 2. Clean and Refresh Every Item
- 3. Research the Best Sales Channel for Your Clothes
- 4. Identify What to Sell and Price Items Realistically
- 5. Photograph and List Clothes So They Sell
- 6. Package, Ship, Arrange Handoffs, and Communicate
- 7. Follow Up, Lower Prices, and Finish the Closet Edit
- Common Mistakes
- Frequently Asked Questions
- Where is the easiest place to sell clothes I no longer wear?
- How do I price secondhand clothes so they actually sell?
- Do I need to ship the clothes, or can I sell them locally?
- How do I sell clothes with no brand label?
- When is donating better than selling clothes?
- What to Sell First for the Fastest Results
What You Need
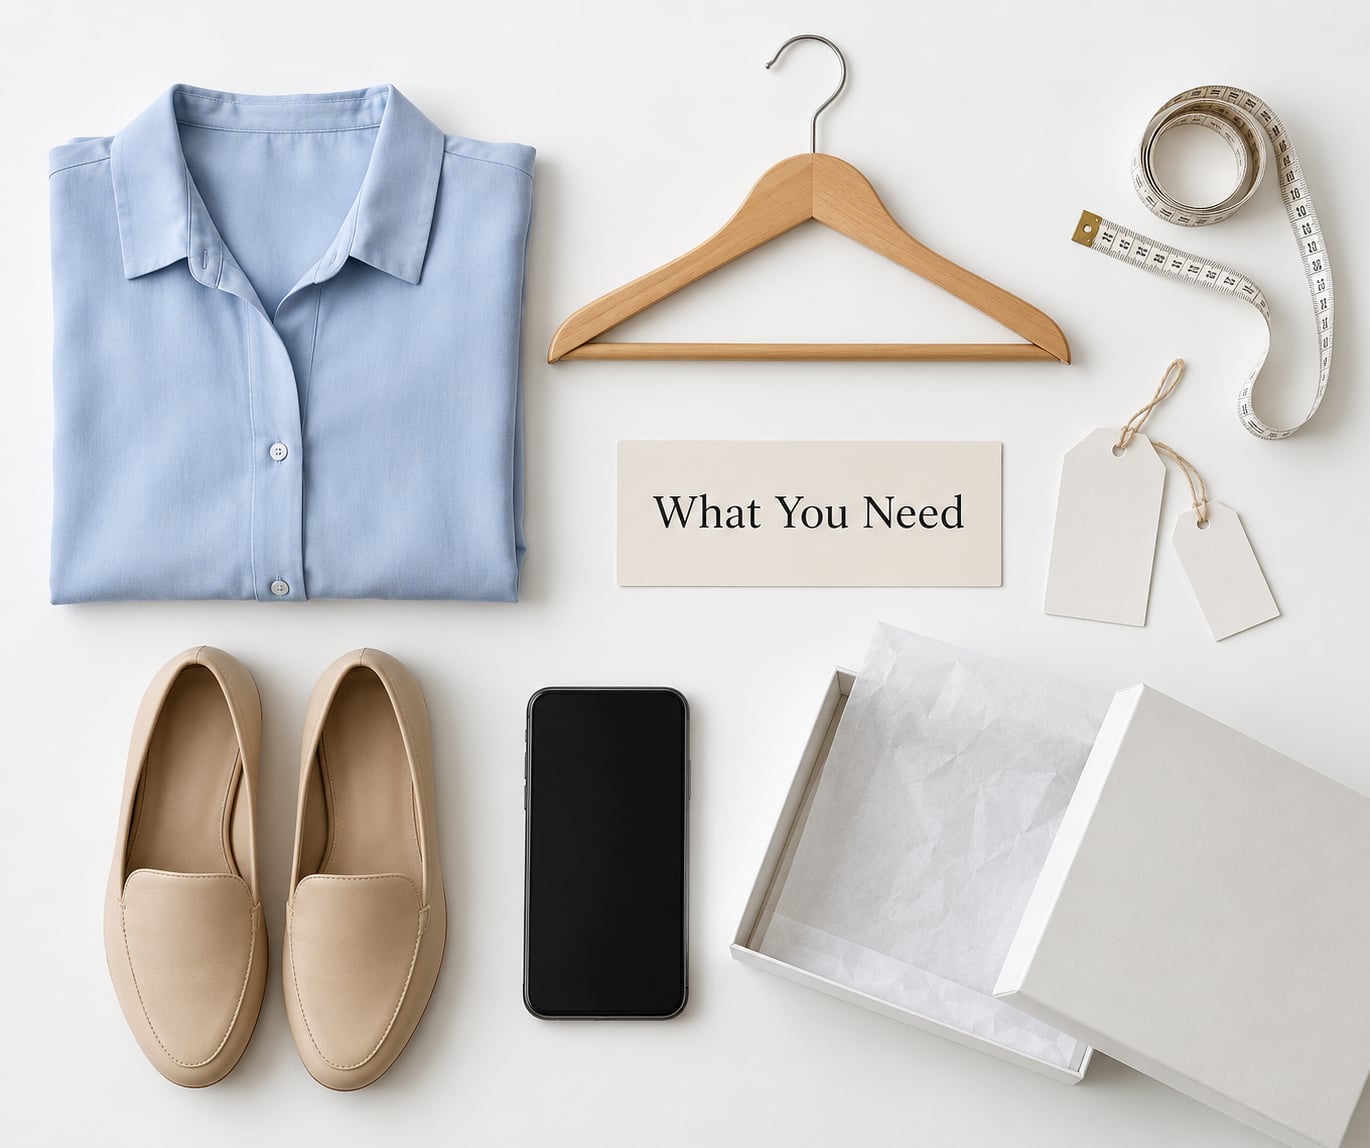
Almost nothing here is required. You can sell clothes you no longer wear with a phone, a light source and a cardboard box. Everything else makes the job faster or gets a few more dollars per item.
- A phone with a decent camera. The rear camera, not a selfie. Clean the lens with your shirt before you shoot.
- A plain background. A sheet of white poster board or a piece of matte paper taped to a wall. Glossy paper throws reflections onto silk and coated fabric.
- A soft garment steamer or a steamer setting on your iron. Steam flattens wrinkles in knits and delicate fabrics that washing would distort.
- A measuring tape. Listings with measurements sell faster because buyers stop messaging to ask for them.
- A lint roller and a small sewing kit. Five minutes removing lint and re-stitching a loose button moves an item from the donate pile to the sell pile.
- Poly mailers or small boxes. Keep a few on hand so a sale that happens at 9pm can go out the next morning. Tissue paper or a folded plastic bag protects delicate pieces.
- A platform account with sales history. Some platforms give new sellers lower search visibility, which matters if you plan to list more than a handful of items.
Before you list a single thing, work through this checklist: every piece has a destination, every piece is clean and dry, every piece has measurements written down, and you know which platform it is going to. If an item fails the first check twice, it is not going to sell and you are only delaying the declutter.
How to Sell Clothes You No Longer Wear, Step by Step
Work through the seven steps in order rather than jumping to listing. Skipping the sort is how people end up with forty unsold listings and a closet that feels exactly as full as before.
1. Sort Clothes Into Sell, Donate, and Recycle Groups
Pull everything you have not worn in the last year and make three piles. The sell pile holds anything in good condition that you would have bought secondhand; the donate pile takes wearable pieces you simply do not want; the recycle pile takes anything stained, torn, faded beyond repair or worn out at the seams.
Two categories usually end up in the wrong pile. Sentimental items never sell no matter how well photographed, so they belong in the donate or keep group, not the sell group. Genuinely damaged pieces that a buyer would only buy for craft projects can go up as a lot, but expecting a fast sale from them is how a backlog forms.
Sort by season too. A wool coat listed in July is a listing that will not move until autumn, and it will have aged by the time anyone looking for one sees it.
2. Clean and Refresh Every Item
Read the care label before anything goes in a machine. Pre-wash, dry-clean-only and hand-wash garments react very differently to the same cycle, and a shrunken cashmere top is gone forever.
For most ready-to-wear pieces, the sequence that works is: treat any fresh stain while it is still fresh, wash according to the label, steam rather than re-wash to remove creases, and let it dry fully before folding. Pilling on knitwear can be lifted with a fabric shaver or a pilling comb, which is the single highest-return ten minutes you can spend on a sweater.
Fix what you can in a minute. A loose button, a missing hook, a gaping seam or a tired zip moves an item up a price tier. Whatever cleaning and repair cannot fix, disclose in the listing. Sellers who are accurate about wear and color say it prevents returns and disputes, and it is the fastest way to protect yourself if a buyer later claims an item was not as described.
3. Research the Best Sales Channel for Your Clothes
Different channels suit different clothes, and the fees decide which one makes sense for a given price band. Sellers moving lots of everyday pieces gravitate toward platforms with no seller fee, while anyone handling higher-value items usually prefers a marketplace with stronger seller protection and insured postage.
Fees and mechanics change often, so treat the figures below as a comparison of how each model works rather than a promise, and check the current rates on each platform before you list.
| Channel | How sellers are paid | Best for | Main trade-off |
|---|---|---|---|
| Resale apps such as Vinted or Depop | No seller listing fee on most items; you ship and set your own postage | Everyday wardrobes, mid-range pieces, sellers with a large volume of small items | Low-value items can be slow; you still handle packaging and postage |
| Peer-to-peer marketplaces such as eBay or Mercari | Percentage commission on the final sale price | Anyone who wants one familiar platform for clothes plus collectibles and gear | Fees cut into thin-margin items; buyer disputes sit with the seller |
| Consignment shops | Store sets the split, usually a percentage of the sale price | Higher-value or designer pieces where the store’s reputation carries the sale | Payout waits for the item to sell; you cannot set the price |
| Neighborhood and local sales | Cash or a direct transfer at handoff | Small items, bulky pieces, anything that avoids postage entirely | Few buyers, limited hours, safety considerations for meetups |
| Donation or textile recycling | No payout; the garment goes back into circulation or into fiber recovery | Items too worn to sell, or anything you want gone this week | Nothing comes back to you financially |
Pick one primary channel and one backup. Sellers who spread a single garment across several platforms sometimes sell the same item twice, which is the most common complaint in resale forums and the fastest way to collect negative feedback. Cross-listing works when each copy is marked as sold the moment a sale goes through.
4. Identify What to Sell and Price Items Realistically
Sold listings, often shortened to comps, are the completed sales on the same platform for the same garment, brand, size, condition and season. They are the only honest price signal, and experienced sellers check them before listing anything. Beginners on Vinted forum threads repeat the same advice almost word for word: compare against what comparable items are actually selling for, not what you paid for them originally.
To price an item, search the platform for the brand and garment type, add a filter for your size, then sort by sold listings rather than by current asking price. Asking prices tell you what hopeful sellers want. Sold listings tell you what buyers actually paid.
Then work backwards from what you keep. Take the sold-comp average, subtract the seller fee, subtract what postage will cost you, and subtract anything you expect to lose to an offer you accept. What is left is the number worth listing at. Listing at your original retail price and getting no views for months is the single most common way sellers convince themselves resale is not worth the effort.
A useful heuristic from experienced sellers is to match the channel to the item. Low-priced everyday pieces move faster on a no-fee resale app, where the whole sale price stays with you. Higher-value or collectible pieces go where buyer protection and insured shipping actually exist, because that is where a lost parcel will not simply be your problem.
What to expect financially is modest and worth setting honestly. Everyday secondhand pieces often sell in single to low double digits, better-condition branded pieces sell for more, and vintage or designer items are unpredictable. Most people clearing a closet are decluttering, not running a business, and treating the process as a slow trickle that funds the next purchase is the framing that works.
5. Photograph and List Clothes So They Sell
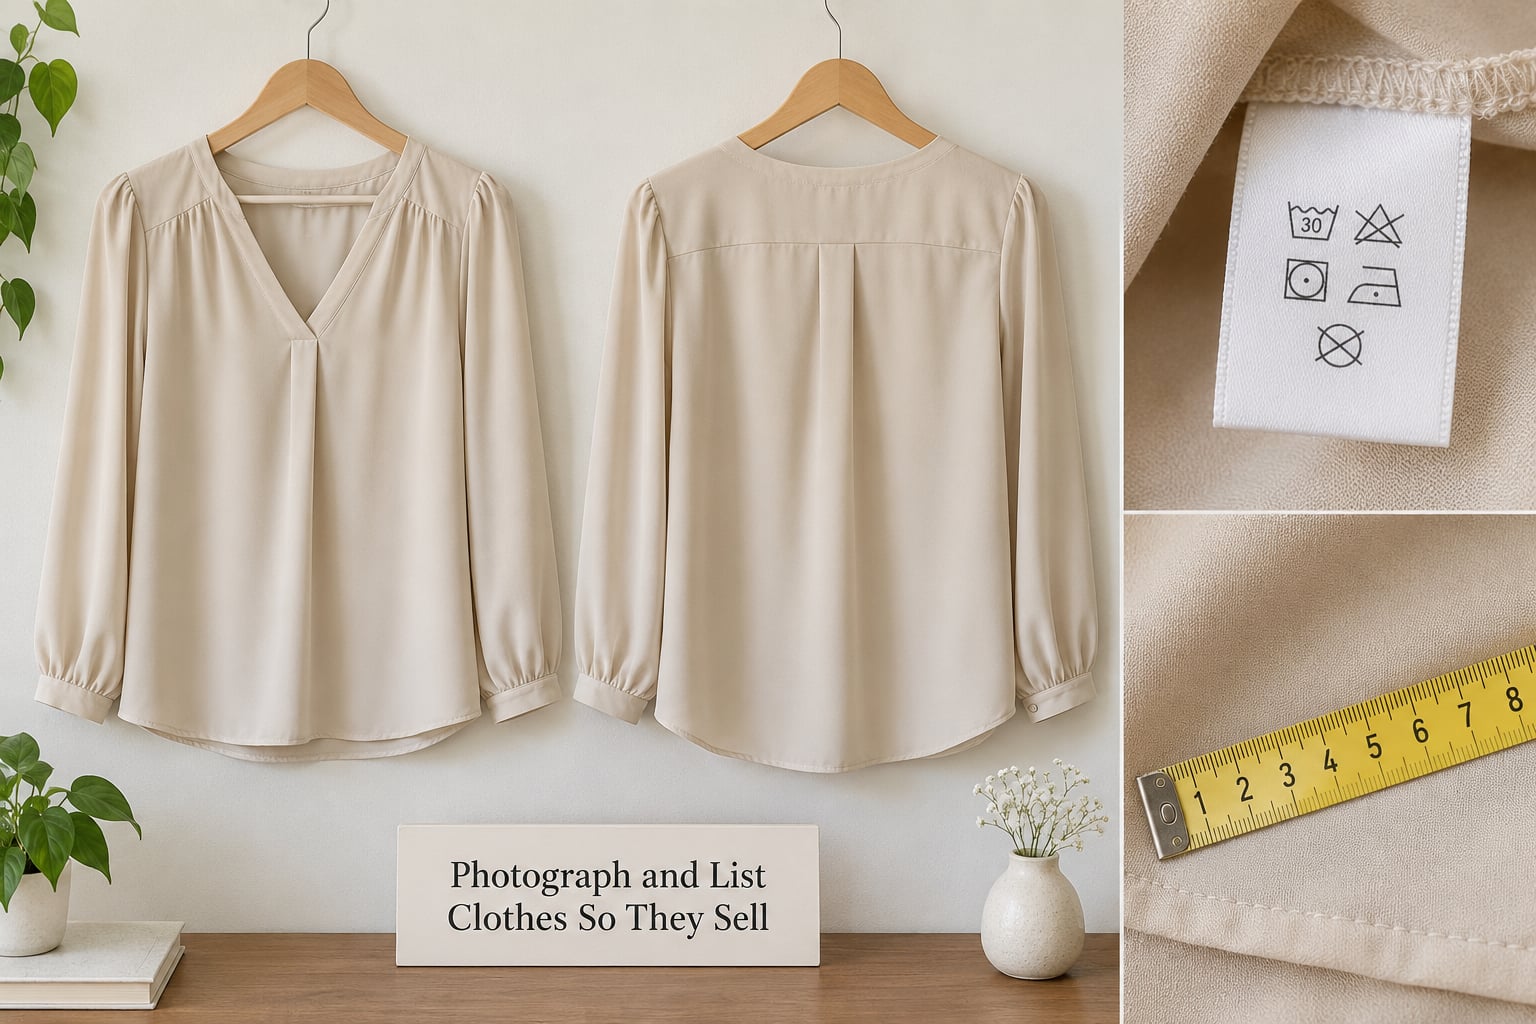
Photos do more work than the description. A listing with five clear images will out-perform a listing with one flattering shot of a garment that might not fit the buyer.
Five shots cover nearly every listing:
- Front, laid flat or on a hanger, filling about 80% of the frame.
- Back, same light and same distance.
- Care label and brand tag, legible and close enough to read.
- Any flaw, a pulled thread, a mark, a repair. Photographing it yourself removes most of the dispute risk later.
- On-body or styled, only when the fit genuinely matters and you have a friend to hold the camera at hip height.
Photograph near a window in daylight and switch off overhead lights, which cast yellow shadows into every color. Take the pictures before you steam, not after, so no iron or fabric steamer appears in the frame.
For the listing copy, keep a fixed structure so you can write each one fast. Title: brand, garment type, color, size, and one distinguishing detail. Then brand, size and fit; measurements; material; condition and any flaw; care instructions; what is included; and how you ship.
Write the description the way you would answer a friend asking about the piece. Search terms people actually type belong in the title and first line, which is why an older reseller guide on Poshmark puts keyword-aware titles and detailed descriptions ahead of almost everything else.
6. Package, Ship, Arrange Handoffs, and Communicate
Package for the method the carrier will actually use. A rigid box for anything structured, a padded mailer for soft knits, and tissue paper or a clean plastic bag between folds so a zipper or a set of nails does not mark the fabric on the way across the country.
Always send tracked postage, on every platform, for every price point. Sellers absorb an untracked loss roughly once and then never make that mistake again. Add insurance when the item is valuable enough that losing it would sting.
Confirm the order in writing before packing, then send promptly with the tracking number shared the same day. Long gaps between purchase and dispatch are the most common trigger for buyer complaints.
For local sales, pick a public meeting place, keep the handoff short, and hand the item over in person with a quick note of what it is and when it changed hands if the item is worth documenting. Cash or an instant transfer at the handoff is simplest.
7. Follow Up, Lower Prices, and Finish the Closet Edit
Reply to messages the same day. Sellers running a closet clearout through one channel report that consistency matters: a steady number of listings going up each week keeps the shop front active, and a responsive seller profile converts messages.
Set a decision date for every listing. If an item has had no views in two weeks, the photo or the title is the problem. If it has views but no offers, the price is. Rather than let it sit, drop the price in two steps, re-photograph it if the original shot was weak, or bundle it with related pieces. A seller who claims a 20% commission platform is not worth it for low-priced items is usually reacting to exactly this, where the fee eats the entire margin.
Then stop. When an item has had three price drops and no interest, move it to the donate or recycle pile without reopening the listing. Finishing the edit is the point. A closet with forty dead listings is more cluttered than the one you started with.
Common Mistakes
Almost every stalled listing traces back to one of these.
- Pricing at original retail. Fix: check sold listings for the same item in your size, then price under the asking average.
- Calling worn condition new. Fix: name every flaw in the description and photograph it.
- Reusing another seller’s photos. Fix: shoot your own. It is faster than the copyright complaint and far faster than the platform ban.
- Skipping measurements. Fix: measure pit to pit, shoulder to hem, waist and inseam, and put the numbers in the listing.
- Ignoring fees. Fix: work backwards from the comp average to the number that lands in your account.
- Listing an item you did not wash. Fix: clean it, steam it, dry it fully.
- Photographing in overhead light. Fix: face the garment toward a window and turn the ceiling light off.
- Weak packaging. Fix: tissue between folds, a rigid box for structure, padding for soft knits.
- Untracked postage. Fix: tracked service on every single order, no exceptions.
- Listing the same garment on several platforms at once. Fix: keep one live listing, mark it sold everywhere immediately.
If you want the fastest result with the least effort: list only what you already know fits you, sell locally what is cheap and bulky, use one no-fee channel for everyday pieces, and set a 60-day deadline on anything that has not moved. Donating a piece you will never wear is a better outcome than a listing that keeps you stuck.
Frequently Asked Questions
Where is the easiest place to sell clothes I no longer wear?
For most people the easiest place is a resale app with no seller fee, such as Vinted or Depop, because you set the price, cover the postage and the platform handles the payment. Sellers shifting everyday pieces under a small price band use these because nothing is deducted before the money reaches you. For higher-value or collectible items, pick a marketplace with buyer protection and insured postage instead, because that is where a lost parcel is not simply absorbed by the seller.
How do I price secondhand clothes so they actually sell?
Search the same platform for your brand and garment type, filter to your size, then sort by sold listings rather than current asking prices. Sold listings show what buyers actually paid. Take that average, subtract the seller fee, subtract postage, and subtract anything you expect to concede in offers. Price a little under the asking average rather than at what you originally paid, and expect to lower it twice before you donate it.
Do I need to ship the clothes, or can I sell them locally?
Both work. Local sales save you postage and packaging entirely, which makes them the best option for cheap, bulky or low-margin items. Post a short window, meet in a public place, and hand over in person with a payment transfer at the handoff. Shipping is unavoidable for anything going to another state or country, and you should always use tracked postage so a carrier loss is documented rather than argued about.
How do I sell clothes with no brand label?
Describe the fabric, weight and construction instead, and photograph the care label so buyers can see what it is made of. Heavyweight cotton, a lined bodice, a boxy cut and a visible stitching pattern tell a buyer far more than a label would. Price below comparable branded items because unbranded secondhand garments sell more slowly, and never imply a brand you cannot prove, since that turns a sale into a return and a complaint.
When is donating better than selling clothes?
Donate when a piece is worn out, stained beyond cleaning, missing its care label or simply not worth the effort of listing. The time you spend photographing and packaging a low-value item rarely beats what the donation gives back, and repeated lowball offers are the fastest way to talk yourself out of selling entirely. If nothing has drawn interest after two price drops, donation is the faster path to the same result.
What to Sell First for the Fastest Results
Choose five pieces you have actually worn and liked, so you can describe the fit honestly, and check that each one is clean and free of flaws. Look up sold listings for the same brand, size and condition, price just under the asking average, and take the same five shots for each one: front, back, care label, flaw, and one on-body if the fit matters.
List them all on the channel that matches the price band, in the same sitting, with consistent titles and a description template you reuse. Watch which one sells first, because that tells you what your buyers are actually searching for.
Then decide what to do with the rest. Most people find the process works best as a decluttering system rather than a money project: a repeatable sort, a repeatable photo set, one channel, and a 60-day deadline on anything that will not move. Follow that rhythm and learning to sell clothes you no longer wear becomes an hour a week, not an abandoned pile of listings.