Shooting outfit photos alone with a tripod is a setup problem, not a posing problem. Set the tripod once, frame the shot while it is empty, lock focus on the spot where you will stand, then release the shutter with a 10-second self-timer or a Bluetooth remote. Because the camera never moves, you can take dozens of variations from one framing instead of guessing at a new angle every time.
The first session takes about 25 minutes including setup. After that, a new look in the same spot takes two or three minutes, which is how a grid ends up looking like someone else shot it.
Table of Contents
- What You Need to Shoot Outfit Photos Alone With a Tripod
- Step-by-Step: How to Shoot a Full Look Alone
- 1. Choose a clean, well-lit shooting spot
- 2. Prepare the outfit and shooting area
- 3. Set the tripod to a fixed position
- 4. Test the exposure and lock the focus
- 5. Create repeatable poses
- 6. Shoot a sequence and review the results
- Common Mistakes and Quick Fixes
- Frequently Asked Questions
- What is the best tripod height for outfit photos?
- Can I shoot outfit photos alone with just a phone and tripod?
- How do I keep my camera from changing focus when I step into position?
- What timer setting should I use when taking outfit photos by myself?
- How do I pose naturally for full-body outfit photos alone?
- How can I make outfit photos look consistent in a series?
- Conclusion
What You Need to Shoot Outfit Photos Alone With a Tripod
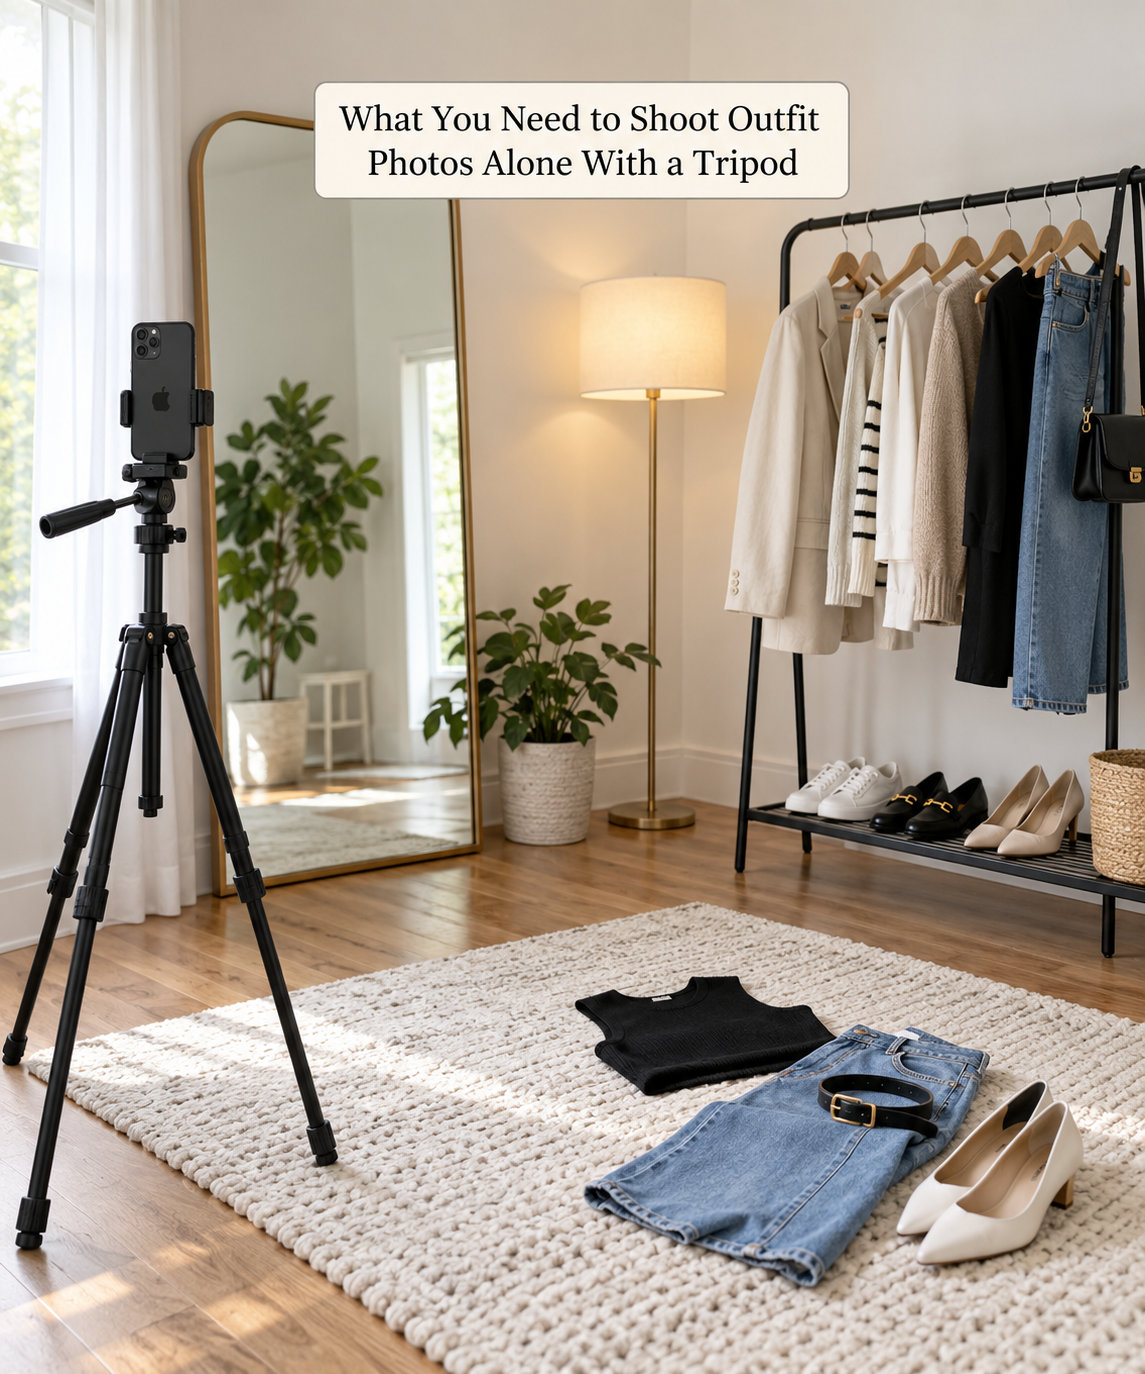
Four things are genuinely required. Everything past that is optional, and beginners who buy more gear stall before the first photo.
- A tripod you can set at chest or waist height. A tabletop mini tripod or one with flexible wrapped legs handles most rooms. A full-size tripod earns its weight when you shoot outdoors or carry a heavier camera body.
- A holder for your phone, or a small ball head if you use a mirrorless or DSLR. Phones clamp on directly; cameras need the screw plate underneath.
- A shutter release. The built-in 10-second self-timer costs nothing. A Bluetooth remote shutter is faster and saves you the walk back and forth between the tripod and your spot.
- A spot with a plain wall and a clear floor, plus a light source that stays put for the whole session.
Worth adding once the basics work: a white card or reflector to bounce light back onto your face, a coin or tape to mark your floor position, and a lens cloth. Skip the reflector if you are already shooting in open shade, which is soft and even.
Step-by-Step: How to Shoot a Full Look Alone
Six steps, in order. The first three happen once per location. The last three repeat for every pose you shoot.
1. Choose a clean, well-lit shooting spot
A blank wall in open shade beats a scenic location every time. Face the light source, keep the wall two to three feet behind you so it stays soft and shadow-free, and scan the floor for anything that will show up in a full-length frame — cables, shoes, a dog bowl.
The test is quick. Stand where you will stand and look at the background. If your eye goes to the wall, a bin, or a patterned rug instead of the outfit, move.
2. Prepare the outfit and shooting area
Hang the full look on a hanger and inspect it before the camera comes out. Smooth the pieces that crease, and try the shoes on to confirm the proportions work before you commit to a framing.
Then clear the floor completely. A frame with a clean lower half and a clean upper half reads as deliberate. One object in the corner reads as an accident.
3. Set the tripod to a fixed position
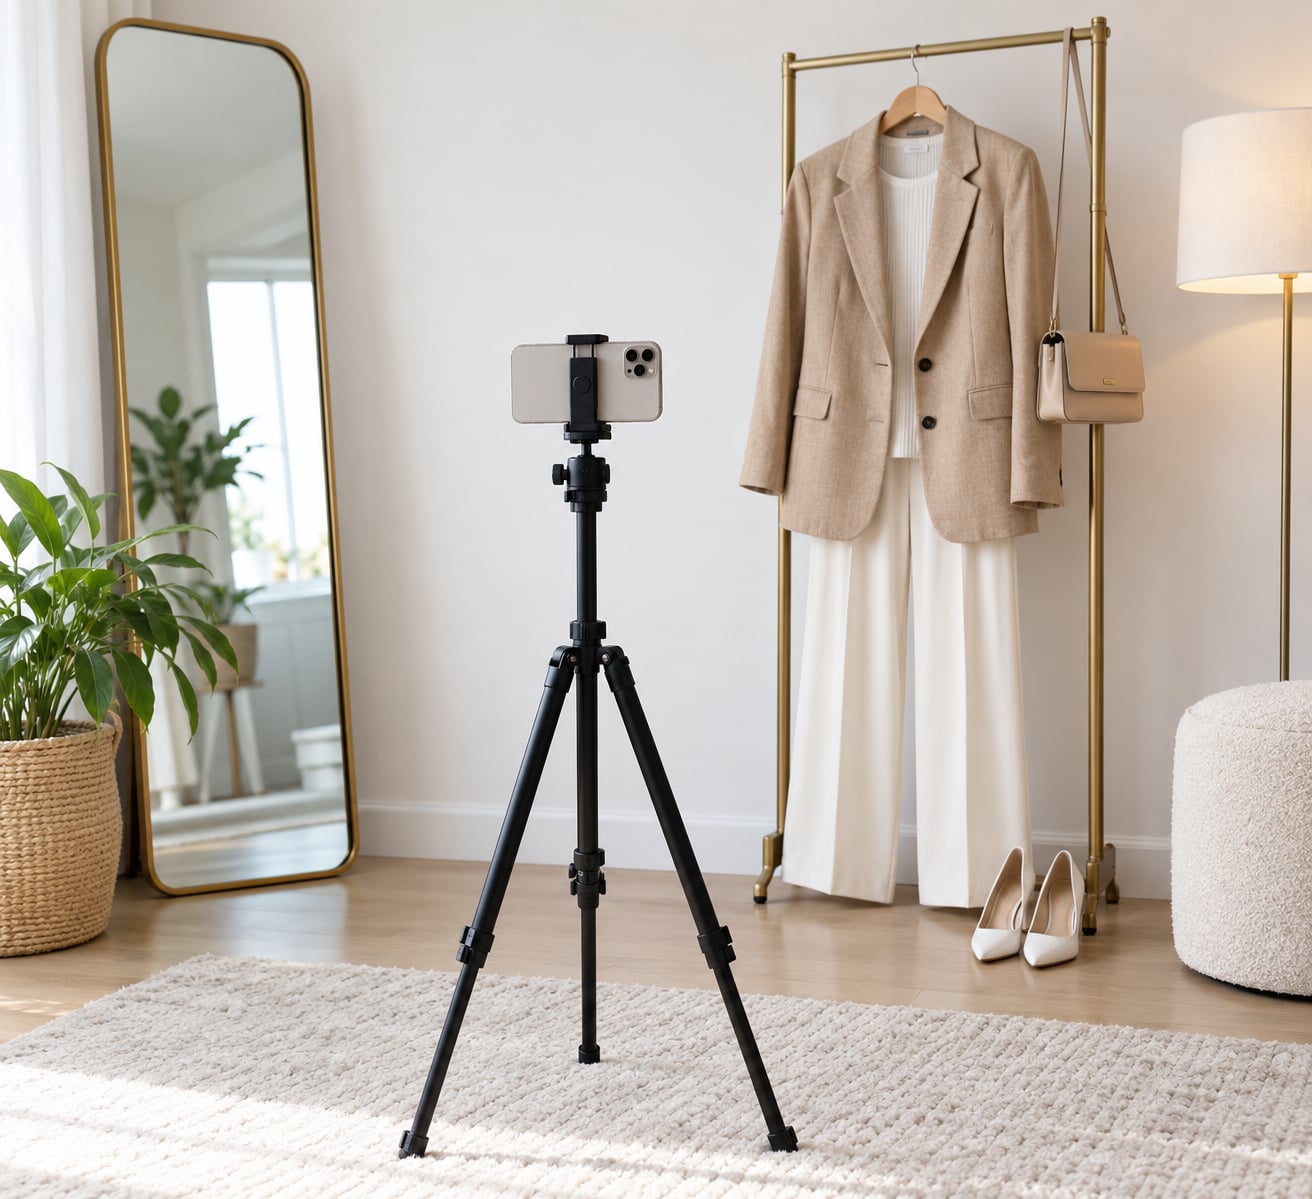
How to shoot outfit photos alone with a tripod comes down to setup you do once and then refuse to touch again.
Set the camera between knee and chest height, roughly waist to sternum, so the lens sits above your knees but below your eyes. Turn on the grid lines, level the head using the bubble level or your phone’s level app, and back up until the empty frame includes your head, your feet, and a few inches of air above your hair and below your shoes.
Mark your floor position with a coin or a small piece of tape. That mark is why the tenth photo in a set frames the same as the first.
4. Test the exposure and lock the focus
Autofocus will hunt or settle on the wall the moment you walk away from the lens, so stop it before you step in. Drop a small object — a coin, a shoe, a rolled sock — exactly where your torso will be, tap to focus on it, and lock exposure and focus together using the AE/AF lock button or a long press on the screen.
Take a test shot with the placeholder in frame and check that the wall behind is not blown out. On a phone, pull the exposure slider down slightly when dark clothing starts going grey.
5. Create repeatable poses
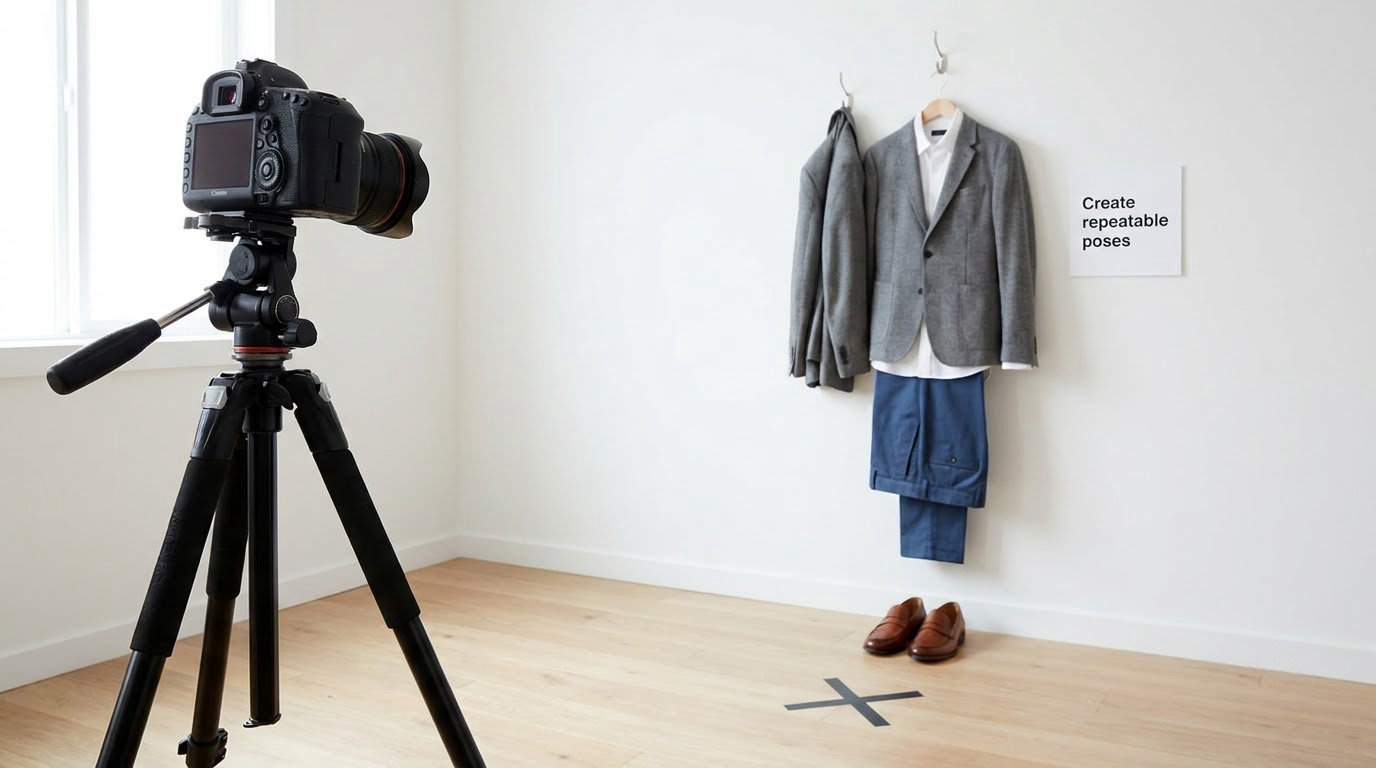
Nobody is directing you, so work from a short list you can repeat instead of improvising mid-countdown. Five covers most outfits.
- Front-facing, weight on one leg. Straight to the lens, weight shifted to one hip, one hand in a pocket or holding a bag strap.
- Three-quarter turn. Rotate about 45 degrees and angle the front of your shoe toward the camera.
- Side profile. Shows the line of the outfit best, so shoot it every time.
- Walking in place. Take three or four small steps toward the camera during the countdown.
- Detail shots. Shoes, bag, jewellery, a cuff or a hem, taken from chest height in the same light.
Hands are the hard part alone. Give each hand one job before the timer starts — grip a bag, touch a cuff, rest at your side — rather than waving them around while you wait.
6. Shoot a sequence and review the results
Run the timer through eight to twelve poses, then step over and check the screen before changing anything. Volume is the accepted fix for bad luck. Most people shoot 100 to 300 frames in a session and keep four or five.
Want a short video in the same spot? Shoot it in the same setup. Switch to video, hit record, step into your marked position, and do one slow turn. One clip, one place, no re-setup.
Common Mistakes and Quick Fixes
Almost every disappointing solo outfit photo is one of these eight things, and all of them can be fixed while you are still standing there.
- Blurry frame. You moved during the countdown. Start walking the moment the timer begins, then settle and hold still for the last few seconds.
- Focus lands on the background. Lock focus on a placeholder before you step into position.
- Cut-off feet or head. Frame the shot empty first. If it fits with nobody in it, it fits with you in it.
- Crooked horizon. Level the tripod head before you shoot. Cropping a tilt afterwards rarely rescues it.
- Harsh shadow across the face. Turn toward the light rather than away from it, or step into open shade.
- Remote visible in your hand. Tuck it into a pocket or a sleeve, or hold it with both hands at your side before the shutter fires.
- Background fights the outfit. Change your distance to the wall or your angle to the tripod, not your distance to the camera.
- Every pose looks identical. Rotate the tripod or change the framing after every third shot.
Two habits matter more than any single fix. Mark the spot, and check the screen before you pack up. A crooked horizon or a cut-off heel costs nothing to reshoot while you are still standing there.
Out in public, keep the tripod compact, stay out of walkways, and leave licence plates and house numbers out of the frame. Shooting alone in public is unremarkable to everyone else. It only feels strange from the inside.
Frequently Asked Questions
What is the best tripod height for outfit photos?
Set the camera between knee and chest height, roughly waist to sternum. That keeps the lens above your knees without tilting up, which would distort your legs. Level the tripod head, back up far enough that your head and feet sit inside the frame with a few inches of space, and never adjust it again mid-session.
Can I shoot outfit photos alone with just a phone and tripod?
Yes, and most people should start there. A phone on any stable tripod, the built-in 10-second self-timer, and a plain wall will get you a usable full-body shot with no photography knowledge at all. Move up to a camera only when you want control over background blur or exposure, not for sharper photos in good light.
How do I keep my camera from changing focus when I step into position?
Place a small object where your torso will be, a coin or a shoe works, tap to focus on it, then lock focus and exposure together using the AE/AF lock button or a long press on the screen. Without a lock, autofocus hunts when you walk away and settles on the wall behind you. Switch to manual focus afterwards and the frame stays sharp all session.
What timer setting should I use when taking outfit photos by myself?
Use 10 seconds. It is long enough to walk from the tripod into your marked spot, settle your weight, and fix your hands before the shutter fires, and short enough that you are not standing around. A Bluetooth remote shutter is faster when you have one, but ten seconds is the most reliable free option and the one most people settle on.
How do I pose naturally for full-body outfit photos alone?
Repeat five set poses rather than improvising: front-facing with weight on one leg, a 45-degree turn, a side profile, a short walk toward the camera, and a detail shot of the shoes or bag. Give each hand one job before the timer starts. Poses you have shot ten times read far more natural than a new one you are still thinking about mid-countdown.
How can I make outfit photos look consistent in a series?
Never touch the tripod between looks. Mark your floor spot with tape or a coin, keep the camera at the same height and angle, use the same lighting every time, and shoot each look with the same pose order. Edit the whole set with one preset or slider adjustment. Consistency comes from repeating an identical setup, not from editing each photo separately.
Conclusion
Start with one location that has a plain wall and even light. Set the tripod between knee and chest height, frame it while it is empty, lock focus on a coin where you will stand, and run a 10-second timer through eight poses.
Then check the screen, reshoot what is actually broken, and keep the four frames that work. Setup once, repeat the poses, review before you leave. That loop is the whole difference between snapshots and a consistent outfit set.