Learning how to shape nails at home comes down to four moves: trim the length with clippers, file only the free edge in one direction, stop before you thin the sidewall, then buff the tip to seal it. Ten minutes of light work gives you a shape that holds for a week. Nobody needs a steady hand for it. They need to know where to stop.
I shape my own nails at the kitchen table roughly every ten days, and the first few attempts went badly for one reason: I was filing with more force and more back-and-forth than the job needed. Nails peeled for a week afterwards. The fix was not a better file, it was lighter strokes and a clear stopping line.
This guide covers the tools worth owning, the six core steps in order, a walkthrough of all five common shapes, and the mistakes that quietly weaken nails. It also covers when a shape simply is not available at your current length, which is where most damaged nails came from in the first place.
Table of Contents
- What You Need
- How to Shape Nails at Home Step by Step
- Step 1: How to Shape Nails at Home Starts With the Shape You Pick
- Step 2: Trim With Clippers and Leave Material for the File
- Step 3: File in One Direction From the Side Toward the Centre
- Step 4: Refine the Shape and Check Symmetry on All Ten Nails
- Step 5: Buff the Edge, Clear the Debris and Finish With Oil
- Common Mistakes
- Frequently Asked Questions
- What is the easiest way to shape nails at home?
- Should I shape my nails before or after applying polish?
- What file grit should I use for natural nails?
- Can I shape nails with a nail clipper instead of a file?
- How do I make my nails look evenly shaped?
- How often should I reshape my nails at home?
- Start With the Right Shape and File Lightly
What You Need
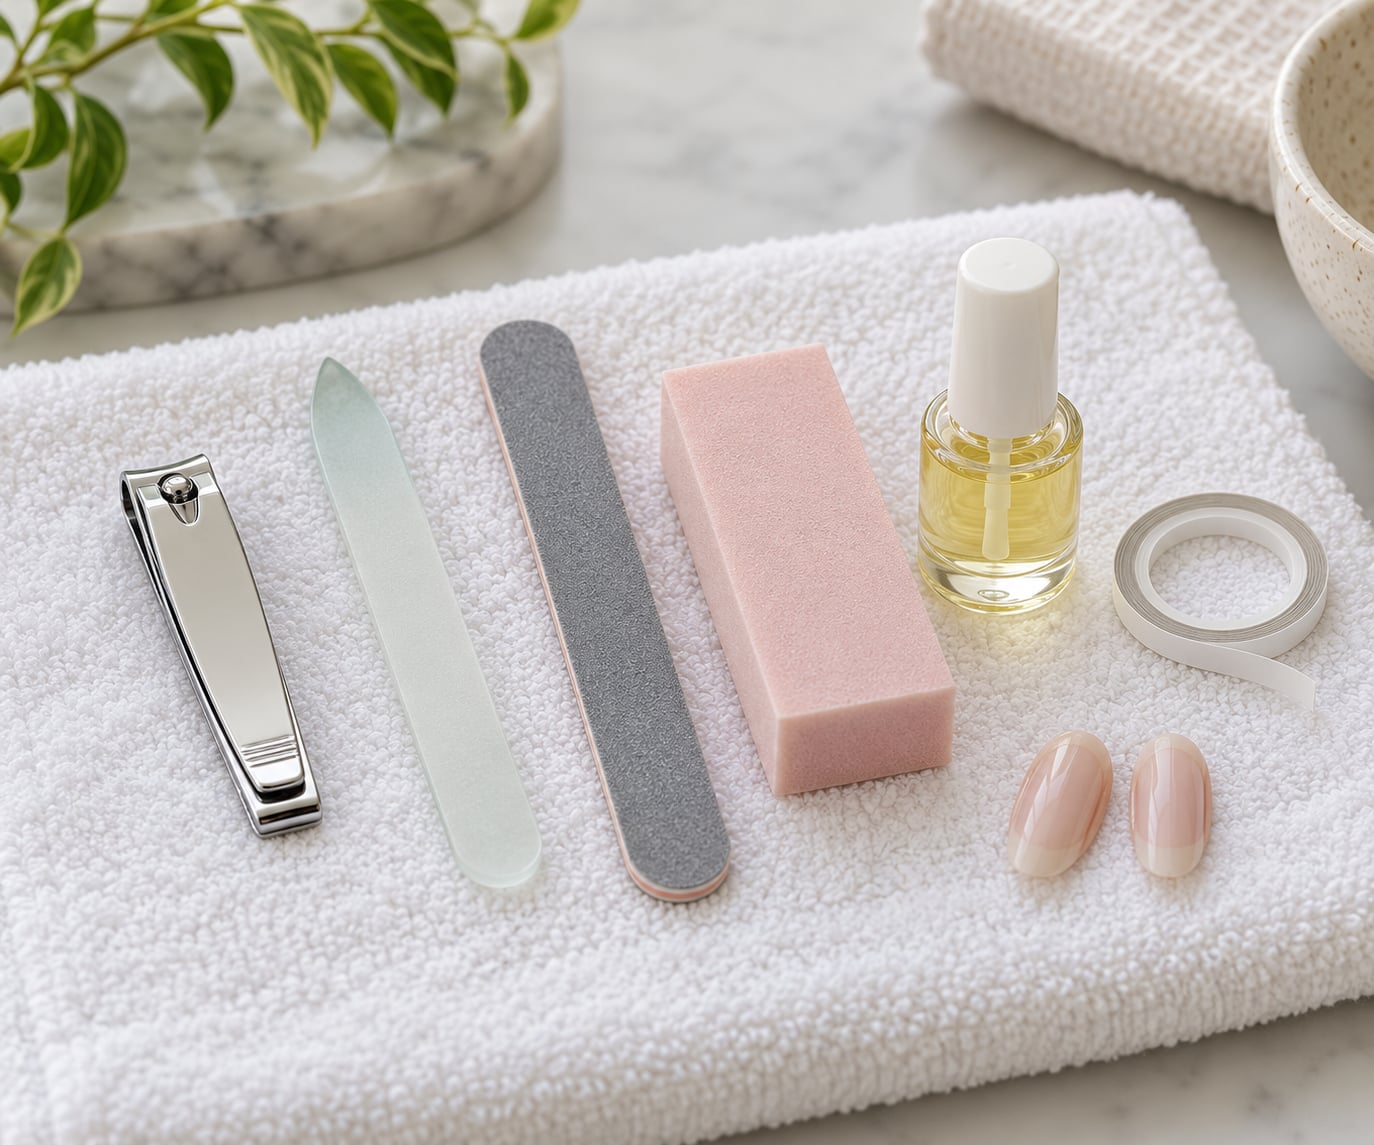
Shaping at home needs very little. A clipper, one fine file, a soft block and a bottle of oil will get you through a session in about ten minutes. Everything else is optional polish on the technique rather than on the kit.
- A nail clipper with a straight edge for square and squoval, and a clipper with a curved edge if you like round, oval or almond. The curved jaw follows the arc you want, so it does less work for you.
- A 180 or 240 grit file. Lower grit number means a coarser surface. Coarse files take material off fast but leave a rough edge, so use one to set the outline and a finer grit to finish.
- A soft buffing block for the final pass across the surface of the nail, which evens out ridges and takes the shine off.
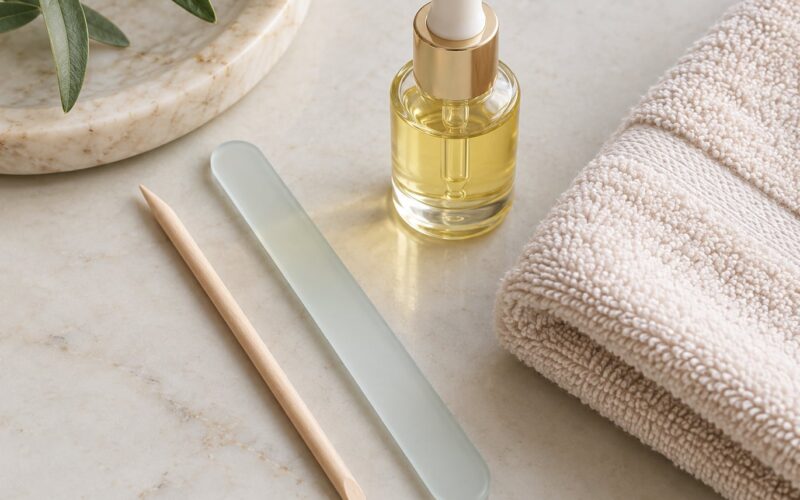
- A glass file as a backup. It seals the keratin layers as it works, so it is gentler on nails that peel, and it washes off cleanly.
- A cuticle pusher and cuticle oil. Pushing cuticles back gives you more visible nail plate to shape, and oil keeps the surrounding skin soft so nothing catches.
- Optional: striping tape or nail vinyls to act as a stencil. Mark a line across the tip, file to it, and the line tells your hand when to quit.
Emery boards work fine and cost less. They are the better choice for removing old polish and for beginners who want visible progress, because they cut faster than a glass file.
Before you start, pick the silhouette. These are the five shapes most people mean when they talk about nail shapes, and they differ more in what they demand from you than in how they look.
| Shape | Looks like | Suits | Minimum length | Difficulty |
|---|---|---|---|---|
| Round | Curved tip following the finger | Short nails, wide nail beds, wide fingers | Almost none | Easiest |
| Squoval | Square tip with softened corners | Nearly everyone, especially beginners | Short | Easiest |
| Square | Flat tip with crisp corners | Long slim fingers, long nail beds | Medium | Moderate |
| Oval | Flat front that curves into a soft point | Long and slim fingers, a polished look | Medium to long | Moderate |
| Almond | Narrow, symmetrical point | Long slim fingers and nail beds | Long | Hardest of the five |
Squoval is the forgiving one. It has the visual neatness of a square tip without demanding a sharp corner you may not have the length for, and readers filing from home pick it as the easiest shape to keep even across ten nails.
How to Shape Nails at Home Step by Step
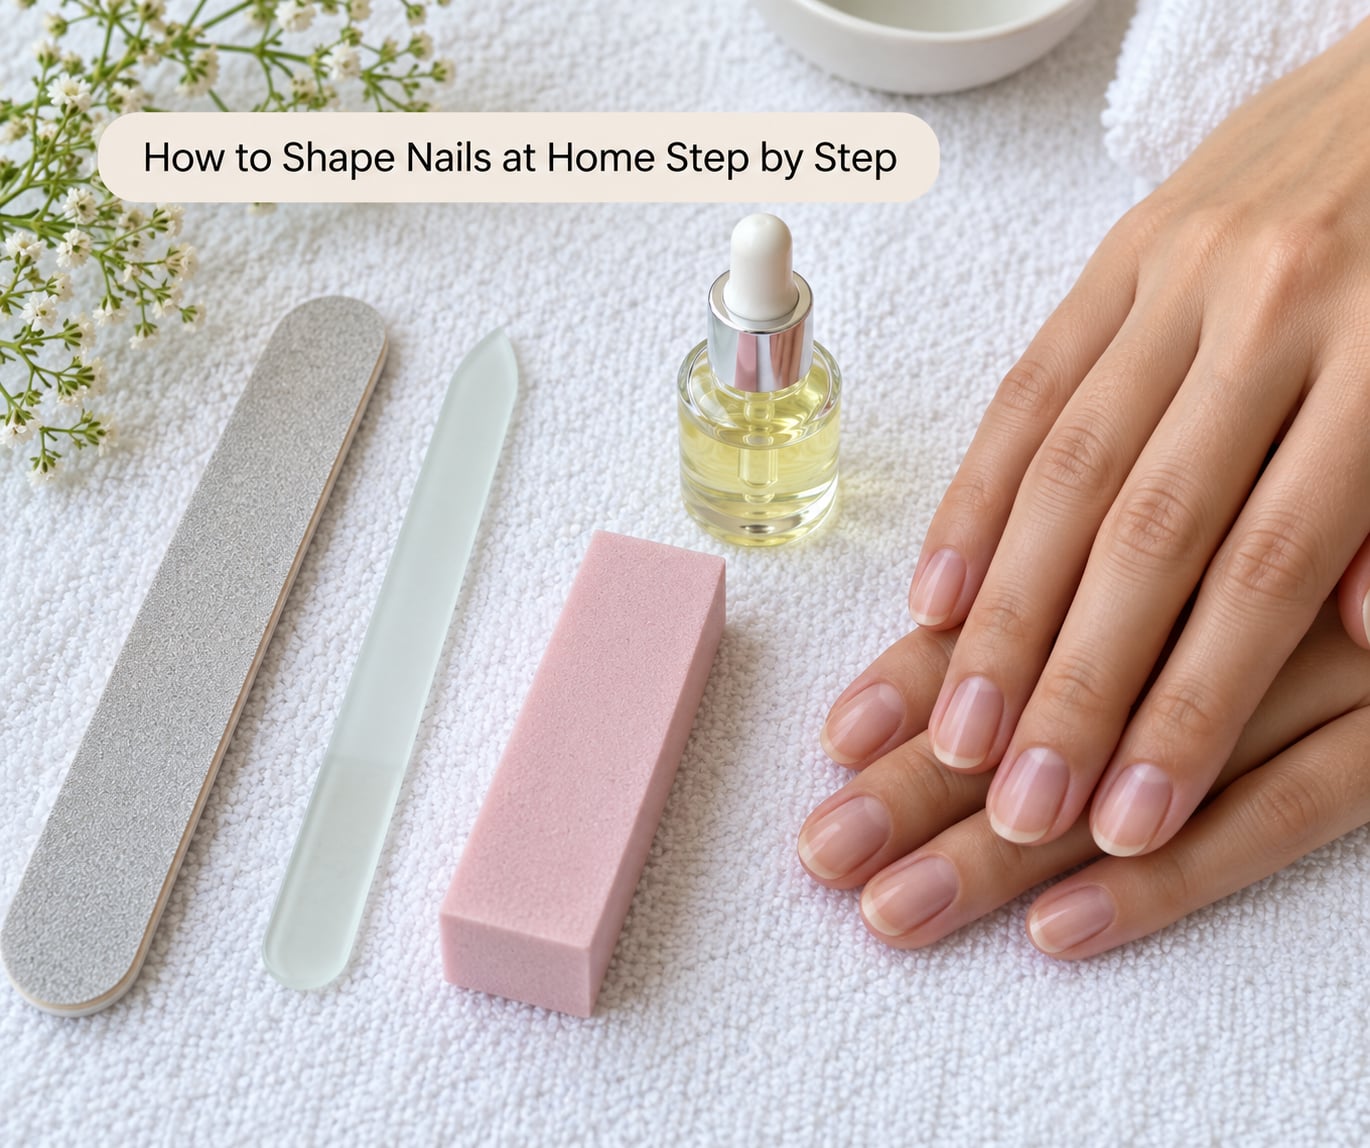
Step 1: How to Shape Nails at Home Starts With the Shape You Pick
Choose before you file, not after. Pick the shape that matches the length you actually have and the width of your nail beds, because a pointed shape on a short nail is the reason so many people end up with peeling, splitting corners.
Look at your nails straight on and check whether the cuticle line is even across the finger. It rarely is. That unevenness is called a smile line, and it is the reason freehand shaping drifts. Either pick a shape with a soft tip that forgives asymmetry, or use tape as a stencil so the silhouette comes from the stencil rather than from your eye.
You will know the shape fits when the tip needs almost no correction. If you are removing a lot of material on one side to make the outline match your plan, the plan is wrong, not your filing.
Step 2: Trim With Clippers and Leave Material for the File
Clippers set the length. The file sets the shape. Clip first, then file, and the order matters: filing first just means you come back to the clipper later and undo your outline.
Take small bites straight across the tip rather than one decisive squeeze. A single hard clip is the most common reason a nail cracks and splits, and it is usually the nail that has an old vertical crack you never noticed. Two or three gentle bites remove the same length with none of that risk.
Stop with a few millimetres of white free edge still showing. That is your working material, and if you clip down to nothing you have nowhere to file to. A hard thunk means you are closer than you think, so ease off.
Round, oval and almond go faster with a curved-edge clipper because the jaw follows the arc. Square and squoval want the straight-edge clipper held flat to the finger.
Step 3: File in One Direction From the Side Toward the Centre
This is the whole technique in one sentence. Hold the file at a slight angle, use light strokes in a single direction, and work from the sidewalls toward the centre of the tip. Never saw back and forth.
Two words carry the instruction. The free edge is the part of the nail that extends past the fingertip, and it is the only part you file. The sidewalls are the strips of nail plate running down each side of the nail, and they are what give the nail its strength. Over-filing the sidewalls is the single most common shaping error, and it is the reason nails start peeling and splitting a few days after a session that felt fine.
Start each stroke at the highest point of the nail near the cuticle rather than at the outer corner. Starting at the corner drags the sidewall out of line and sets you up to file it thin. Pressure should be lighter than you think: if you can feel the file biting, ease off and take two passes instead of one.
Coarse grit sets the outline and fine grit refines it. Switching grit is how you speed up, not pressing harder.
Step 4: Refine the Shape and Check Symmetry on All Ten Nails
Check the result from more than one angle, because a shape that looks right from above can be lopsided from the fingertip. Look straight down at the nail, then look at the fingertip end-on to judge the C-curve, the natural arch across the tip. A good shape has a shallow, even curve rather than one side dipping lower.
Two techniques help you get all ten nails to match. The centerline method means imagining a line from the centre of the cuticle down to the centre of the tip; the tip should be centred on it. The guide finger method means choosing the finger with the best shape as your reference and comparing each other nail to it as you go.
Two practical habits help more than technique. Work in front of a light-coloured wall or a window so the silhouette reads clearly against it, and on your non-dominant hand, move the finger rather than the file. Resting your finger against your other hand and drawing the file keeps the stroke short and controlled.
Check length across the hand too, not just shape. A half-millimetre difference between the two ring fingers is what makes a manicure look unfinished.
Step 5: Buff the Edge, Clear the Debris and Finish With Oil
Seal the edge. Once the outline is where you want it, run the file lightly downward over the tip from the top of the nail. That one pass folds the keratin layers back over the edge, and it makes a big difference to how long the shape survives contact with things.
Then clear the debris. Fine filing dust packs under the free edge and you will find it a day later, so push it out from underneath with the pusher, working outward from the nail rather than scraping in.
Finish with a buffing block across the surface of the nail to smooth ridges and take the shine off, then massage cuticle oil into the nail and the surrounding skin. Oil every couple of days keeps the nail plate flexible and the skin soft enough that it is not snagging on your shirt cuff.
Stop and reassess if a nail starts to feel rough, thin, weak or sore at the sidewalls. That is your signal, not a challenge to push through. If nails are already peeling or brittle, shorten rather than sharpen: take the corner off with a file, do not try to keep a pointed shape that the nail cannot hold.
Common Mistakes
Filing back and forth. It feels faster and it shreds the keratin layers of the nail plate, which shows up as peeling a few days later. Fix: one direction per stroke, lift the file, reset, repeat.
Shaping every nail differently. You get a slightly different outline on each one because you eyeball it separately. Fix: pick a reference finger, compare to it before you lift the file away, and use tape if your eye is unreliable.
Filing nails that are still damp. Soft nails file unevenly and peel at the same time. Fix: wash, dry and wait until the nail plate has hardened back up before you touch it with a file.
Using the wrong grit. Too coarse leaves a jagged edge you keep chasing; too fine turns into a half-hour job per nail. Fix: coarse to set the outline, fine to finish, and change grit instead of adding pressure.
Over-filing the sidewalls. The nail looks clean and then peels, splits or breaks within days. Fix: file only the free edge and start each stroke at the apex, not the outer corner.
Clipping side to side. A clipper cutting across the width of the nail splits it, especially on a nail with a vertical crack. Fix: small bites straight across the tip.
Following the smile line. You copy the uneven curve of the cuticle edge into the outline and end up with a lopsided tip. Fix: choose a shape with a soft tip, or mark a straight guide line with striping tape before you file.
Chasing a shape your length cannot support. Almond and squoval both need material you may not have, and forcing them produces peeling corners. Fix: choose round or squoval now and plan a gradual change over several sessions as the nail grows, shortening a little and reshaping each time rather than attacking the whole length at once.
Frequently Asked Questions
What is the easiest way to shape nails at home?
Choose squoval if you want the easiest shape to keep even. Clip the length in small bites straight across, then file only the free edge in one direction from the sidewalls toward the centre, leaving the sidewalls untouched. A stripe of tape across each tip turns the outline into a guide so both hands match. Ten minutes is a realistic session.
Should I shape my nails before or after applying polish?
Shape before you apply anything. Filing on polished nails dulls the file and can drag the colour, and most nail polishes need bare, clean nails to adhere properly. If you struggle to see the shape on bare nails, you can trace your target outline onto polish first, file to the line, then remove the polish and refill.
What file grit should I use for natural nails?
Use 180 grit to set the outline and 240 grit to refine it. Anything coarser than 180 on natural nails leaves a rough edge that needs chasing, and anything much finer than 240 takes far too long. A glass file is gentler on nails that peel because it smooths and seals the keratin as it works. Change grit rather than pressing harder.
Can I shape nails with a nail clipper instead of a file?
You can set the length with clippers, but you cannot make a clean shape with them alone. Clipper jaws leave a squared-off, sometimes jagged tip and can split the nail if you squeeze hard. Clippers also round off the corners of a square shape immediately. Use clippers to trim, then a file to draw the outline. That combination is the method used here.
How do I make my nails look evenly shaped?
Pick one finger as your reference and compare every nail to it before lifting the file away. Check each nail from above and from the fingertip end-on to see the C-curve is even. Imagining a centerline from the middle of the cuticle to the middle of the tip catches lopsided tips. Resting the finger against your other hand makes strokes short and controlled.
How often should I reshape my nails at home?
Every seven to ten days is plenty, and a quick tidy-up of four or five light passes each week keeps the shape between full sessions. Filing that often means clippers become mostly unnecessary except on very long nails. Reapply your top coat every three or four days. If nails feel rough, weak or peeling at the sidewalls, take the point off and let the nail recover.
Start With the Right Shape and File Lightly
Pick the shape first, and pick one your current length can actually hold. Squoval is the safe default; round is the safe answer for nails bitten short or already peeling.
Then trim with clippers in small bites and file in one direction, light pressure, from the sidewalls toward the centre. Stop at the free edge, buff the tip downward to seal it, and push the oil in. Ten minutes, every week or so, keeps both hands matching.
Book a professional instead if you have deep cracks, chronic sidewall damage, or you are aiming for coffin or stiletto. Those shapes need either reinforcement or experience with how a nail plate behaves under product, and getting them wrong at home costs you months of regrowth.