A good flat lay comes down to four things: a clean neutral surface, soft light from one side, the phone held flat and parallel above the scene, and consistent edits. A phone handles all of that well. Fix one setup and reuse it, and your flat lays start looking like work rather than a snapshot.
I’ve shot outfit, beauty and resale flat lays on a phone for years, and the gap between an amateur frame and a professional one is almost never the camera. It’s where the light comes from, whether the phone is straight, and whether the same correction gets applied to every shot in the set. Here’s how to take flat lay photos with a phone, step by step, followed by the mistakes that account for almost every bad result I see.
Table of Contents
- What You Need to Take Flat Lay Photos With a Phone
- How to Take Flat Lay Photos With a Phone: Step by Step
- How to Take Flat Lay Photos With a Phone: Plan the Layout
- Clean and Style the Surface
- Use Soft, Even Light
- Lock the Phone and Frame the Shot
- Take Several Variations
- Edit for Consistency
- Common Flat Lay Mistakes and How to Fix Them
- Frequently Asked Questions
- What is the best app for taking flat lay photos with a phone?
- Do I need a tripod to take professional-looking flat lays?
- How do I prevent shadows in phone flat lay photos?
- Should I use natural light or artificial light for flat lays?
- How do I keep background colors consistent across multiple phone photos?
- Start With One Clean, Consistent Setup
What You Need to Take Flat Lay Photos With a Phone
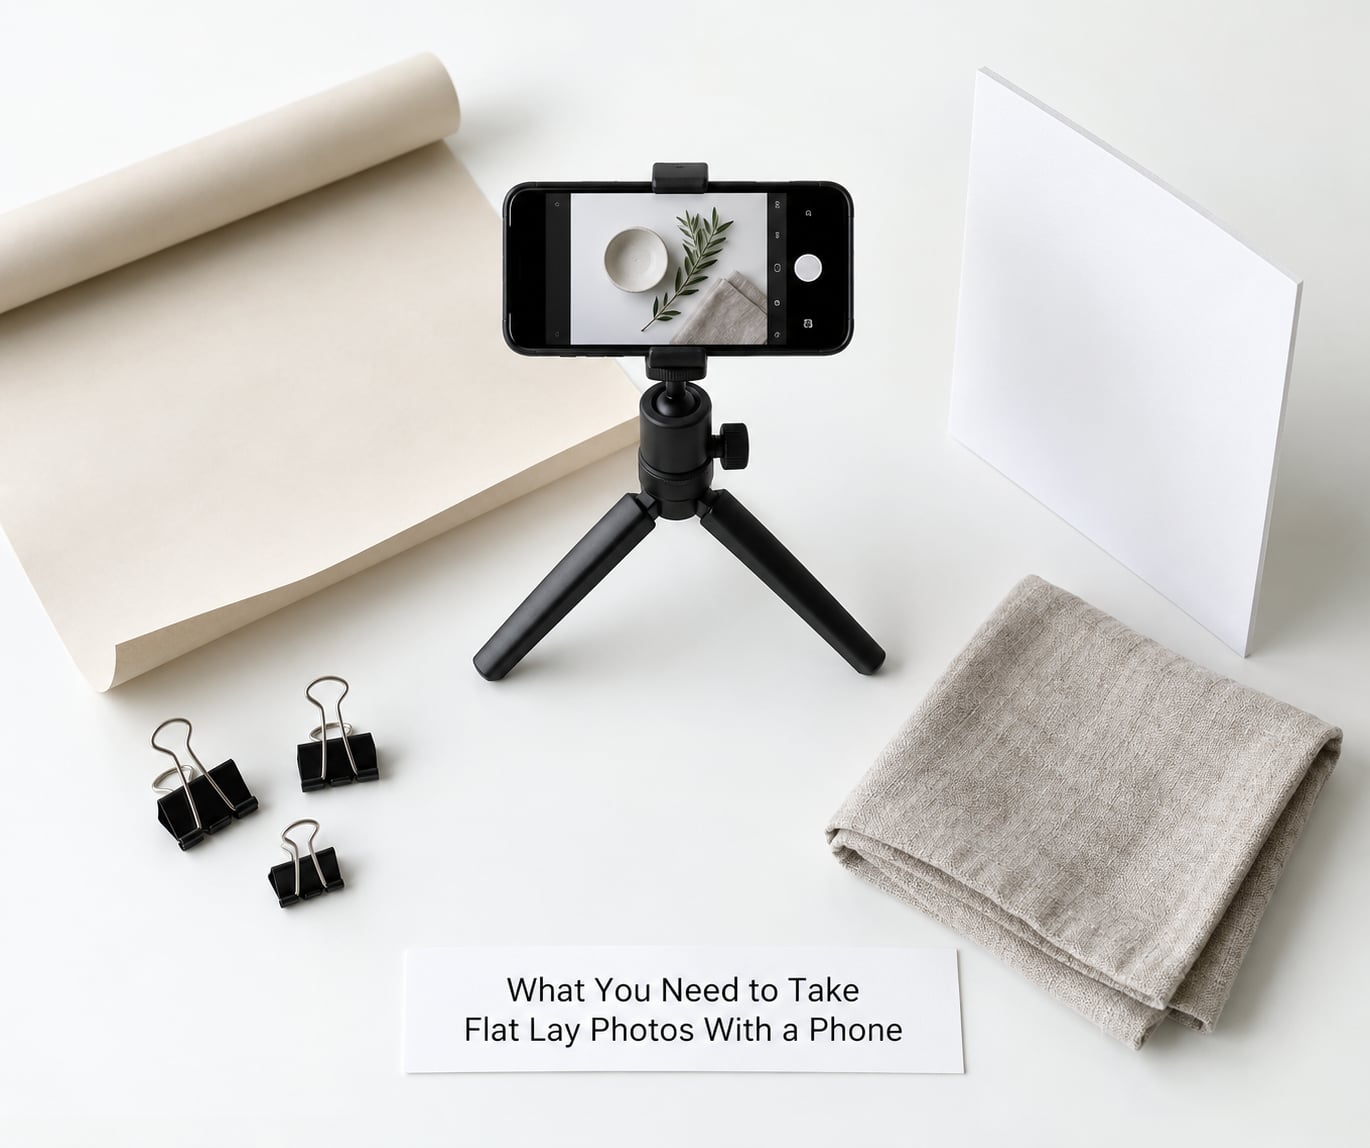
You need very little. The essentials are a phone with a clean lens, a flat surface to work on, a neutral backdrop, one soft light source, and a few small styling tools.
The essentials, in plain terms:
- A phone with a working camera. Wipe the lens with a soft cloth first. A smudged lens is the most common reason phone photos look soft and hazy, and it costs nothing to fix.
- A flat shooting surface. A table, a bed, a clean floor. Any of these works as long as it is level.
- A neutral backdrop. Seamless paper, a foam board, matte poster board, or a plain cotton sheet stretched flat. Matte matters more than color. Glossy boards mirror your window straight into the shot.
- Soft light from one direction. A large window with no direct sun on it, or a diffused LED panel. More on this in the lighting step.
- A small styling kit. Linen or muslin squares, a wooden tray, a shallow dish for jewelry, binder clips, and tweezers for arranging things your fingers are too big for.
Everything below that list is helpful, not required:
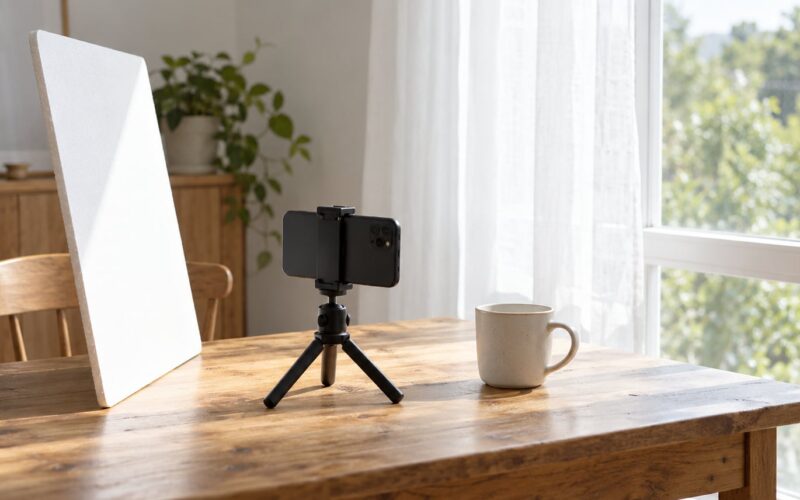
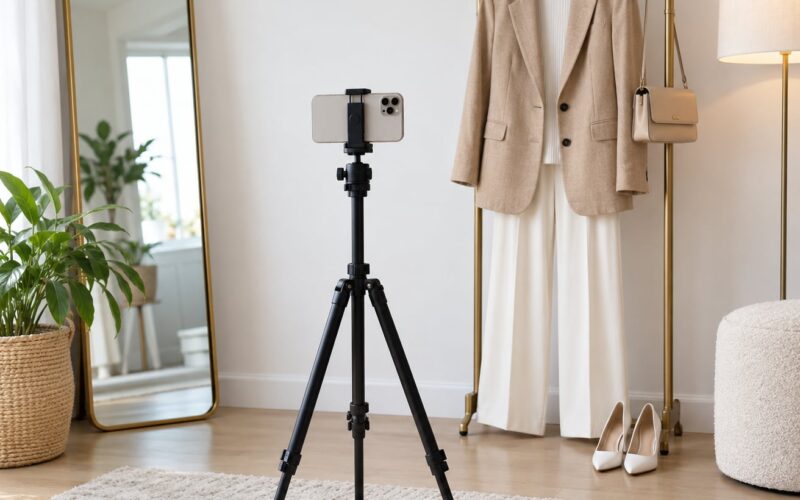
- A tripod or clamp arm. Buys you a perfectly straight, motionless frame. Not essential, but it is the single biggest upgrade.
- A white board or card as a reflector. Fills in the shadows on the side of your objects that faces away from the window.
- An editing app. Every phone already has one that corrects white balance and exposure. Snapseed and Lightroom Mobile are free and go further.
- A small step stool. Gets you parallel over a table without standing on a chair.
Budget versions work fine. A stack of hardback books with two binder clips makes a serviceable flat lay stand, and a white poster board or a sheet of foam core makes a serviceable reflector. Shooting on the floor solves the height problem entirely if your surface is a bed or a low table.
How to Take Flat Lay Photos With a Phone: Step by Step
The process runs in this order: plan the layout, clean and style the surface, set soft even light, lock the phone parallel to the surface, shoot several variations, then edit to a consistent look. Work in that sequence and each step makes the next one easier.
How to Take Flat Lay Photos With a Phone: Plan the Layout
Start by deciding what the photo is for, because a catalogue set and a single mood post want different layouts. A catalogue wants consistency: same crop, same margins, same order every time. A single post wants a composition that pulls the eye somewhere.
Group related objects, pick one hero item, and choose a loose visual order before you place anything. The S-curve works well for larger scenes: start at one corner, arc through the hero item, and finish at the opposite corner. Small objects clustered on the curve read as deliberate; the same objects scattered evenly read as accidental.
A capsule wardrobe flat lay, for example: the coat laid flat as the anchor, knitwear folded beside it, trousers angled below, shoes paired heel to heel at the bottom edge, and the bag filling the open corner. Leave the gaps between objects wider than you think you need to. Negative space is what keeps the frame from looking stuffed.
Preview it before you style anything. Open the camera, switch to square, hold the phone above the empty surface and look. Imbalance shows up instantly, usually as one corner carrying three small items while another holds nothing.
Clean and Style the Surface
Choose a background that is wrinkle-free, dust-free and free of anything distracting, then clear it completely before arranging. Fingerprints and lint show up badly under raking light, and a patterned tablecloth competes with everything you place on it.
If your only surface is the problem, cover it rather than hunt for a new one. A plain sheet over a busy table, a baking sheet or a sheet of foam core over a gummy table, a piece of plain paper over a dark desk. Anything matte and unpatterned will do.
Style each type of object differently. Turn garment labels outward and fold collars flat so they read as intentional. Pair shoes heel to heel and set laces to one side. Put jewelry and rings in a dish rather than scattering them, where they disappear into the surface. Turn beauty products so the label faces the camera and stand containers upright so their heights differ.
Leave breathing room around the edges. Items touching the frame look cramped, and you want a few percent of slack to crop into.
Use Soft, Even Light
Position your phone near a large window, with the objects beside or slightly in front of it, not between it and the lens. Side light gives shape; light directly behind you flattens everything into a shape-less overhead look.
Avoid two things above all. Direct sun through the window creates hard-edged shadows with a sharp line across your backdrop. Mixing sources, an overhead bulb plus a window, gives you two shadow directions and a color cast you cannot fix later. Overcast days and shaded windows are the ideal conditions because the cloud acts as a giant softbox.
Turn objects to kill glare. A bottle cap, a phone screen and a glossy package each have one angle where the light bounces straight into your lens. Rotate the object a few degrees and take a preview shot to find the dull angle.
Run a shadow test before you style: put one object down and take a frame. Soft, faint shadow edges falling in a single direction means your light is working. A hard black shadow or two shadows means you need to move the light or the object.
Lock the Phone and Frame the Shot
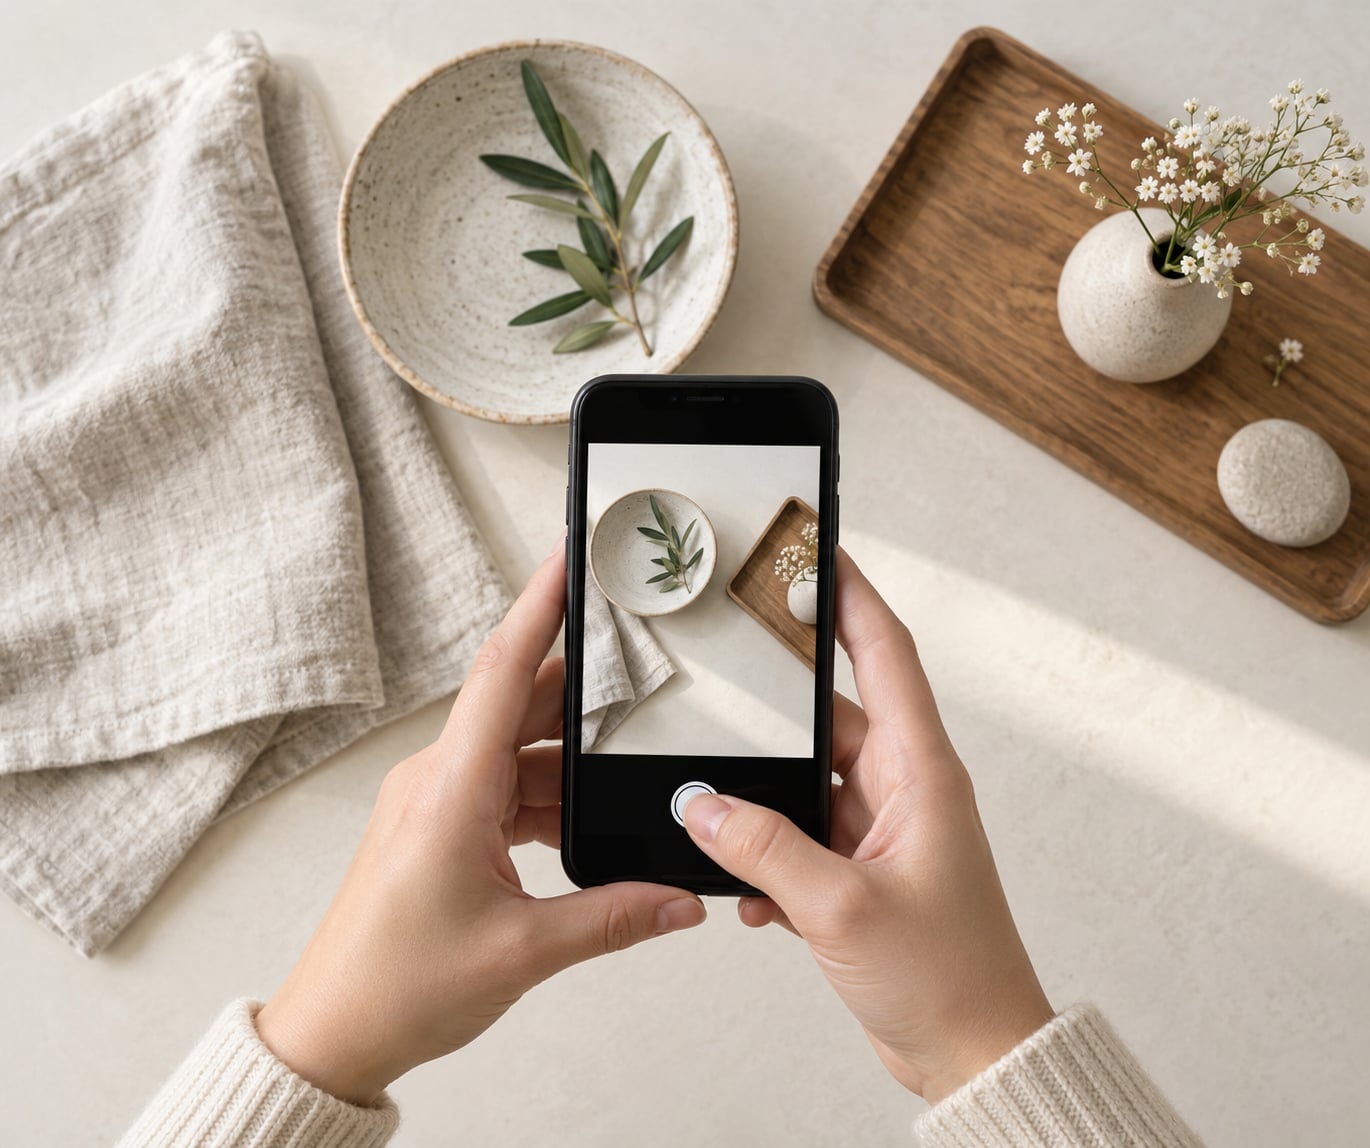
Hold the phone flat, screen facing down, directly above the center of the scene, so the lens is parallel to your surface. Any tilt produces a keystoned frame where rectangles stop being rectangles. If the shot looks crooked, it was shot crooked.
Before you shoot, turn on the camera grid so you can check alignment against the lines, switch the aspect ratio to 1:1 square for anything grid or catalogue related, tap the hero item to focus on it, then lock exposure and focus with a long press on the hero item. In the iPhone and most Android cameras, a long press brings up AE/AF lock, which holds both settings while you adjust the frame. Portrait mode stays off. It blurs edges, which is wrong for a flat lay, and it fakes depth the shot does not have.
Resting the phone on anything at all helps more than it sounds. Lean it against a book, clamp it, or set a timer and step away. Hand-holding overhead for a second and a half is how you get both motion blur and a slight lean.
Leave room to crop, and stop leaning in with the 2x lens. The default 1x lens gives a consistent field of view across a whole set, and digital zoom past 2x softens detail you cannot recover in editing.
Take Several Variations
Shoot five or six frames per setup and change one small thing each time: an object moved a few inches, the frame tightened, the shadow side lifted with your reflector, the hero rotated ten degrees.
Consistency is what makes a set look intentional, so vary the styling within limits. If you are building a product series or a shop grid, keep the surface, light position, crop ratio and edit identical, and let only the products change.
Delete the near-duplicates. You want one strong frame per setup, not six options to choose between later, and extra frames are the fastest way to end up editing something mediocre.
Edit for Consistency
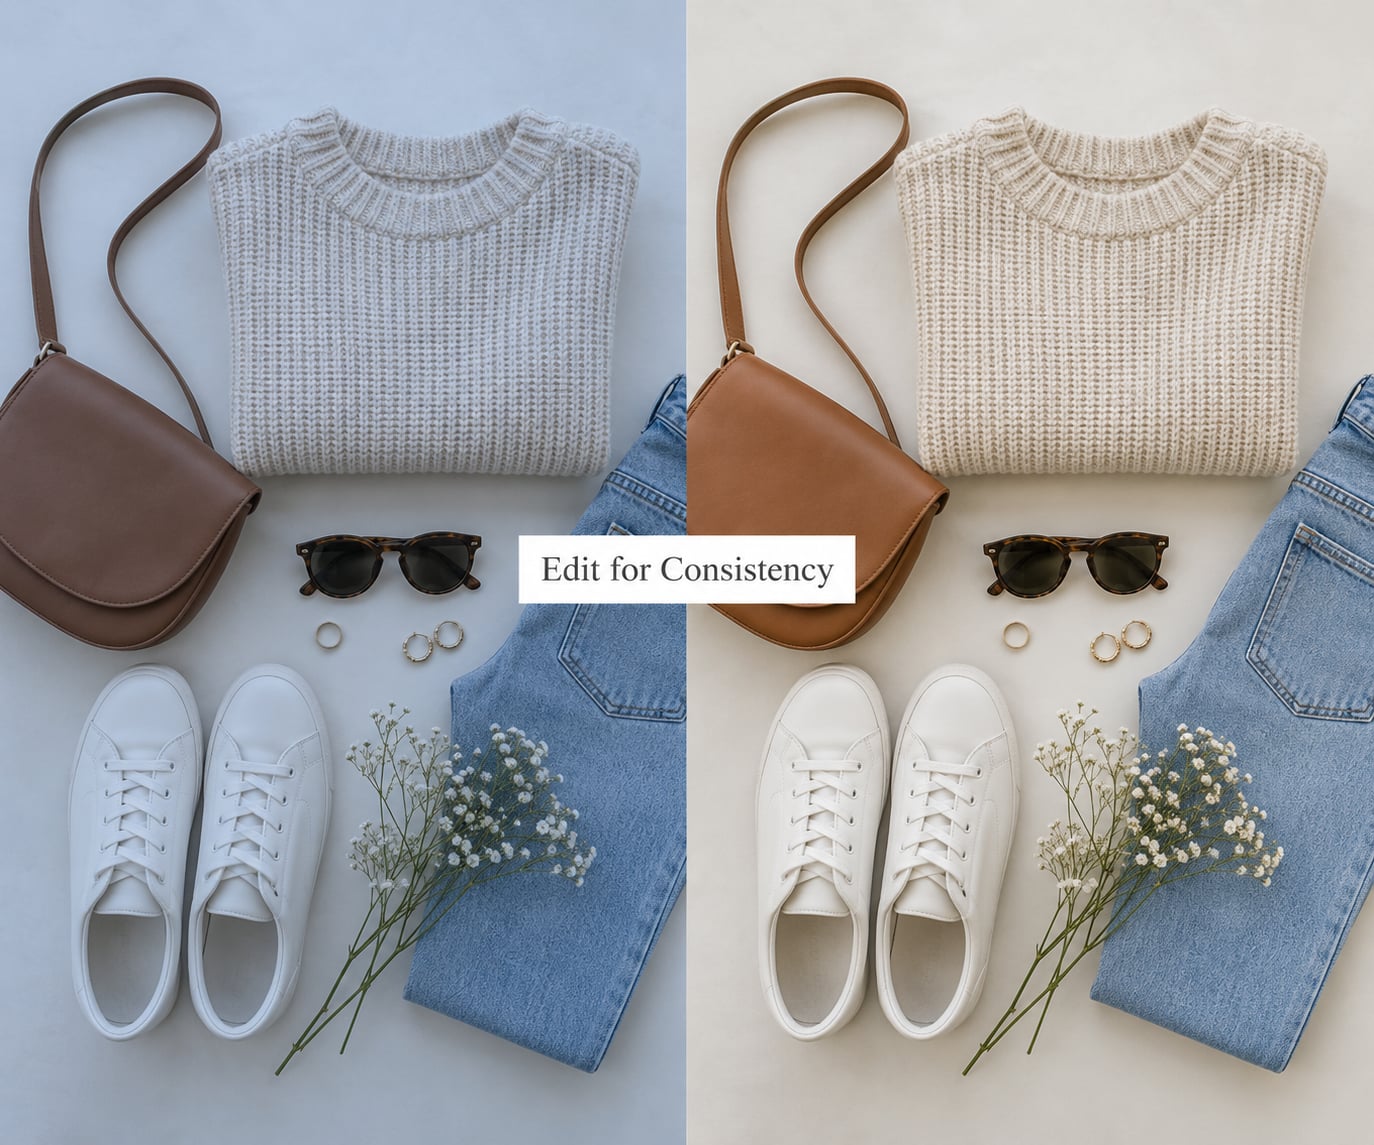
Edit in a fixed order every time: white balance, exposure, highlights and shadows, contrast, then crop and straighten. Doing it in the same sequence is what makes a set match.
Start with white balance. Pull the temperature slider until any white or neutral part of the backdrop looks genuinely white. This is the step that fixes the yellow cast from indoor bulbs and the blue cast from a shaded window, and it matters most for anything you are selling. Right up here, saturation should stay close to where it was.
Nudge exposure if the frame is dim or bright, then lift shadows and pull down highlights so the window reflection on a glossy surface stops clipping to pure white. Add a small amount of contrast and a touch of sharpness. Resist filters and presets that shift color, because they are hard to undo and they break consistency across a set.
Finish by cropping to the same ratio each time and using the straighten tool to nudge any residual lean. When you fix the last image this way, a few degrees saves the whole frame.
Common Flat Lay Mistakes and How to Fix Them
These are the problems I see most, and each has a straightforward fix.
- Harsh shadows with hard edges. Direct sun or a bare bulb is hitting the backdrop. Move to an indirect source, place the object farther from the surface, or bounce light back with a white board.
- Two shadow directions. You are mixing a window with an overhead light. Turn one off entirely.
- A cluttered frame. Every extra prop competes with the hero item. Remove roughly a third of what you have and look again. The frame usually gets stronger.
- Tilted or crooked framing. The phone was not parallel to the surface. Rest or clamp it, use the grid, and correct any remaining lean with straighten in editing.
- A yellow or blue color cast. Set white balance first in your edit, then check the product color against something you know is neutral before you post.
- Items clipped at the edge. Pull back slightly and leave margin. Slightly too much empty space is easier to crop than a cut-off corner.
- Overediting. Heavy contrast, crushed blacks and heavy filters flatten the products you are documenting. Keep adjustments small and hold saturation steady.
- Inconsistent crops across a series. Pick one ratio, crop every image to it, and export the same dimensions each time. A mismatched grid pulls attention away from the products.
Build a repeatable setup instead of fixing images one at a time. Choose one surface, one light position, one crop ratio and one edit sequence, then treat that as your standing studio. Most problems above disappear once those four things stop changing.
Frequently Asked Questions
What is the best app for taking flat lay photos with a phone?
Snapseed is the strongest free option for most people. Its White Balance tool has an eyedropper, so you can tap the backdrop and neutralize the color cast in one step, and selective brightness lets you lift one corner without touching the rest of the frame. Lightroom Mobile is better if you want stronger white balance control and presets. The built-in editor on iOS and Samsung is enough for exposure, shadows and cropping.
Do I need a tripod to take professional-looking flat lays?
No. You need something that holds the phone steady and parallel, and a stack of hardbacks with two binder clips does that job. A clamp arm over a desk is the cheapest useful upgrade, and shooting on the floor solves the height problem without buying anything. What you cannot fake is a tilted angle, so any support that keeps the phone flat is worth using.
How do I prevent shadows in phone flat lay photos?
Most shadows come from light that is too direct, not from the phone. Move to a window with no sun on it, or use an overcast sky, and place the object slightly away from the surface so the shadow edge softens. A white board or sheet of paper opposite the light fills in the shadowed side. For something that still shows a hard line, lift the shadows in editing instead of moving everything around.
Should I use natural light or artificial light for flat lays?
Soft, indirect daylight wins almost every time because it is large, even and free. An artificial setup works too, but only if you diffuse it: a single bare bulb or LED panel produces hot spots and hard shadows across a flat surface. Mixing the two is the real mistake to avoid. Shoot at one source, let your eyes adjust, and check the white balance before you edit.
How do I keep background colors consistent across multiple phone photos?
Keep the surface, the backdrop and the light in the same position for every shot in the set, then correct white balance the same way in each edit. Daylight shifts with weather and time of day, so a window-lit set can drift between a morning shoot and an afternoon one. If you need exact matches, shoot with the background cropped tight, or set a custom white balance in your editing app and reuse it.
Start With One Clean, Consistent Setup
If you do one thing, pick a surface, a light position and a crop ratio this week and use nothing else until you have a set of ten images that match. Repeatability does more for the look of your flat lays than any piece of gear.
The full sequence is short: clear and cover the surface, plan the layout around one hero item, light it softly from one side, lock the phone parallel and lock focus and exposure, shoot a few variations, then correct white balance first and crop last. Run that same routine for how to take flat lay photos with a phone every time and the results stop depending on the day you are having.