Most photos people describe as flat or unflattering were shot in the wrong light, not with the wrong camera. How to use natural light for better photos comes down to three things: where your subject stands relative to the light, how soft that light is, and whether you expose for the bright parts or the dark ones.
Turn your subject toward a window or walk them into open shade, keep the light roughly 45 degrees off their face, and look at the shadow side before you press the shutter. Ten minutes of positioning does more for a photo than any piece of gear.
The beginner trap is believing the light has to be good before you arrive. Light is good or bad based on where it is in relation to your subject, and that relationship changes every few minutes. Learn to read it and you stop waiting for the right conditions.
Table of Contents
- What You Need
- Step-by-Step
- 1. Choose the right time and window
- 2. Position your subject near the window
- 3. Control shadows and highlights
- 4. Set exposure and focus before styling the frame
- 5. Shoot a short test set
- 6. Review and refine the result
- Common Mistakes
- Frequently Asked Questions
- What is the best time of day to use natural light for photos?
- Is natural light better than a flash for portraits?
- Can I use natural light indoors with a smartphone?
- How do I avoid harsh shadows when taking photos by a window?
- What should I do if the sky is cloudy?
- How do I photograph products in natural light?
- Make the First Shot Count
What You Need
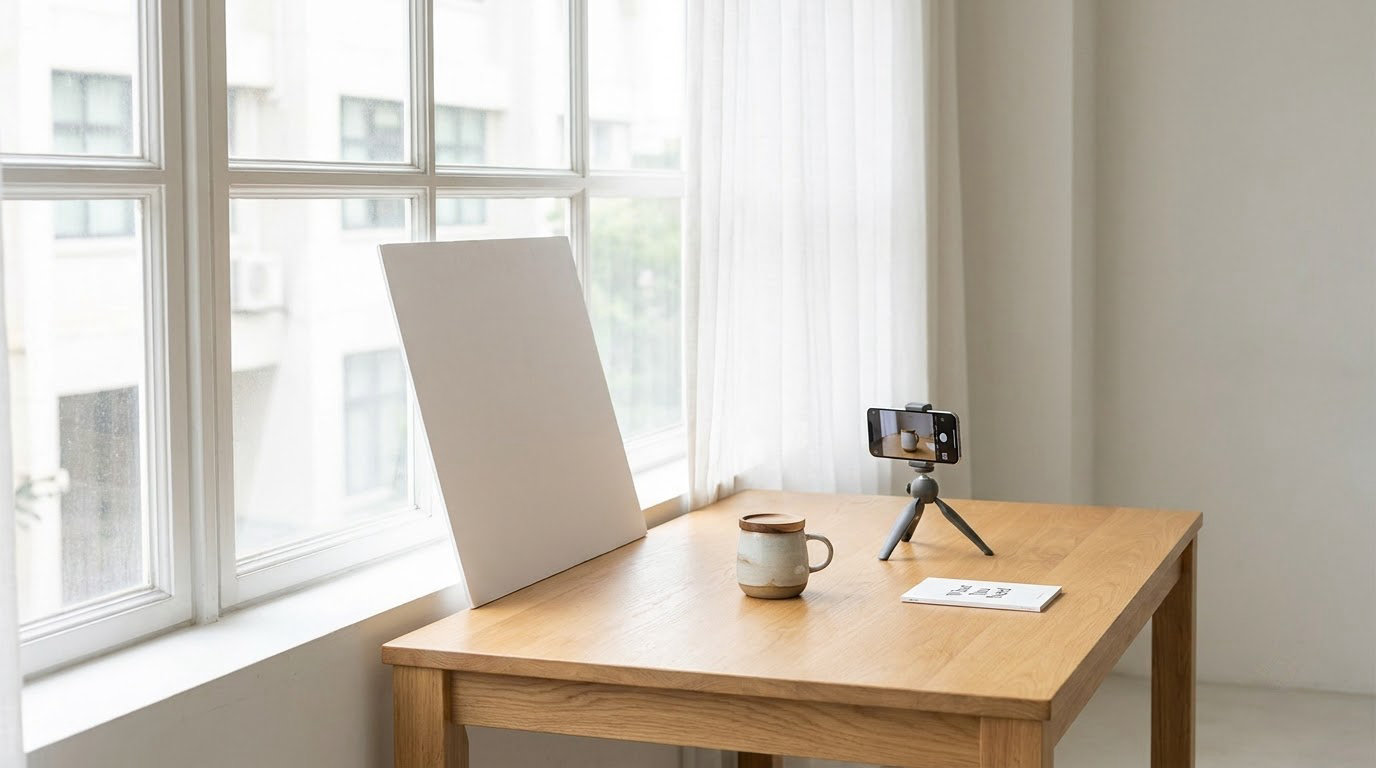
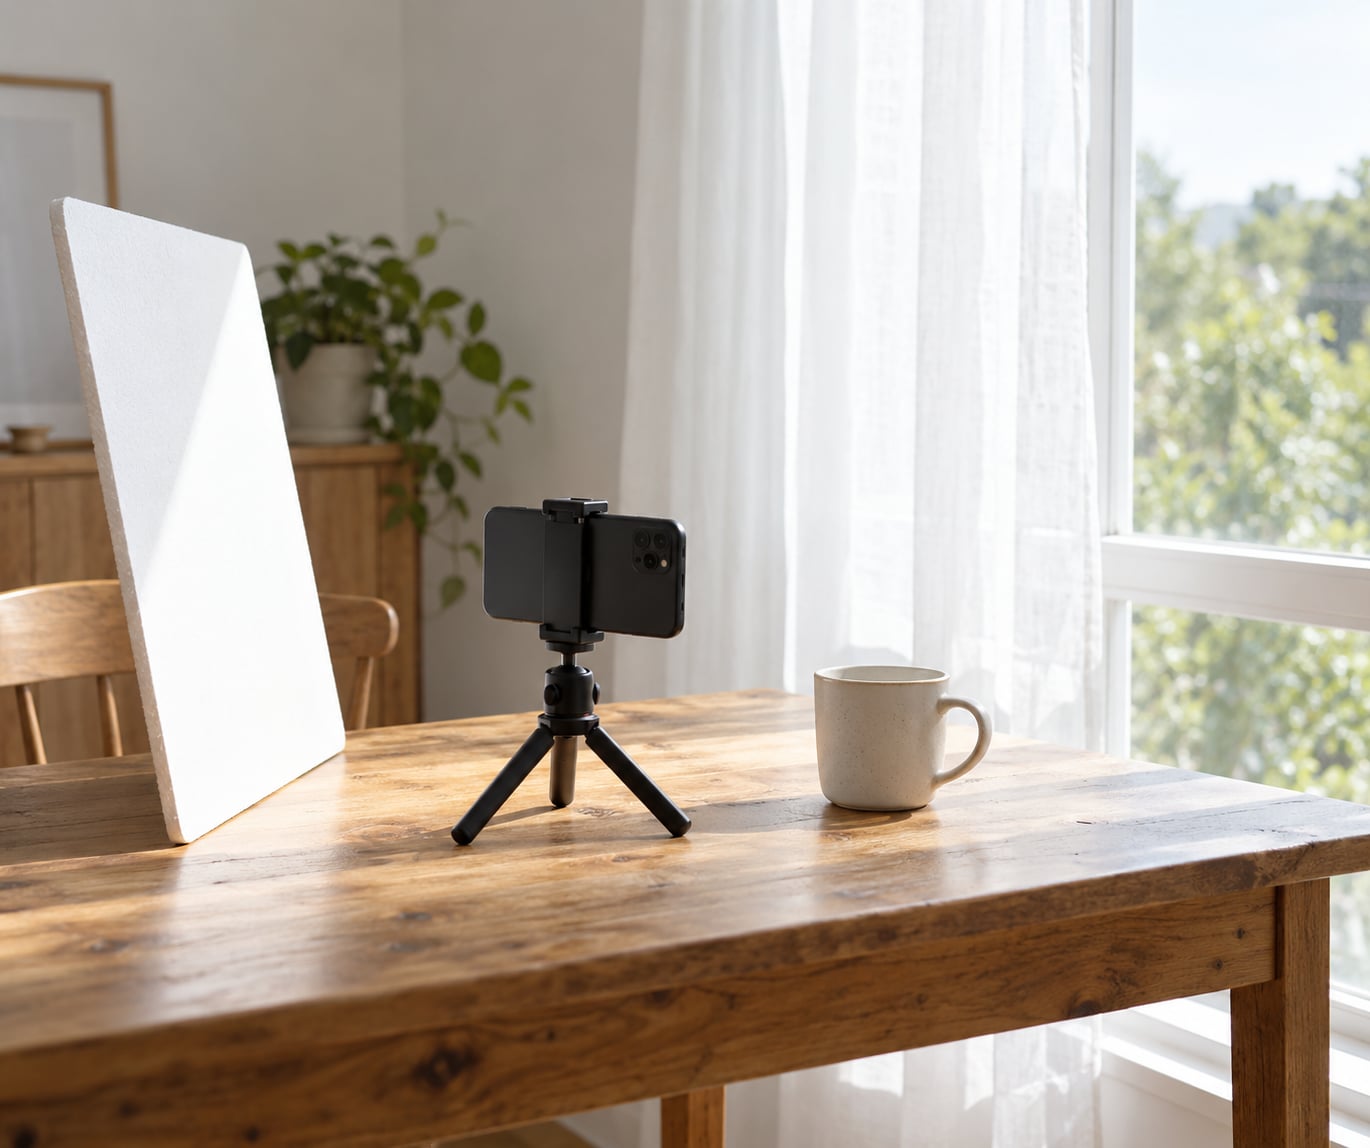
You need a window, a subject or object to photograph, and something solid to put it on. Everything else is optional, and photography communities agree on this point more than any other: you can start with a bright window and a white surface, and nothing else.
Worth adding when you already have the basics working:
- A white surface for bouncing fill into the shadow side. A sheet of poster board, a foam board, or even a clean white bedsheet works.
- Diffusion material to turn hard light soft. A sheer curtain on the window is the easiest version, and it costs nothing.
- A collapsible reflector if you shoot outdoors often. This is the one accessory beginners buy first because it does more than any other cheap tool.
- A clean lens, before anything else on the list. A smudged front element is the most common reason a good light photo still looks soft.
You do not need a flash, a light kit, or a lens upgrade to get started. If a shot fails because of light, buying gear will not rescue it.
Step-by-Step
1. Choose the right time and window
Start by finding light that has bounced at least once. Direct sun is the hardest light to work with, and it changes character every hour. A window that faces away from the sun usually gives you softer, more even light than one the sun pours into all afternoon.
Outdoors, look for the shade line, which is the moving edge between sun and shade. Stand your subject just inside that edge, facing away from the sun, and you get bright, flattering illumination with soft shadows and no squinting.
| Light condition | What it looks like | Best for | Where to stand |
|---|---|---|---|
| Open shade | Even, soft, no shadow edges | Portraits, group shots, product work | Inside the shade, facing away from the sun |
| Golden hour | Low, warm, directional, long shadows | Warm portraits, outdoor lifestyle shots | With the sun behind you or 45 degrees off |
| Blue hour | Dim, even, cool, no harsh contrast | Cityscapes, quiet street work, mood | Anywhere; expect to raise ISO |
| Harsh midday | Hard edges, blown highlights, dark eye sockets | Architecture, texture, high-contrast street scenes | Not near a face; find a wall or awning |
| Overcast | Flat but very soft, huge usable light | Beginners, detail shots, food | Anywhere outdoors, close to your subject |
| Indoor window | Directional and soft when diffused | Portraits, outfits, small products | Subject 1 to 2 feet from the window, at 45 degrees |
2. Position your subject near the window
Put your subject about 45 degrees to the window, not directly in front of it and not directly facing away. Straight-on flattens a face, and turning their back to the glass leaves you shooting a silhouette. The 45-degree angle gives you shape on the face and lets the shadow side fall naturally.
Distance matters more than people expect. Closer to the window means a larger, softer light source relative to the face, so shadows blur instead of cutting hard lines. Move your subject from six feet away to two feet and the same window produces noticeably gentler light.
Now rotate them while you watch the shadow under the nose. Straight toward you gives butterfly lighting. Slightly to one side gives loop lighting, the flattering everyday pattern. Turn them a further 45 degrees and the small triangle of light on the shadow cheek is Rembrandt lighting. Fully side-on is split lighting, dramatic and rarely what people want for a headshot.
3. Control shadows and highlights
Shadows come from one of two places: something blocking the light, or the angle of the subject’s own face. The fix for the second is to add a weak light source opposite the key, and white is the cheapest one you own.
Put a white surface on the shadow side and let it bounce light back. You do not need it bright, you need it present. If the shadows are still too dark, move the white closer or move the subject closer to the window so more light wraps around.
Hard light outdoors needs the opposite treatment, which is softening rather than filling. Hang a sheer curtain over the sunlit side of the window, hold a white sheet between the sun and your subject, or step into open shade. Semi-transparent material works because it lowers the contrast ratio between lit and unlit areas without moving your subject.
One thing beginners miss entirely is separation. If your subject’s hair and the background are the same brightness, the picture falls flat. Find a gap of bright background behind the head, or a shaded edge of foliage or wall, and that hair light outline does the work for you.
4. Set exposure and focus before styling the frame
Lock focus and exposure before you move anything, then leave them alone while you adjust the light. On a camera, tap or press to focus on the near eye, hold the lock, and reframe freely without the brightness jumping.
Expose for the highlights rather than the average. Bright windows and white walls blow out before skin tones go dark, and a slightly underexposed frame with detail in the window is far more usable than a bright one with a white blob where the glass was. Watch the histogram, not the screen brightness, which lies outdoors.
A reasonable starting point for window light indoors is manual mode at f/2 to f/2.8, 1/200s, ISO 200 to 400. Raise ISO before you raise shutter speed when your subject cannot hold still, since motion blur ruins a portrait faster than mild noise does. Outdoors in open shade, drop ISO to its base and let the shutter and aperture do the work.
On a phone, the equivalent moves are tap the face, then drag the sun icon down a touch to hold the highlights, and lock exposure with a long press. Use the rear camera, not the front-facing one, and never digital zoom: walk closer instead.
5. Shoot a short test set
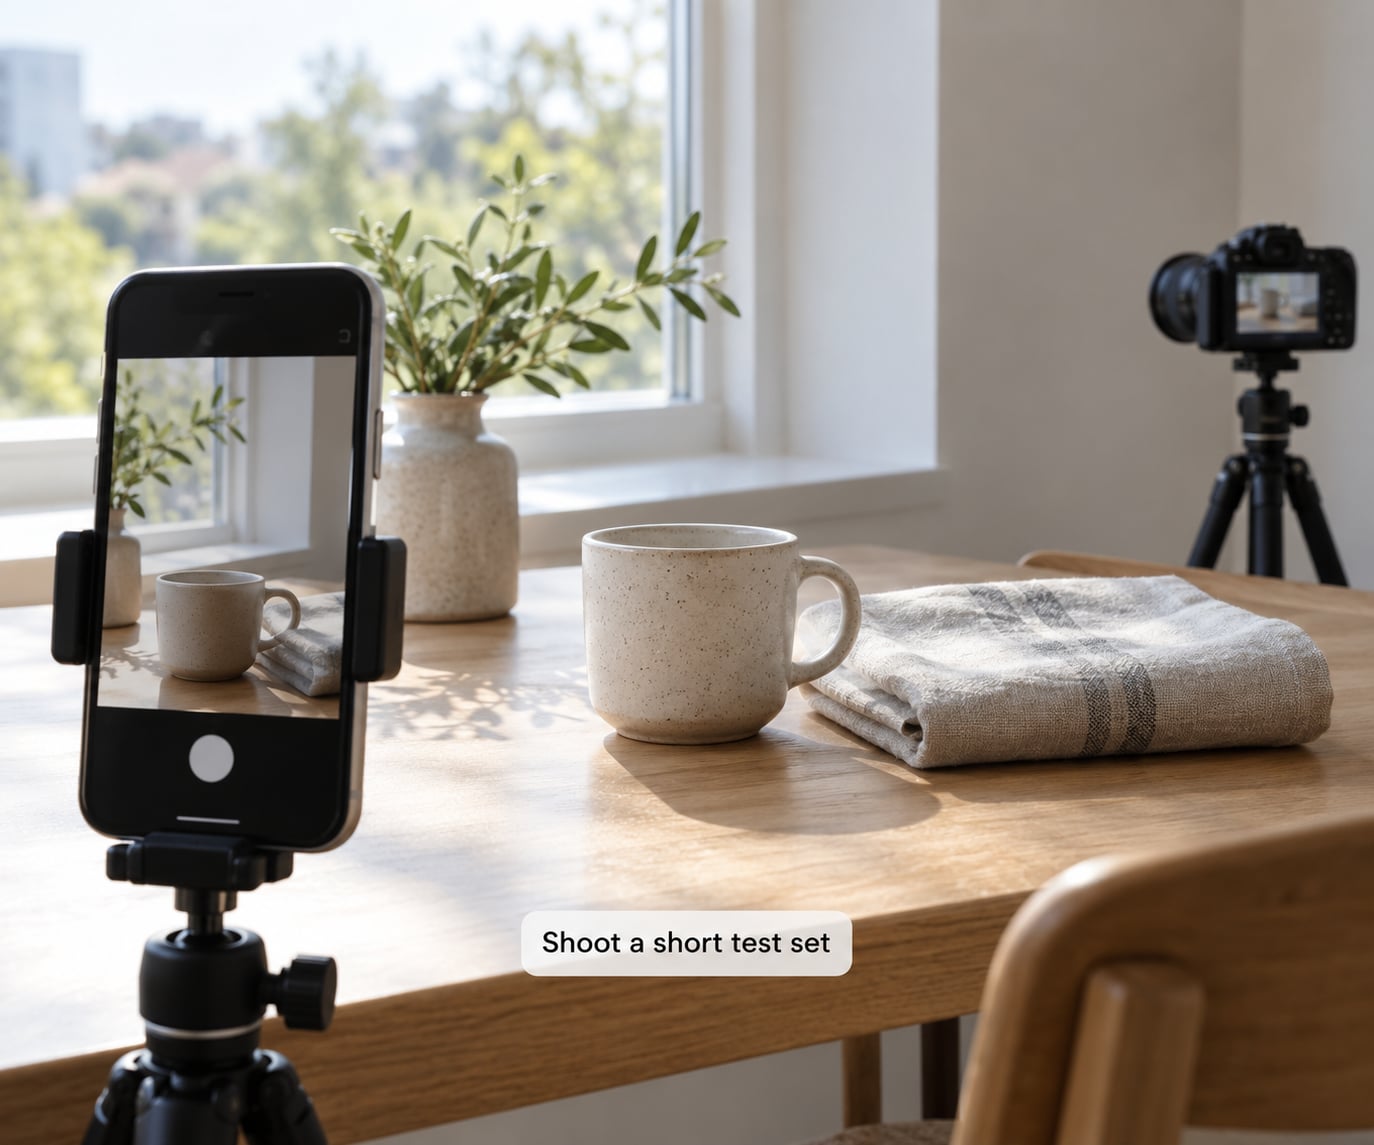
One frame tells you almost nothing. Shoot five or six in a row with small changes, and compare them side by side on the camera screen at full size. That comparison is the whole learning loop.
Change one thing at a time: move the subject half a step toward the window, then add the white surface, then turn them ten degrees. If you change the angle and the exposure and the reflector all at once, you will not know which fix mattered.
Keep the best frame and delete the rest. Beginners keep every shot because every shot feels like proof of effort, and then they wonder why nothing improves.
6. Review and refine the result
Zoom to 100 percent and check three things: the eyes are sharp, the shadow side has detail, and the color looks like the room. That last one catches color cast, the tint you get from green walls, warm wood, or blue sky spilling onto skin.
Fix most of it in white balance. Set a custom white balance from a neutral surface in the frame, or pull the temperature slider until skin looks right, not the wall. Pulling blue down on skin tones that are actually warm from a tungsten bulb just makes everyone look unwell.
Then check the background for distractions. A bright rectangle of ceiling, a neighbor’s bin, or a window frame cutting through your subject’s head are all fixed by stepping half a foot sideways, not by editing. Small corrections in the frame beat hours in software.
Common Mistakes
Direct sun on a face. People squint, skin texture disappears, and shadows under the eyes and nose turn to lines. Fix: move the subject into open shade, ideally with the sun behind you or over your shoulder.
Treating a bright room as good light. The room is bright because the window is behind the camera or above the subject, which flattens everything. Fix: find the actual source, then place your subject beside it rather than under it.
Mixed color temperatures indoors. A warm bulb plus blue window light gives you a face that is part orange, part grey. Fix: switch off the bulbs, shoot with the window alone, and correct white balance in editing.
Dark, cluttered backgrounds pulling attention. Fix: put your subject a step or two closer to the wall and let that wall go soft behind them.
Blown highlights from trusting the screen. Phone and camera screens brighten outdoors, so a perfectly exposed frame looks dim and you overcompensate. Fix: check the histogram or the highlight warning.
Ignoring reflections. Windows, glasses, phones, and glossy packaging all bounce light back into the shot. Fix: change the angle by a few degrees or move the subject, since the reflection moves too.
Leaving the camera on auto between shots. The meter reacts to each adjustment and you get a set of frames with no consistent look. Fix: set exposure once, lock it, and shoot the whole test set on those settings.
Forgetting the shade line outdoors. Shooting with the sun over your shoulder sounds safe, but halfway through a long setup the shadow edge moves and your subject is back in full sun. Fix: recheck the light immediately before each burst, not when you set up.
Frequently Asked Questions
What is the best time of day to use natural light for photos?
The two hours after sunrise and the two hours before sunset are the most forgiving windows. The sun sits low, the light is warm and directional, and shadows have soft edges, so you can shoot facing the light without your subject squinting. The twenty minutes after sunset are worth waiting for too: the sky itself becomes a large, even source. Midday is the hardest light of the day for faces.
Is natural light better than a flash for portraits?
For portraits, yes, and it is closer than most people think. Natural light gives you a large, soft source with natural color, which flatters skin without the effort of getting a flash off-axis and diffused. A flash is better when you need repeatable results, control over two subjects at once, or consistency in a dim room. Most beginners improve faster by learning to position light than by learning flash.
Can I use natural light indoors with a smartphone?
Yes, and a window is usually the best light in the building. Put your subject one to two feet from the window at a 45-degree angle, turn off overhead bulbs, then tap the face on screen and pull exposure down slightly to protect the window. Lock that exposure with a long press, use the rear camera, and walk closer rather than zooming. Clean the lens before you start.
How do I avoid harsh shadows when taking photos by a window?
Move your subject closer to the glass. Light gets softer as the subject approaches the source, so two feet gives a gentler shadow edge than six. Hang a sheer curtain on the sunlit side to spread the light further, and place a white surface on the shadow side to lift it. If the window faces direct sun, wait for a cloud or shoot in open shade outdoors instead.
What should I do if the sky is cloudy?
Shoot anyway, because overcast light is the easiest light you will ever work with. A full cloud deck acts as a giant softbox that covers the whole sky, so shadows have no hard edges and skin tones stay even. You can place your subject almost anywhere without hunting for shade. Open the aperture wider or raise ISO to compensate, and use the flatness for detail, food, and product shots.
How do I photograph products in natural light?
Set the product near a window but out of direct sun, on a plain surface with enough room for its shadow to fall softly to one side. Turn it slowly and watch the highlight move across it, since that highlight is what makes the shape readable. Shoot slightly underexposed to keep white surfaces from clipping, and use a phone as a bounce card if the shadow side goes too dark.
Make the First Shot Count
Put the subject or product a foot or two from a window, turn them 45 degrees toward it, and look at the shadow side before you shoot anything else. Then take one test frame, zoom in on it, and decide what needs to move.
That single loop, position, check, shoot, adjust, is the whole skill. Everything else, reflectors, diffusers, settings, timing, is a refinement on it, and you can learn all of it later for free.