A shoe fits correctly when three things are true at once: there is about 3/8 to 1/2 inch, roughly a thumb’s width, of space in front of your longest toe, the widest part of your foot sits inside the shoe without pressing on either side, and your heel stays put when you walk. Stand up, walk a few steps, and check all three before you buy.
Most bad shoe decisions come down to a five-minute try-on and a “feels fine.” Fine in the shop is not the same as fine after a full day of walking, a train platform, or a shift on your feet. The checks below take about ten minutes and tell you far more than a size label ever will.
Table of Contents
- What You Need
- Step-by-Step: How to Tell If Shoes Fit Correctly
- 1. Check the Toe Room
- 2. Check the Forefoot Width
- 3. Check Heel Security
- 4. Test Walking and Bending
- 5. The Insole Test: How to Tell If Shoes Fit Correctly at Home
- 6. Judge Comfort at the End of the Day
- Common Mistakes
- Frequently Asked Questions
- How much space should there be between my toes and the end of a shoe?
- Should I size up if a shoe feels snug when standing?
- Why does the same shoe size feel different in different brands?
- How can I check fit if I have wide or narrow feet?
- Is it normal for new shoes to feel tight at first?
- Should I choose shoes based on my foot length or the size I usually wear?
What You Need
- Both shoes from the pair. Feet are rarely identical, and the difference is often the whole decision.
- The socks or hosiery you actually wear with them. A thin try-on sock adds maybe an eighth of an inch over bare feet.
- A hard, flat floor and a low mirror or your phone camera. Carpet and sloped floors hide heel lift and toe position.
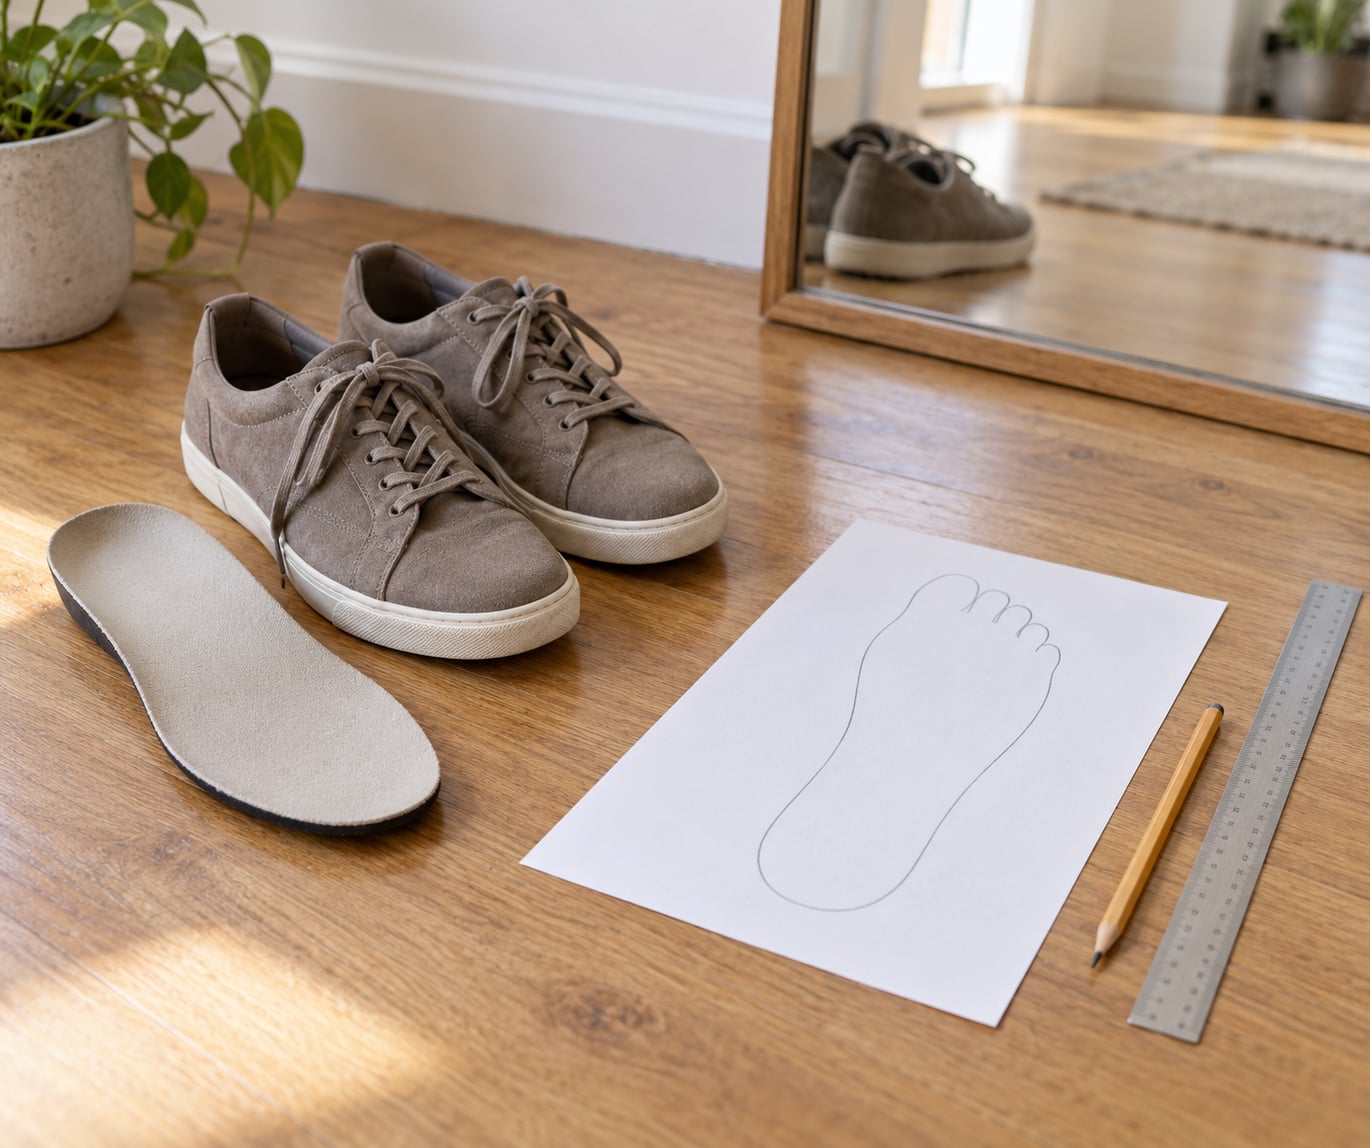
- Paper, a pencil and a ruler for measuring your own foot if you are shopping online or checking a pair you already own.
- A measuring tape for instep and width checks, or a strip of paper for the same thing.
That is the whole kit. No gadget does this better than your own thumb.
Step-by-Step: How to Tell If Shoes Fit Correctly
Six checks, in this order. Each one has a clear pass signal, and each one catches a different mistake.
1. Check the Toe Room
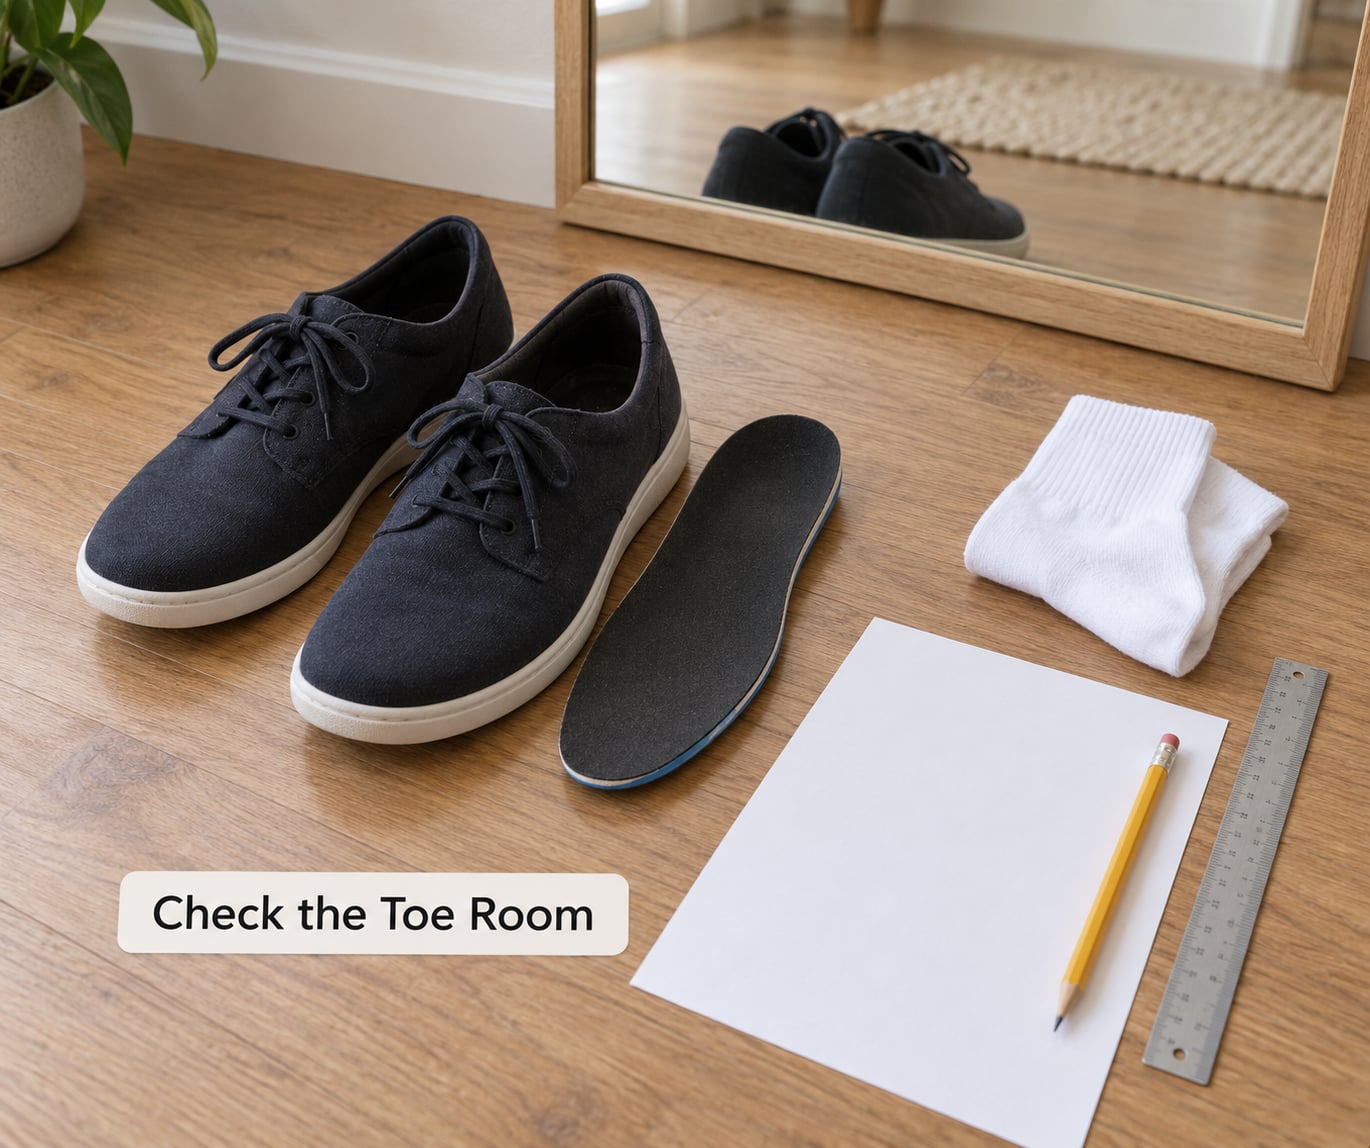
Stand in the shoe rather than sitting down. Your foot spreads and settles under weight, and the toe area is at its deepest when you are upright. Slide the shoe back until your longest toe is sitting level with the front edge, then measure the gap in front of it.
The gap should be about 3/8 to 1/2 inch, close to the width of your thumb. That space absorbs the forward slide your foot makes on every step, which is why a shoe can feel roomy while you sit and tight by lunchtime.
You pass if you can press a thumb sideways into the gap without your toe touching the leather or mesh. You fail if the toe box presses the sides of your toes, if the toes curl upward at the ends, or if the front of the shoe flexes easily in your hand like a paper bag.
A thumb’s width is a rule of thumb, not a measurement of your actual thumb. Athletes with longer toes sometimes need closer to 3/4 inch, and shoes designed for a full day of standing can be cut with slightly more forward room than a pair meant for a short walk.
2. Check the Forefoot Width
Stand and press your weight onto the ball of your foot, the wide area just behind your toes. The shoe should feel full without squeezing. You should be able to wiggle your toes freely, and the widest part of your foot should not spill over the midsole edge.
This is where the size number stops helping. Two shoes from two brands labelled the same US size can differ by a quarter inch or more across the ball of the foot, because each one is built on its own last. A width mismatch shows up as pressure on the outside of your big toe joint, a hot spot at the base of the little toe, or numbness in your toes within an hour.
Widths are graded with letters in the US, running from A through EEE, with D as the standard. UK grading uses E, F and G. Most people have never been told which width they are, and many wide feet are simply being shoe-shopped two sizes too long.
You pass if the widest point of your foot is contained with a little give on each side. You fail if pressing the ball of your foot makes your toes spread outward past the sole edge, or if removing the shoe leaves deep marks across the ball of the foot that last more than a few minutes.
3. Check Heel Security
Stand on your tiptoes, then sit back down slowly. Your heel should come down inside the shoe and stay there. A small amount of movement on a low shoe or a loafer is normal. Your heel sliding up with every step, in a shoe that is meant to hold you still, is not.
There is no fixed number of millimetres here, so use your hand. Lift the heel and see whether the counter holds it, then walk a few steps and check whether you are gripping the shoe with your toes to stop it moving. That toe-gripping is the clearest sign of heel slip, and it is what leads to rubbing and blisters at the back of the heel.
Runners often get a better result from lace tension than from a new size. Locking the laces a little higher above the ankle takes pressure off the heel and stops it sliding, which is why several pairs in the same size can behave differently once you change the lacing pattern.
You pass if your heel stays mostly still and your toes are relaxed. You fail if it lifts every step, if the back of the shoe pinches at the collar, or if you find yourself curling your toes just to keep the shoe on.
4. Test Walking and Bending
Walk, turn, and flex the shoe gently in your hands. The crease should form where your foot bends, which is roughly at the ball of the foot and behind it. A shoe that bends sharply in the middle of the arch is holding your foot flat and will fight every step.
Watch what the shoe does when you move rather than how it feels standing still. Rubbing often shows up as a warm spot on the top of the little toe or at the back of the heel. A shoe that twists easily when you turn, with no resistance from the heel counter, will let your foot slide around inside it.
You pass if the shoe flexes at the ball of the foot, holds its shape through a turn, and produces no hot spots over about twenty steps. You fail if you feel pinching, if the toe box crumples every time you push off, or if the shoe creases sideways instead of bending at the arch.
5. The Insole Test: How to Tell If Shoes Fit Correctly at Home
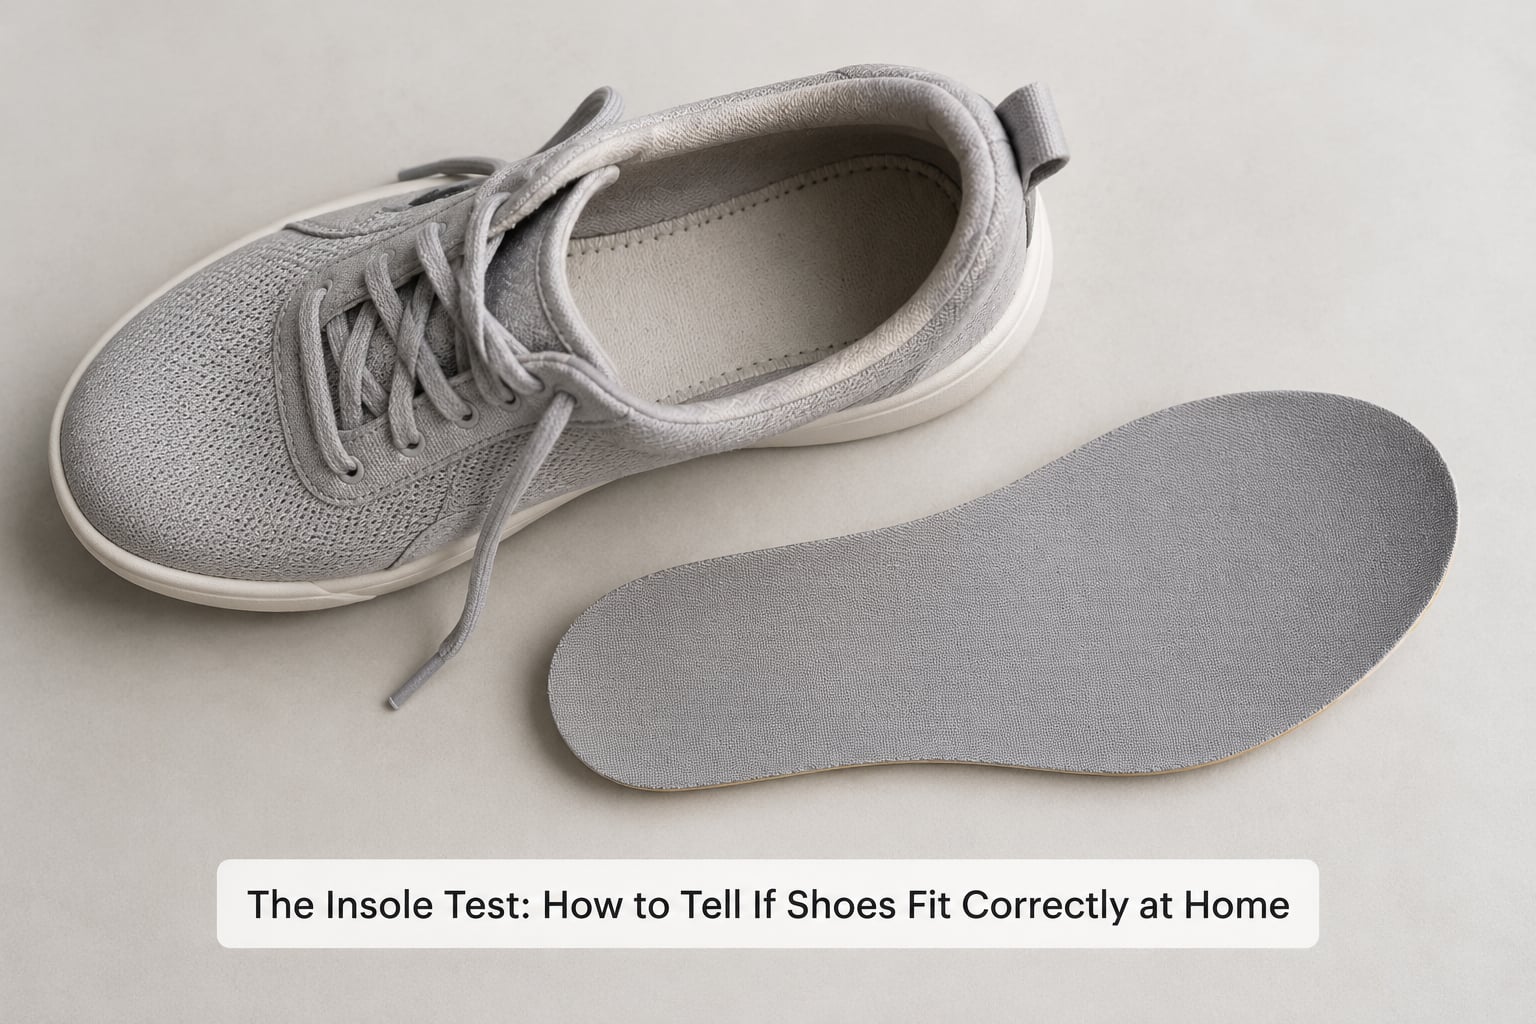
Take the removable insole out and stand on it. This works because the insole has been moulded by your exact foot, worn in, and shaped by it, so it holds a cleaner footprint than the shoe cavity ever could.
Stand in your usual socks on the insole with your heel at the back. Check three things: your longest toe should sit inside the outline with a gap, your arch should be supported by the contoured centre if the insole has one, and your widest point should fit inside the outline without spilling over it.
When the foot is too long, the toe outline runs past the edge of the insole. When the shoe is too narrow, the footprint bulges over the sides. When the toe gap looks generous but the forefoot overhangs, you have found the width problem that sizing up will never solve.
Not every insole lifts out, and some are glued in, so skip this one when it does not. The same test still works on the shoe itself by looking at where the lining creases after you walk.
6. Judge Comfort at the End of the Day
The try-on tells you about fit. Only time tells you about comfort. Once you have the shoes, wear them for the kind of day you bought them for, then check your feet at the end.
Look for numbness, tingling, or a need to wiggle your toes. Look for redness or shiny pressure marks on the sides of the toes, at the ball of the foot, or at the back of the heel. Take the shoes off and look at your socks: damp patches or a red mark on the fabric tell you where the shoe is rubbing.
Feet tend to swell through the day, especially in warm conditions or towards the end of pregnancy, which means a morning fit and an evening fit can be genuinely different. The good news is that plenty of people notice no difference at all between the two, so treat late-day shopping as a useful option rather than a rule.
You pass if nothing feels different at the end of the day from the start. You fail if your feet hurt, if you can feel your toes touching the front of the shoe after walking, or if you have taken the shoes off the moment you get home and want nothing back on.
Common Mistakes
- Trying on one shoe. Feet differ, often by a half size. Fit the larger foot and take the size that suits it.
- Wearing the wrong socks. Try on with the thickness you will wear in real life, or your measurements will not match later.
- Judging fit while seated. Sitting hides toe-room problems and forefoot compression. Stand and walk.
- Ignoring swelling. Check in the evening, or at the end of a long day, before committing.
- Sizing up to fix a width problem. A longer shoe with a narrow midsole makes the forefoot worse. Change the width instead.
- Believing break-in will fix a bad fit. Buy true to size. Leather and foam cushioning do soften, but they do not lengthen a shoe or widen a ball area.
- Ignoring pain that lasts more than a few days. Rubbing that does not settle within a week is a fit problem, not toughing it out.
- Trusting the number on the box. The same labelled size fits differently across brands and even across models in one brand.
Two habits fix most of these. Measure your feet at home first, then treat every brand’s chart as a starting point rather than an answer. And give a new pair a real walk indoors before you take it outside, so a problem shows up while returning it is still easy.
If you notice numb toes, sharp pain over a bunion, a toe that curls under, or rubbing that keeps coming back no matter which size you try, it is worth a visit to a podiatrist. They can tell you about your foot shape and whether a wider last or an orthotic would help, which no amount of guessing at size labels will work out.
Frequently Asked Questions
How much space should there be between my toes and the end of a shoe?
About 3/8 to 1/2 inch, roughly the width of your thumb, measured in front of your longest toe while you are standing. That gap absorbs the forward slide your foot makes on every step, so a shoe that feels roomy while you sit does not pinch later. Check it standing, with the weight on that foot, not while seated.
Should I size up if a shoe feels snug when standing?
Only if the length is the problem. If your longest toe is close to the front edge or curled, going up a half size helps. If the tightness sits across the ball of your foot and your toes splay past the sole, you need a wider last instead. Sizing up in a narrow shoe gives you a longer, still-narrow shoe and makes the rubbing worse.
Why does the same shoe size feel different in different brands?
Each brand builds shoes on its own last, which is the moulded shape the shoe is made over. The same labelled US size can differ noticeably in length and, especially, across the ball of the foot. Sizes also differ between US, UK and EU grading. Treat the number as a starting point and check toe room, width and heel on every pair you try.
How can I check fit if I have wide or narrow feet?
Ask for the wide grade, usually marked E or EEE in US sizing, rather than buying two sizes up. Press down on the ball of your foot while standing: if your toes spread past the edge of the midsole, the shoe is too narrow. For the insole test, take the footbed out and stand on it to see the true footprint.
Is it normal for new shoes to feel tight at first?
A little stiffness is normal in a new pair, especially in a stiff leather or structured upper. Pressure, numbness, pinching or a heel that lifts every step is not a break-in phase, it is a fit problem that will not go away on its own. If a shoe still hurts after a week of indoor wear, take it back rather than waiting it out.
Should I choose shoes based on my foot length or the size I usually wear?
Measure your feet and start from length, but judge the actual shoe on width and heel security too. Re-measure every year or two, and always after pregnancy, an injury or a change in activity. Feet change with age and swelling, and a size that worked two years ago may no longer match either length or width.
Start with the toe gap, because that is the check most people skip and the one that decides whether the shoe works after hour six. Stand up, slide the shoe back until your longest toe is level with the front, and make sure a thumb still fits in front of it. Then press down on the ball of your foot and walk a few steps. If those three pass, you have learned how to tell if shoes fit correctly, and the rest is detail.