Knowing how to clean makeup brushes properly takes about ten minutes for a small collection and about twenty for a big one. Wet the bristles pointing down, work a mild cleanser into a lather, rinse until the water runs clear, squeeze and reshape, then dry flat or hanging upside down. The whole method matters less than the three details people skip: lukewarm water, a gentle cleanser, and a full night of drying.
I keep my brushes in a bowl by the sink and wash them the same night every week, mostly because a routine with a day attached to it actually happens. Nobody enjoys this chore. It is not glamorous and the bathroom sink is a poor stage for it, but it takes less time than it takes to read about how to clean makeup brushes properly, and the payoff is a brush that lays powder down evenly instead of patching it.
Table of Contents
- What You Need
- Step-by-Step: How to Clean Makeup Brushes Properly
- Step 1: Check the label and sort the brushes
- Step 2: Wet the bristles pointing down
- Step 3: Work in a small amount of cleanser
- Step 4: Rinse until the water runs completely clear
- Step 5: Squeeze and reshape
- Step 6: Dry flat or hanging upside down
- How to Clean Makeup Brushes Properly for Natural Fibers
- How to Clean Makeup Brushes Properly for Everyday Use
- How to Know the Wash Worked
- A Quick Deep Clean for a Large Collection
- Common Mistakes
- How Often to Clean Makeup Brushes
- Signs It’s Time to Retire a Brush
- Frequently Asked Questions
- How often should I clean my makeup brushes?
- Can I use dish soap to clean makeup brushes?
- How long should makeup brushes take to dry?
- Is it okay to dry makeup brushes face-down?
- How should I clean makeup brushes if I have sensitive skin?
- What should I do if my makeup brush still smells after cleaning?
- Conclusion
What You Need

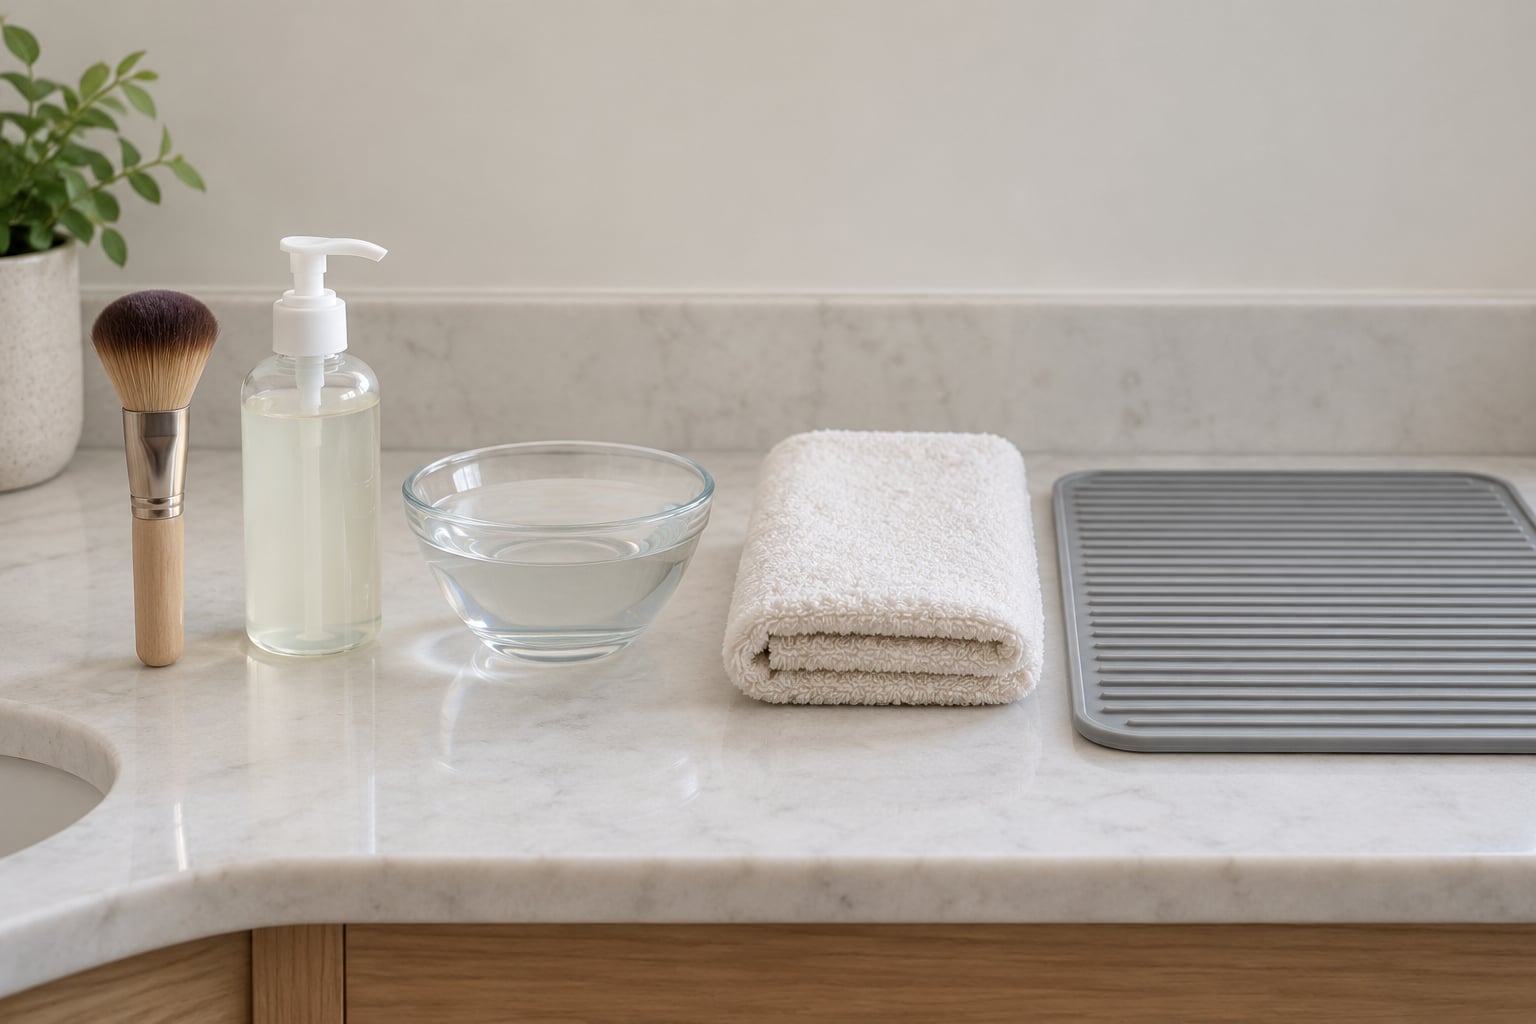
You need very little. A mild, unscented cleanser is the one item worth choosing with care, and everything else you probably own already.
- A mild cleanser. A gentle facial cleanser, a sulfate-free baby shampoo, or a dedicated brush soap. Makeup artists working between clients reach for spray cleansers and alcohol-based products, but at home a mild face wash does the job.
- A bowl or the sink. Something that lets you swish the brush head in a circular motion. A silicone cleaning mat with raised ridges speeds this up a lot for larger collections.
- Lukewarm water. Hot water opens the cuticle on the hair and softens the glue inside the ferrule. Lukewarm loosens residue without either problem.
- A clean towel or absorbent cloth. For squeezing out water and reshaping. A terrycloth towel drags on wet bristles; a soft cotton cloth or paper towel is gentler.
- A drying surface. A wide mat, a towel over a shelf edge, or a rack where brushes can hang upside down. Not the bathroom windowsill, which is damp and gets brushes wet again overnight.
Skip the bleach, the dishwasher, and the boiling water idea. All three are common shortcuts and all three shorten a brush’s working life.
Step-by-Step: How to Clean Makeup Brushes Properly
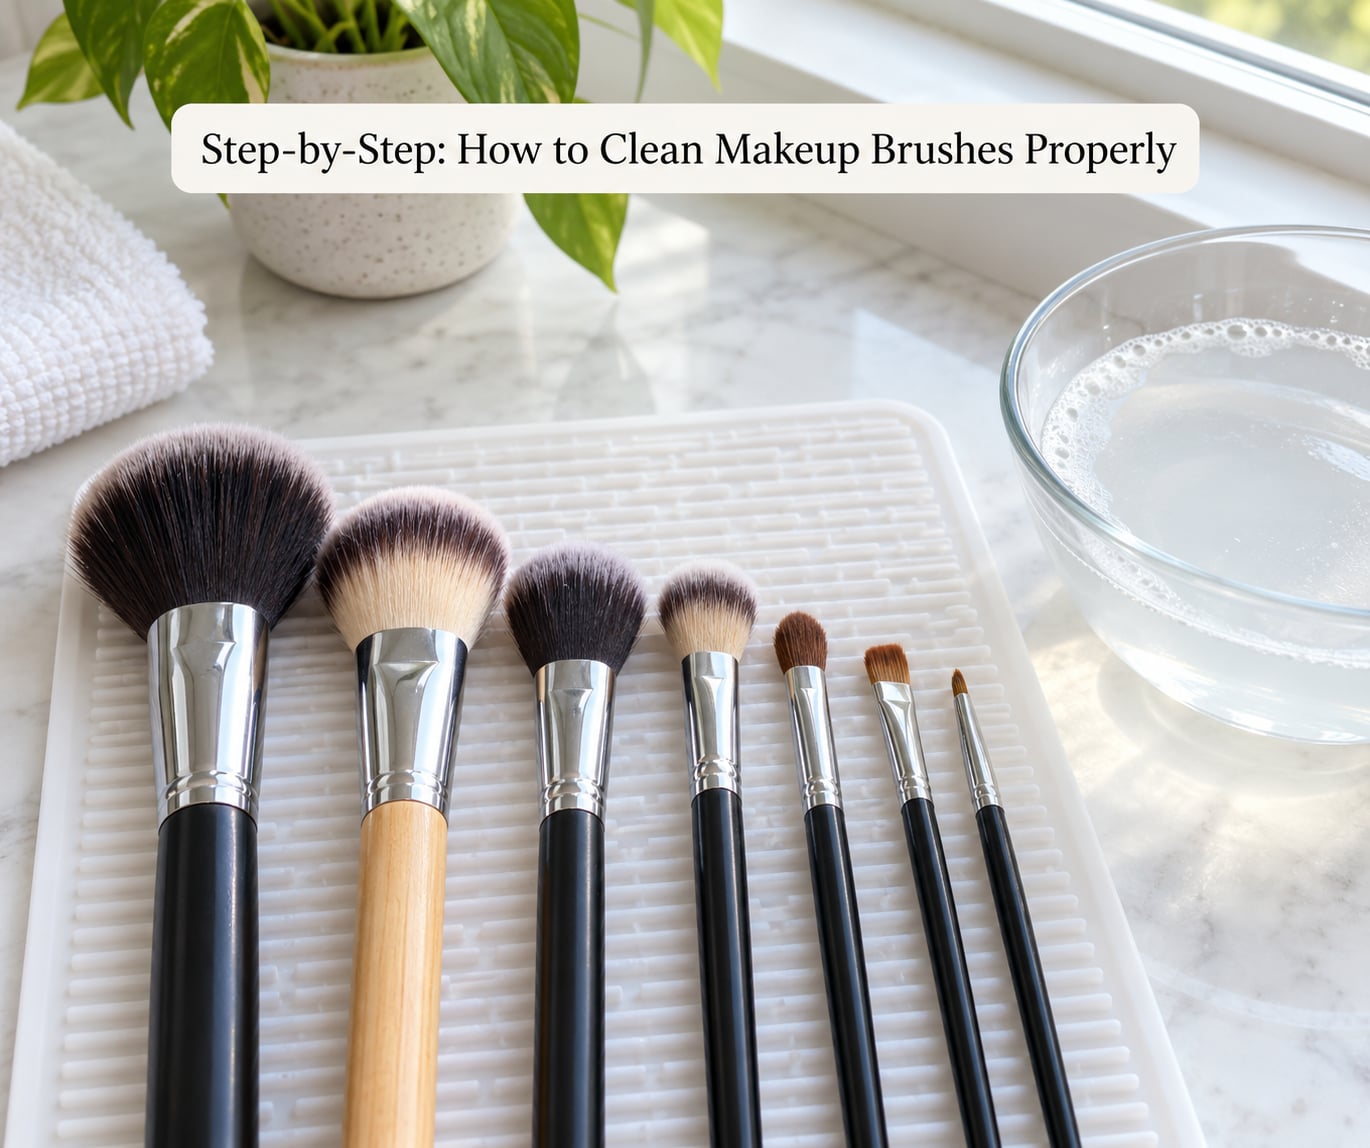
Start by reading the brush if it has a label. Natural fiber and synthetic hair need different handling, and the ferrule — the metal band crimped around the bristles to glue them to the handle — is the part most easily damaged in an otherwise careful wash.
Step 1: Check the label and sort the brushes
Separate natural hair from synthetic, and heavy cream or liquid users from powder-only brushes. Lip, concealer and mascara wands come first because their product is the thickest and needs the longest working time. Wet your hands, not the ferrule.
Step 2: Wet the bristles pointing down
Hold the brush head downward under lukewarm water and let it soak for a minute or two. Keeping the tips down means water runs out of the ferrule instead of into it, which is what prevents the glue from loosening over time. Never let the handle end sit submerged.
Step 3: Work in a small amount of cleanser
A pea-sized drop is plenty. Put it in your palm, or dot it onto a silicone mat, then swirl the brush head in small circles until a low foam forms. The lather needs to look thin and slippery, not thick and sudsy. Excess foam is the sign you have used too much.
Step 4: Rinse until the water runs completely clear
Rinse with the bristles still pointing down, using your fingers to comb them through. Repeat the wash if the first pass leaves grey or pink water in the bowl. Stop when the water runs clear — that is your signal that the residue and the bacteria riding on it are gone.
Step 5: Squeeze and reshape
Press the bristles down inside a clean towel, gently and without twisting them. Then reshape into the shape the brush was made in: a powder brush dome goes back to a dome, a foundation brush flat stays flat, a pencil brush gets its point back. Do this while damp, because a dry brush takes its old, splayed shape and keeps it.
Step 6: Dry flat or hanging upside down
Two methods work. Lay brushes flat on a towel with the bristle tips hanging over the edge, so the head dries without pushing back up into the ferrule. Or hang them upside down by the handle so water drains away from the bristles. Both need several hours, ideally overnight. Do not put a damp brush back in its case or in a drawer — trapped moisture brings mould and a smell that no amount of rinsing later will fix.
How to Clean Makeup Brushes Properly for Natural Fibers
Goat, horsehair, sable and other natural hair are animal hair with a cuticle, and they behave differently from plastic. Use less water exposure, not more.
Work in small amounts of mild cleanser in your palm and keep the whole session short. Do not soak natural hair for an hour in a mug, however popular that method is on forums — one reader reporting stiff bristles afterward is enough to make the point. Skip alcohol entirely on natural hair, and skip hair shampoo, which leaves a heavy film that rinses out poorly and leaves the brush scratchy.
Rinse with lukewarm water only, comb the fibers straight with your fingers, and lay the brush flat while it dries so the shape you set stays set.
How to Clean Makeup Brushes Properly for Everyday Use
Daily wearers should not wait a week between full washes. Cream and liquid foundation washes out faster than powder, and skin oil and dead skin cells start collecting within a day or two.
Use a two-tier routine. Once a week, do the full wash above. Between uses, do the thirty-second version: spritz a brush cleanser onto a paper towel, pinch the bristles against it and swipe back and forth, repeating until the towel comes away clean. That removes surface oil and residue without a full soak, and it means the weekly wash is dealing with a brush that is already mostly clear.
Synthetic brushes tolerate more. A spray cleanser, or a quick wipe with isopropyl alcohol on a synthetic lip or concealer brush, is fine between clients or clients’ kits. Do not use alcohol on natural hair.
How to Know the Wash Worked
The rinse tells you. If the water in the bowl runs clear after one or two passes, the brush is clean. If it stays grey after three, you have either used too little cleanser or too little agitation. A brush that smells clean, feels soft when you pinch it, and springs back into shape is done.
Brushes that stay stiff after a proper wash, shed bristles when you swish them, or leave colour in the water every time have a deeper problem than buildup. Natural hair that has gone scratchy usually came from shampoo; synthetic bristles that will not fan out back to their original shape have been reshaped incorrectly at least once.
A Quick Deep Clean for a Large Collection
Owning 50 or 100 brushes is the single biggest reason people skip cleaning entirely, and it is solvable. Put each brush in its own small cup of lukewarm water with a drop of cleanser. Set them all on a tray, come back in 15 minutes, and work each head in a lather as you go.
The cup-per-brush part matters. It stops cream products from one brush migrating onto another’s bristles, and it means you are not scrubbing each brush for ten minutes. Rinse in batches down the sink, lay everything flat on one wide towel with tips over the edge, and leave it overnight. A silicone mat and a second towel turn that into a 20-minute job rather than an evening.
Common Mistakes
Almost every ruined brush traces back to one of these. Each has a simple correction.
- Using very hot or boiling water. It softens the glue in the ferrule and opens the cuticle on natural hair. Use lukewarm, every time.
- Soaking the ferrule. Water sitting in the metal band loosens bristles over months. Keep the brush head down and the handle up.
- Twisting wet bristles between your fingers. That is how fibers break. Squeeze and comb instead.
- Scrubbing the bristles against the ferrule. You are pushing the makeup back into the ferrule rather than out of it. Swirl on your palm or a mat.
- Drying upright in a damp spot. A wet brush in a closed pot or a humid bathroom grows a smell that no rinse removes. Dry flat on a clean surface or hang upside down, fully, before storage.
- Cleaning only the head. The handle, the ferrule and the inside of your makeup bag collect residue too. Wipe handles with a damp cloth and air out the bag while brushes dry.
On what to clean with: dish soap is the most argued-over option on beauty forums. Plain washing-up liquid works well on synthetic brushes because it cuts grease, but it is harsh, it strips conditioning agents out of the hair over time, and it is not sanitising. Baby shampoo is gentler and cheap, but it cleans without sanitising — the gap most guides skip. Bar soap and ordinary hair shampoo are the two I’d leave alone; both leave a residue that builds up and both have left readers reporting scratchy bristles.
Vinegar is another one. A very dilute rinse is sometimes recommended for odour, but undiluted vinegar is an acid that will dull colour finishes and swell wood handles. If a brush smells, the fix is a longer rinse and a full dry, not acid.
How Often to Clean Makeup Brushes
Frequency depends on what you use and how often. This is the schedule I keep to.
| Brush or tool | How often to clean | Best method |
|---|---|---|
| Foundation, cream and concealer brushes | Every 3 to 4 days, or after each use if daily | Full wash, lukewarm, mild cleanser |
| Powder brushes | Weekly | Full wash; between uses, dry brush off on a towel |
| Blush and bronzer brushes | Weekly | Full wash |
| Eye, liner and mascara wands | Weekly, ideally more often for mascara wands | Full wash, worked gently to avoid bending the tip |
| Lip brushes | After every use | Paper-towel swipe between uses, full wash weekly |
| Beauty blenders and puffs | After every use, full wash weekly with a mild cleanser | Squeeze and press, never wring |
| Brushes used by a makeup artist | Between every client | Spray cleanser or alcohol on synthetic only |
Two habits keep you ahead of it. Wash before you need the brush rather than after you remember, because wet brushes do not travel well and a full dry takes hours. And store them head-down or upright in an open cup, not crammed in a bag with the handles touching the bristles.
Signs It’s Time to Retire a Brush
Some brushes are past saving and more scrubbing will not fix it. Replace a brush when the bristles shed when you swish, when they stay splayed no matter how you reshape them while wet, when the ferrule is cracked or the glue is visibly letting go, or when the head no longer makes contact with the skin the way it should. A stiff brush that survived many washes is usually a synthetic brush that has been heat-damaged.
Frequently Asked Questions
How often should I clean my makeup brushes?
Once a week for most people, and every three to four days if you wear liquid or cream foundation daily. Lip and concealer brushes that touch skin every day deserve a wipe between uses. Powder-only brushes can go a week, sometimes a little longer. If bristles start feeling stiff or the brush stops laying product down evenly, clean it now rather than waiting for the schedule.
Can I use dish soap to clean makeup brushes?
It works on synthetic brushes because it cuts grease well, but it is not the best long-term choice. Dish soap is harsh, it strips conditioning from natural hair, and it sanitises nothing. If it is all you have, use a small amount on synthetic bristles only, rinse until the water runs clear, and reshape. Baby shampoo or a gentle face wash is gentler on the same brushes.
How long should makeup brushes take to dry?
Several hours, and overnight is safest. Brushes dry slowest at the ferrule, where water sits against the glue. Lay them flat with tips over an edge of a towel, or hang them upside down by the handle, and only store them once the heads feel completely dry to the touch. Putting a damp brush back in its case is what causes persistent smells.
Is it okay to dry makeup brushes face-down?
Hanging them face-down with the brush head below the handle is one of the two good methods, because water drains out of the bristles rather than back into the ferrule. What to avoid is standing bristles upright in a cup while they are still wet. That traps moisture at the base of the head and keeps it damp for hours, especially in a bathroom.
How should I clean makeup brushes if I have sensitive skin?
Use an unscented, mild cleanser and lukewarm water, and keep the wash short. Skip anything fragranced, skip alcohol entirely on natural hair, and skip perfume-laden bar soap. Rinse more thoroughly than you think you need to, since residue is what usually irritates skin, then let brushes dry fully before using them again. If a reaction happens after a wash, stop using that brush and check the handle for loose fibres.
What should I do if my makeup brush still smells after cleaning?
Do not keep washing it. Odour that survives a clean rinse usually means the smell is in the ferrule or the handle rather than on the bristles. Soak the head in lukewarm water with a drop of cleanser for 10 minutes, rinse until clear, reshape and dry it completely with the head hanging down. If the smell returns within days, the brush is finished and should be replaced.
Conclusion
Start by working out which brushes are natural hair and which are synthetic, because that decides how long they can sit in water. Use lukewarm rather than hot, a pea-sized amount of mild cleanser, keep the brush head pointing down so the ferrule stays dry, and rinse until the water is completely clear. Squeeze, reshape while damp, dry flat with the tips over an edge or hanging upside down, and wait until they are fully dry before they go back in the bag.