Dissolve the makeup first, then lift it away. Soak a soft pad with an eye-area-safe remover, hold it on a closed eye for 10 to 15 seconds, and wipe outward with light pressure instead of scrubbing.
That single change is usually all it takes. Most stinging around the eyes comes from friction and from a formula that was never given time to break the product down, not from the makeup itself. If you have been searching how to remove makeup without irritating your eyes, the technique is usually the part that is already right.
The full routine takes about five minutes and needs no special tools. If you have sensitive eyes, dry eyes, contact lenses or a habit of wearing waterproof mascara, give it a little more time and a lot more patience than you would give your cheeks.
This is general guidance, not medical advice. If your eyes stay red, painful or light-sensitive after removal, an optometrist or ophthalmologist can tell you what is actually going on.
Table of Contents
- What You Need
- Step-by-Step
- How to Remove Makeup Without Irritating Your Eyes
- Choose the Right Remover for Your Makeup
- Remove the Products in the Right Order
- Rinse and Pat the Eye Area Dry
- Common Mistakes
- Tips for Keeping the Eye Area Comfortable
- Frequently Asked Questions
- What is the gentlest way to remove mascara without rubbing?
- Are baby wipes safe for removing eye makeup?
- How should I remove waterproof mascara without irritating my eyes?
- Why do my eyes sting after I remove makeup?
- Should I use oil-based makeup remover around my eyes?
- When should I see a doctor after makeup remover irritates my eyes?
- Conclusion: Start With a Gentle First Step
What You Need
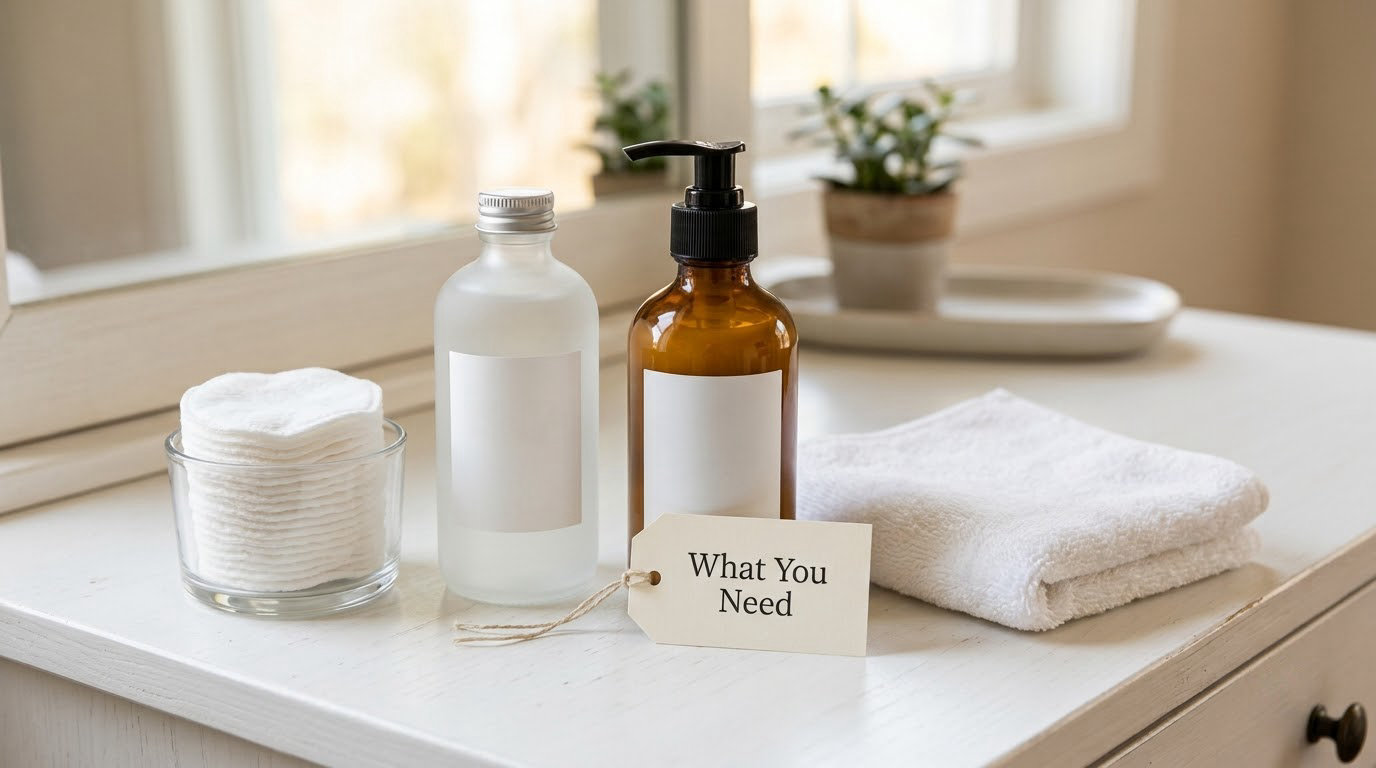
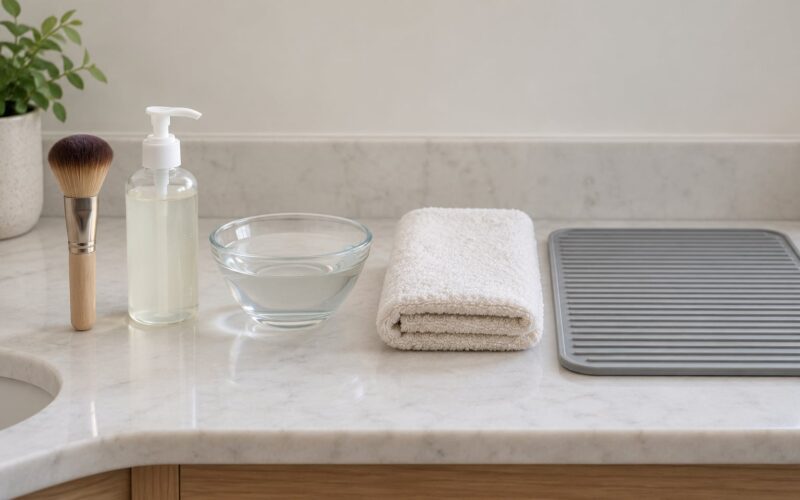
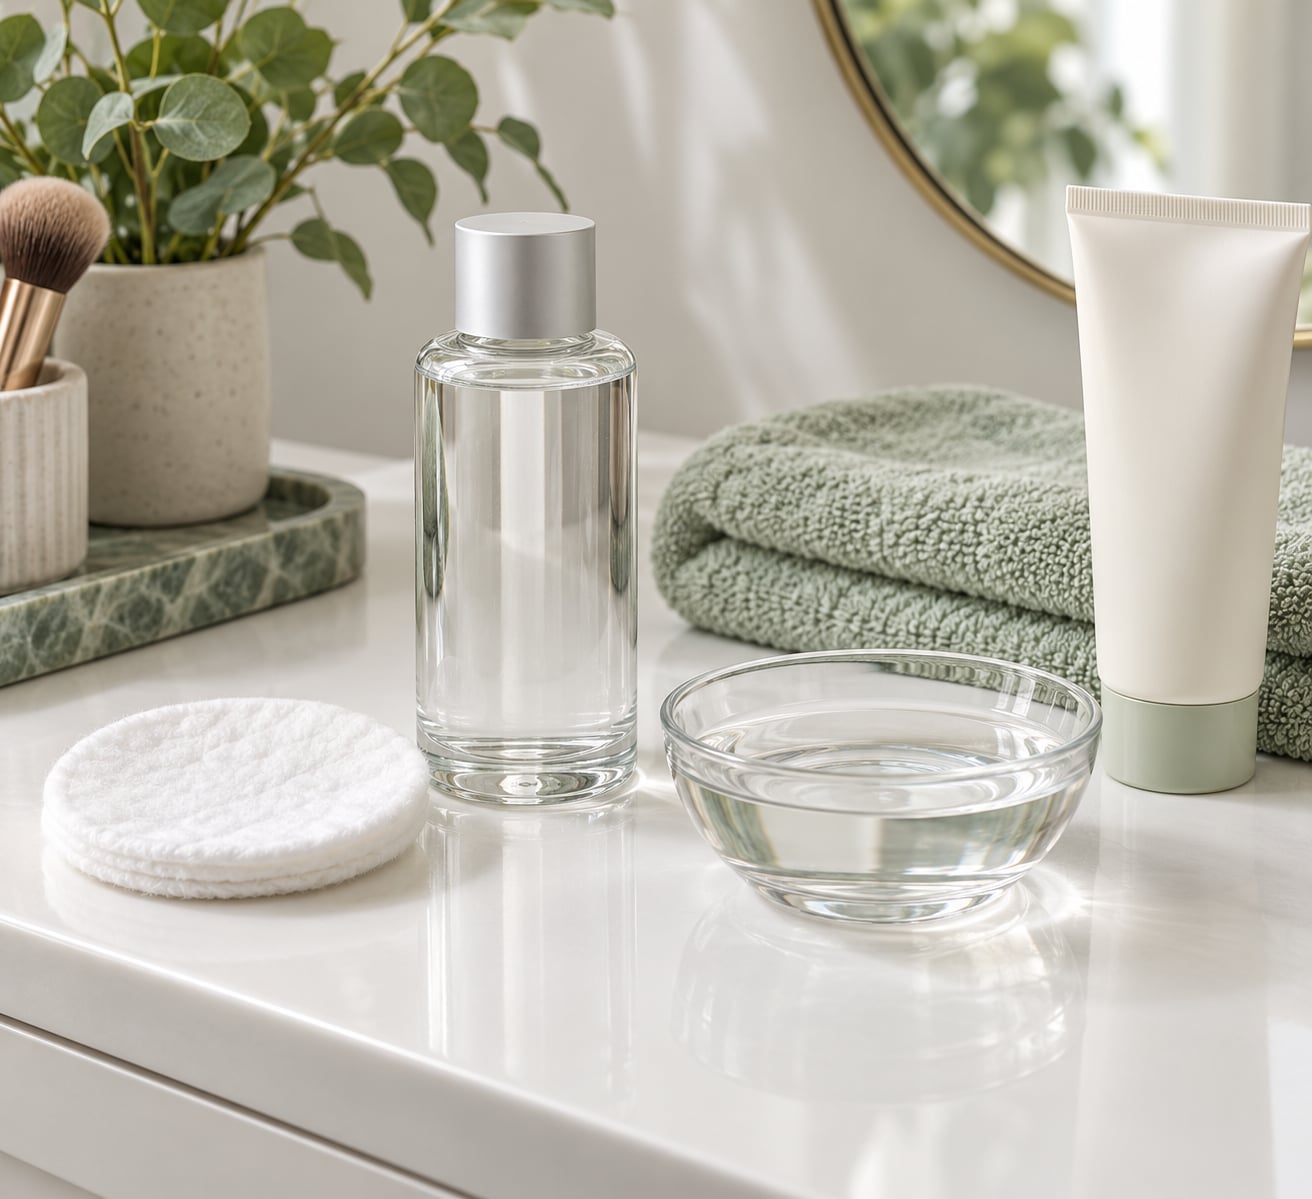
You need very little: something to dissolve the makeup, something soft to hold it, and something to rinse with. The trick is keeping the list short, because a five-product removal routine tends to mean five chances to rub.
A remover labelled for the eye area. Look for ophthalmologist-tested, fragrance-free or hypoallergenic wording on the bottle, and check whether it is also marked safe for contact lens wearers. If you wear lenses, that label matters more than any other claim.
Soft cotton pads, or reusable silicone pads. These feel like a small detail, but a stiff or linty pad is the reason so many people end up scrubbing. Buy the softest ones you can find, or cut a clean cotton round into quarters so you get four fresh edges from one pad.
A mild, fragrance-free cleanser. This is your second step, not a replacement for the first. It clears whatever the remover left behind on the lid and under the eye without stripping the skin.
Lukewarm water and a clean soft towel. Hot water pulls oil out of the skin and makes puffiness worse. A clean towel for patting is different from a washcloth you scrub with, and that difference shows up in the morning.
Step-by-Step
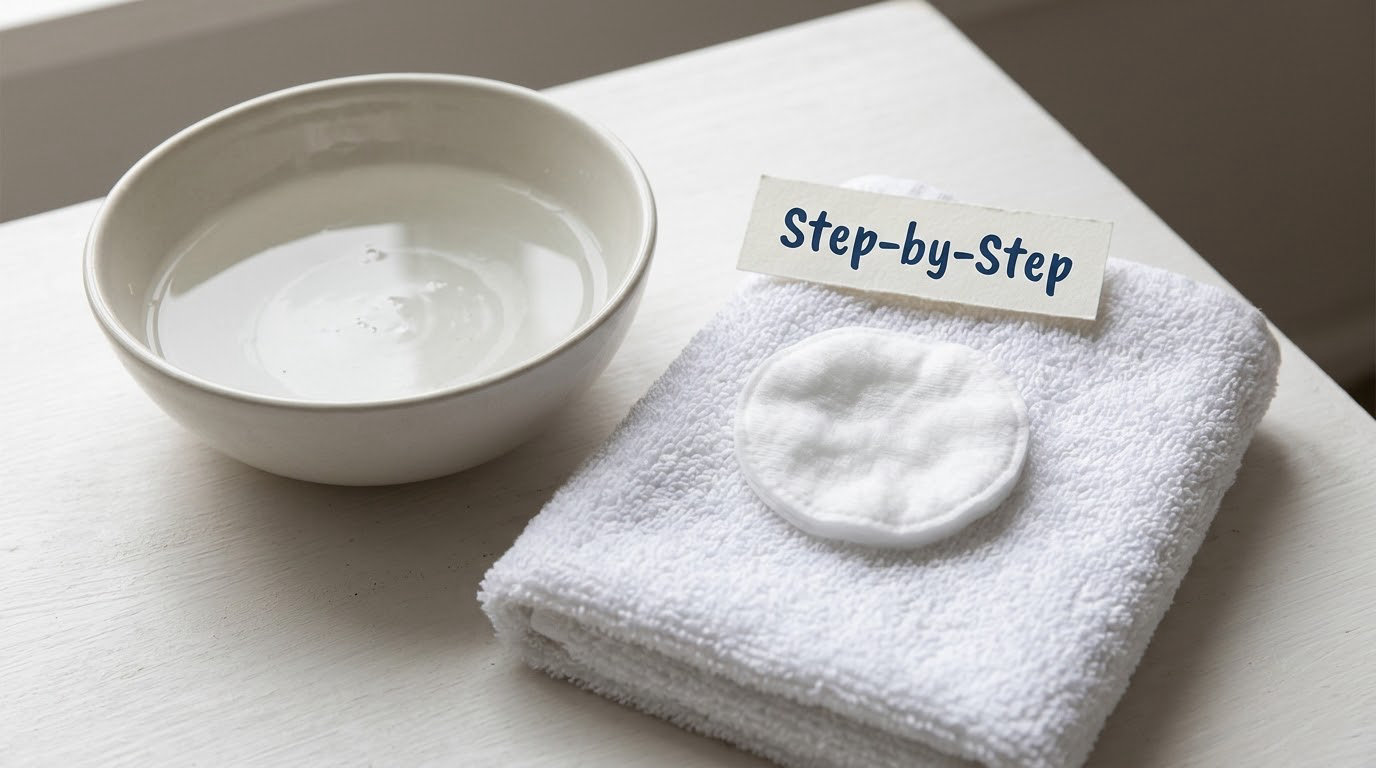
How to Remove Makeup Without Irritating Your Eyes
Soak, hold, wipe, never scrub. Four actions, and the first three are where almost everyone goes wrong.
- Wash and dry your hands. You are touching the eye area with them for the next five minutes, and whatever is on your fingers goes straight onto thin eyelid skin.
- Take off contact lenses first. Handling lenses with makeup on your hands is how pigment ends up on a lens surface. Set them somewhere safe and do not put them back until removal is finished.
- Soak the pad properly. Pour the remover until the pad is saturated and a small drop collects in the middle. A damp pad does nothing except make you rub.
- Hold it on a closed eye for 10 to 15 seconds. Rest your ring finger on your cheekbone for stability. No pressure, no movement, just stillness while the formula does the work.
- Wipe outward, away from the corner of the eye. Use the pad on the lid skin, not on the eyeball. One gentle pass, then lift the pad away rather than sliding it back and forth.
- Flip to a clean section and repeat. Mascara moves off in layers, so a fresh surface on the same pad takes care of what the first pass loosened. Change pads entirely once a side turns grey or feels slippery.
- Follow with your gentle cleanser and lukewarm water. Pat dry with a clean towel instead of rubbing it away.
How do you know it worked? The pad lifts away with barely any drag, there is no grey transfer on the cotton, and your lashes still bend when you touch them lightly. If you still see flecks the next morning, the mascara was not fully dissolved rather than badly wiped.
One habit from makeup-removal threads worth borrowing: move to a fresh section of the pad partway through an eye. It cuts the number of passes over the same skin dramatically, and fewer passes is the whole point.
Choose the Right Remover for Your Makeup
Match the format to what you are actually wearing, because a remover that works on powder will not shift a waterproof formula.
Waterproof mascara and long-wear liner: an oil-based remover or a bi-phase formula that you shake to activate. Oil dissolves the waxes and film formers that water-based products leave behind. The trade-off is that oils need a second cleanse to come off the skin.
Everyday makeup and light powder: micellar water or a gentle cream cleanser is plenty. Softer makeup means less dissolving to do, so more aggressive remover is unnecessary.
Cream or heavy foundation: a cleansing balm or oil, followed by a normal face wash. Makeup that takes real effort to lift will take more rubbing than the eye area should ever see.
Makeup wipes: convenient in a pinch and a poor choice for the eye area. Most wipes are lightly moistened rather than saturated, so people keep sweeping the same dry-ish patch across the lid until it comes clean. That repeated friction is exactly what causes the redness and puffiness you were trying to avoid.
Household oils get mentioned a lot online. Olive and coconut oil do melt stubborn liner and liner-adjacent residue effectively on fingertips. The catch is that they are unformulated, unpreserved and not tested for the eye area, and a communal jar is a contamination route. If you try one, use a fresh amount from a bottle, keep it off the waterline and patch-test first.
Remove the Products in the Right Order
Eyes first, always. Eye makeup needs the most dissolving time, and once it is off there is nothing left to drag across the lid when you move to the rest of your face.
Within the eye area, work from the least stubborn product to the most stubborn. Base or primer goes first, then liner, then mascara last. Reversing that order means you drag loose liner back across the lash line at the exact moment you are trying to clear it.
Keep the pad above the lash line as much as you can. Tightlined waterline liner takes patience rather than pressure, and a cotton swab dipped in remover, held for a moment and rolled gently along the waterline works better than a fingernail ever will.
Once the eye area is clear, sweep across the forehead, cheeks and chin with the used side of the pad or a fresh section. Your face needs a different motion anyway, and separating the two jobs keeps the eye area from absorbing far more rubbing than it needs.
Rinse and Pat the Eye Area Dry
Rinse with lukewarm water and your fingertips, not a washcloth. Let the water run over the closed lids for a few seconds, then press a clean soft towel around the orbital bone to draw off the moisture.
Patting and rubbing feel different, and the difference is the point. Pressing does not move the skin laterally, so it does not stretch it or trigger the same response.
Finish with a small amount of fragrance-free moisturiser on the orbital bone and the skin under the eye. Stay off the lash line itself. If you apply sunscreen in the morning, choose a mineral formula and keep it in the same territory.
The wrong way to finish is drying until your skin squeaks and then re-washing it, or scrubbing at a flake with a cloth. That leaves the skin barrier unhappy and makes the next removal harder than it needed to be.
Common Mistakes
Almost every irritated eye after removal traces back to one of these. Most of them are habits rather than products.
Rubbing because the pad ran dry. A pad that stops working halfway through an eye invites scrubbing. Saturated pads do not need pressure, and pressure is what causes the sting you are reacting to.
Using a barely damp pad. This is the same problem in slow motion. If you can see the pad through it, soak it again.
Skipping removal after waterproof products. Leaving waterproof mascara on overnight is a common habit and one of the harder patterns to undo. It also keeps product sitting at the lash line, where it has no business staying.
Reusing a dirty pad. A grey, oily pad does not lift cleanly, so it drags. Switch it out as soon as it turns.
Pulling the eyelid skin. Holding the lid taut while wiping stretches thin skin and can leave it red and puffy by morning. Resting fingers on the cheekbone is steadier and kinder.
Wiping toward the inner corner. Outward only. The inner corner drains into the tear duct, and pushing residue that way is how you end up with the gritty, filmy feeling people mistake for tired eyes.
Removing makeup in a moving car or in dim light. Half-attention turns into a scrub. Do it in a bathroom mirror where you can actually see the lash line.
Reusing last night’s makeup. It does not matter how gentle the removal is if the mascara was already carrying bacteria.
Tips for Keeping the Eye Area Comfortable
Patch-test anything new on the inside of one wrist and wait a day. The skin there will not tell you much about your eyes, but it will flag a formula that clearly disagrees with your skin.
Use a separate pad for each eye. If one side is irritated, keeping the products apart stops you transferring whatever is causing it.
Give yourself a real hold time. Ten to fifteen seconds per pass is the difference between a remover dissolving makeup and you doing the work with friction. If you are counting under five, you are probably rubbing.
Do your removal before you are tired. Half-asleep, at the end of a long day, is when most people scrub.
Throw mascara out on a schedule. Three months after opening is the widely cited safety window for mascara, and it is worth writing the date on the tube. Same goes for any eye product used during an eye infection.
If you are tightlining your waterline every day, consider it a bigger irritant than the remover is. Tightlining places product directly at the openings of the meibomian glands, the small glands along the lid that secrete the oily layer of the tear film. Blocked glands are how most styes start, and that is a good reason to keep that area clear overnight.
Stop and pay attention when you notice burning, swelling, or redness that has not settled by morning. A little puffiness after a late night is normal. Stinging that lasts more than a minute after rinsing is not.
If remover gets into the eye itself, rinse with clean lukewarm water and stop there. Do not reach for another cosmetic to fix the sting, since that starts the same irritation cycle again.
For contact lens wearers, using a remover marked lens-safe matters because residue left at the lid edge often ends up on the lens. Rinsing with saline after removal, once your hands are clean, is a reasonable extra step before you put lenses back in.
Frequently Asked Questions
What is the gentlest way to remove mascara without rubbing?
Soak a soft pad until it is saturated, hold it on the closed eye for 10 to 15 seconds, then wipe outward with light pressure. Flip to a clean section of the pad for the second pass and use a different pad for each eye. The gentleness comes from soaking and waiting, not from being careful while scrubbing.
Are baby wipes safe for removing eye makeup?
Not for the eye area. Baby wipes are made for skin, and many carry fragrance, alcohol or preservatives that the lid does not tolerate well. Most people also use them drier than a removal pad, which turns into repeated rubbing. If a wipe is all you have, dampen it slightly and never wipe toward the inner corner.
How should I remove waterproof mascara without irritating my eyes?
An oil-based or bi-phase remover is worth the extra cleanse, because those formulas dissolve the waxes and film formers that water-based products cannot. Soak the pad fully, hold for 15 seconds, then let the mascara slide onto the cotton without pressure. Repeat with a fresh section rather than scrubbing the same spot.
Why do my eyes sting after I remove makeup?
Two usual reasons. Either the formula contains an irritant your skin dislikes, which is common with fragranced or detergent-based removers, or you rubbed more than you needed to and the skin reacted. Test by soaking and holding a full 15 seconds with no wiping. If it still stings, the formula is the problem, not your technique.
Should I use oil-based makeup remover around my eyes?
For most people, yes, and ophthalmologists often favour it for how well it dissolves long-wear formulas. The exception is dry-eye or heavy contact lens wearers, who may find an oil-free bi-phase remover more comfortable and need a lighter second cleanse either way. Patch-test first and keep oil off the waterline.
When should I see a doctor after makeup remover irritates my eyes?
Book an appointment if redness, burning or swelling lasts into the next day, or if you notice pain, light sensitivity, blurred vision or discharge. Pain with light sensitivity and blurred vision can point to an infection or a corneal problem rather than a cosmetic reaction. Contact lens wearers should stop wearing lenses until they have been checked.
Conclusion: Start With a Gentle First Step
Soak the pad until it drips, hold it on the closed eye for 15 seconds, and wipe outward. That is the first move, and most people find the rest of the routine rearranges itself around it.
Eyes first, fresh section, new pad when it turns grey, then a light cleanse and a pat with a soft towel. Give the lid time to dissolve rather than pressure to lift, and most stinging stops within a week.
If it does not stop, the remover is telling you something. Put it down, and if redness, pain, light sensitivity or blurred vision continues into the next day, that is a question for an optometrist or ophthalmologist rather than for another bottle.